TABLE OF CONTENTS
Regardless of the type of website you’re building, consistent communication with your users is often the most important thing you can do to grow your business. Although Webflow and Memberstack together offer many tools for collecting and organizing users, managing communications in an organized and visually engaging way may require additional tools and processes.
What is Mailchimp?
Mailchimp, an email marketing and automation service, is a powerful way to accomplish this. It allows you to design email marketing campaigns, create user segments based on specified conditions to target communications, automate email delivery around specific deliverables, and run analytics on how those messages are being received.
Inside Mailchimp are three audience management tools that can help you structure your customer communications: tags, segments, and groups. Tags are labels that provide more information about specific audience members. Segments take characteristics of your audience and automatically filters and divides them to target specific communications. Groups are used to sort subscribed users into more precise, descriptive, or functional categories. Although each gives you the ability to divide audiences in similar ways, their use in embedded or integrated forms does vary.
Mailchimp and Webflow
There are a few different ways to integrate your Webflow site with Mailchimp, depending on how you plan to use the two platforms. Webflow University offers a fairly comprehensive overview of how to do it here. I’ll go over that process briefly below, and offer some alternatives as well.
Embeddable Signup Form Code
The most important thing to keep track of when integrating your Mailchimp audience with a form in Webflow is the Embeddable Signup Form code. This customizable section of code is where you will find most of what you need to include in your Webflow site to connect your site to your Mailchimp account. On your Mailchimp dashboard, navigating from Audience > Signup forms > Embedded Forms should give you access to the Embedded form builder.
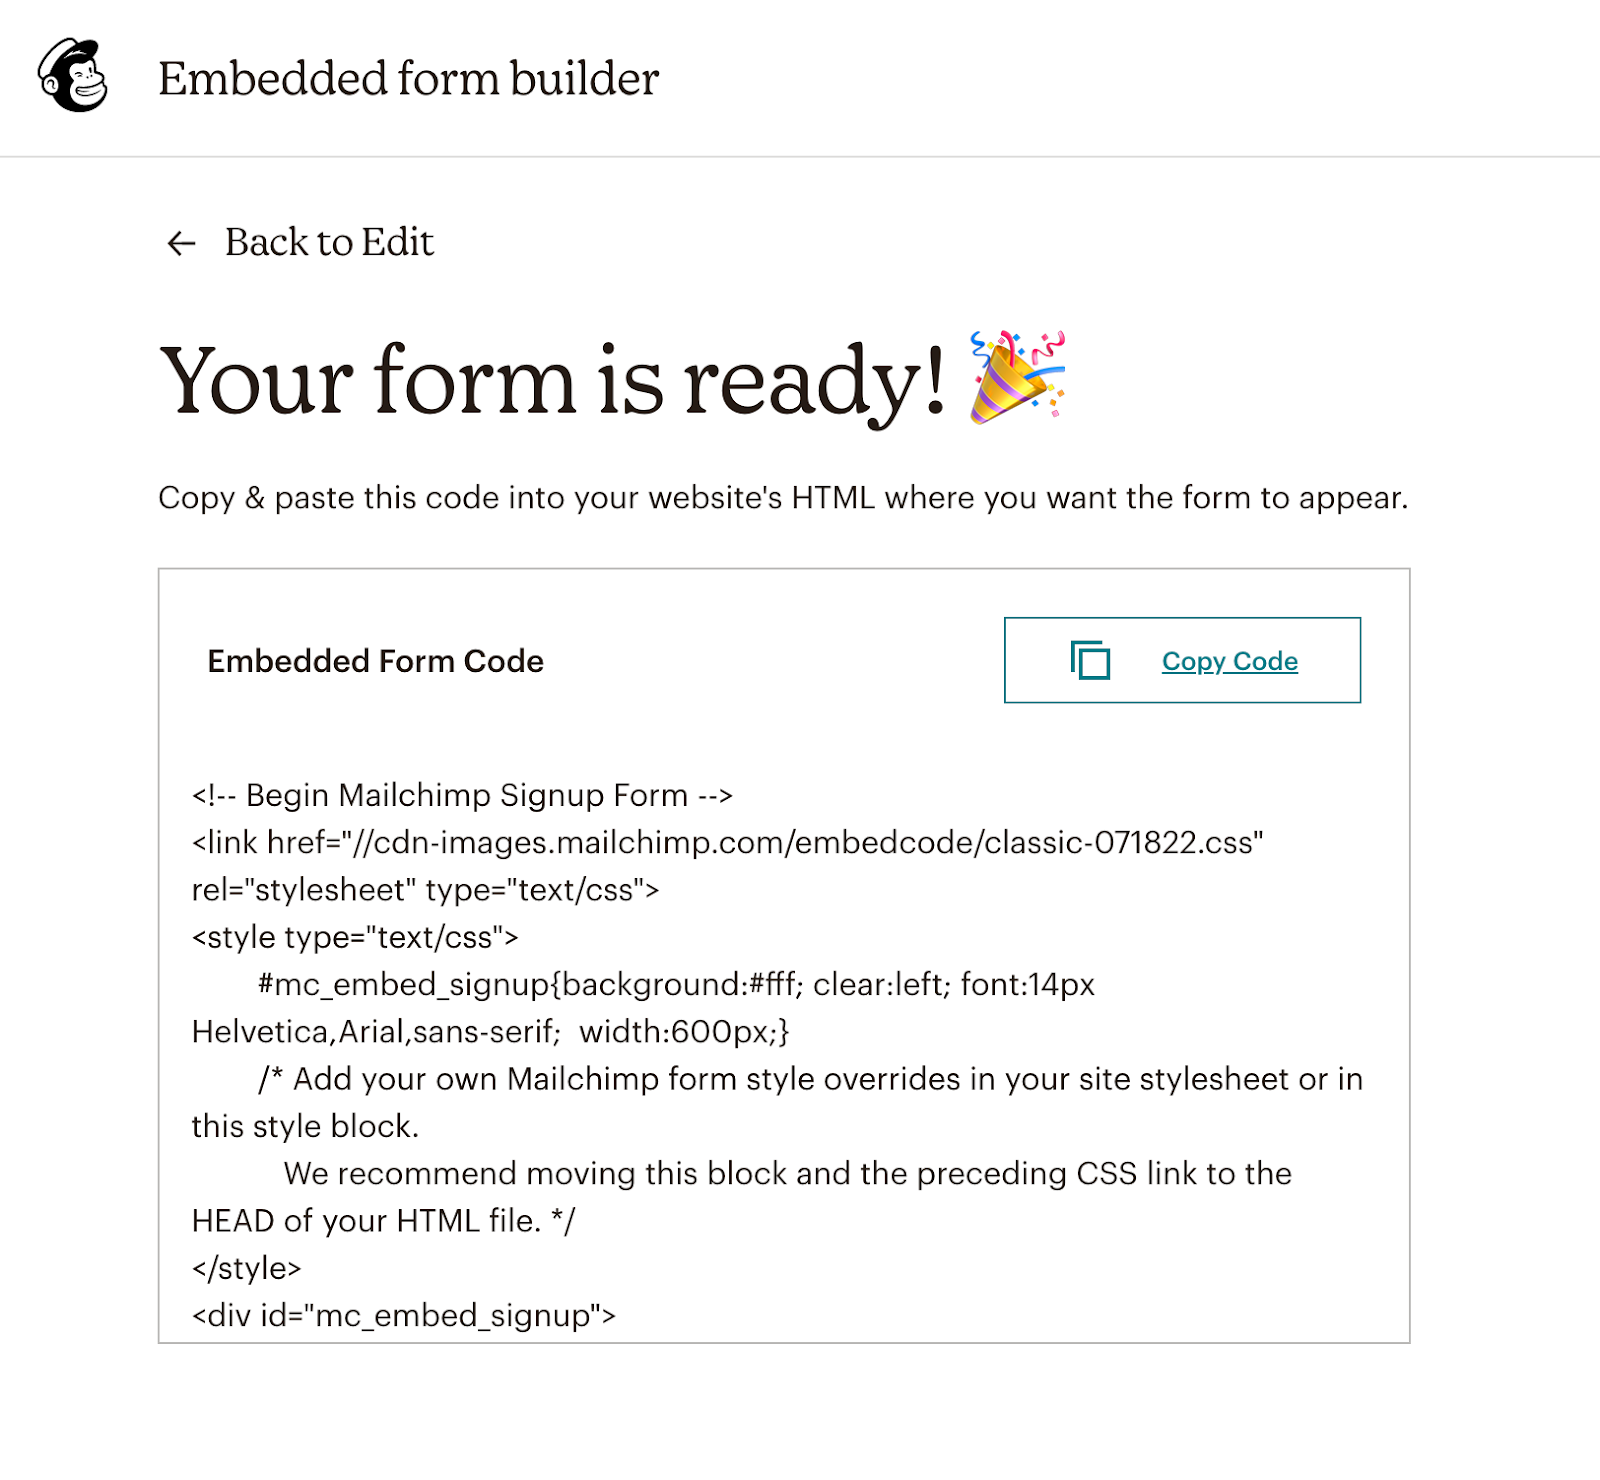
Depending on what you want your form to look like, you can either paste this form code directly into an HTML embed element (in which case you’ll need to design it in the HTML directly) or you can put items from this code into form elements in Webflow. There are some use cases where one solution is easier than another. Outlined below.
Send to general Mailchimp audience list.
If you want to integrate your Mailchimp audience list with an existing form element in Webflow, there is a pretty straightforward way to do this.
- Create an audience list in Mailchimp.
- Create a form element in Webflow. Make sure that one input field has the name “email” and set its type to “Email”.
- In the Embeddable Signup Form Code, find the “form action” URL (everything contained within the quotations after the “form action=” line).
- In the form element on Webflow, navigate to the Form Settings menu. Paste the form action URL into the “Action” field and set the Method to POST.
- Test out the connection. You can visit Mailchimp’s troubleshooting guide to investigate potential issues.
If you want to add more input fields to your Webflow form element, they must correspond to the columns of the Audience list on Mailchimp. This might be things like first names, last names, phone numbers, or the like. As you add new inputs to your form element, make sure that you are matching the “Name” field exactly to what is in the Embed code. For example, below you can see another field type “First Name” activated on the Mailchimp form field customizer. In the Form Embed Code, these are labeled FNAME, which is also how it must appear in the Text Field Settings input on Webflow. This is case-sensitive.
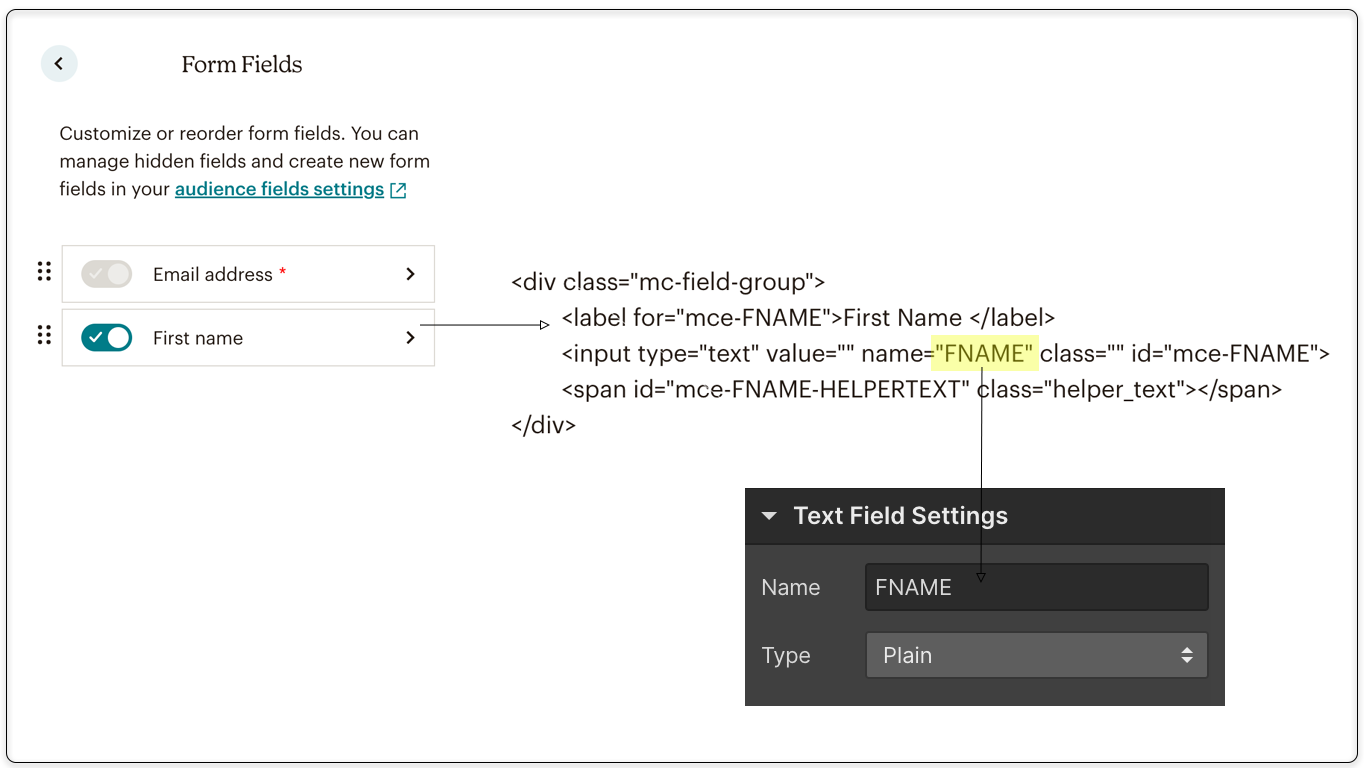
If you intend to use other kinds of text field Types, make sure to change the “Type” dropdown to the appropriate selection.
Send to Mailchimp audience list using Zapier
If you want a completely no-code solution for integrating Webflow and Mailchimp, automation services like Zapier or Integromat also offer ways to take in form submissions as an automation trigger and add new emails to your audience list. In this case, you wouldn’t need to make any changes to the native form element.

In this case, you’ll need to map each of the form fields to a specific mailchimp Audience field. It might be easier to use a middle-layer like Airtable to gain other types of functionality, as well. To find a template for this Zap click here.
Adding users to a specific Audience group/tag
If you want to add new user sign-ups into an existing audience group or tag, modifications are needed to the form embed code. Here is a walkthrough from Mailchimp that describes how this might be done. In this case, using the embed code within an HTML embed element in Webflow is definitely the easiest way to do it.
The easiest way to add members to groups is to add checkboxes that can be selected by the users. An example of the code for that is below. Pasting that below the other <input type=”...”> lines should provide you with a checkbox to select for. As long as this group exists in your Mailchimp Audience dashboard, it should add users automatically to whichever group was selected.
CODE:
<ul><li><input type="checkbox" value="8" name="group[01245][8]" id="mce-group[01234]-01234-0" checked><label for="mce-group[16521]-01234-0">English site</label></li>
If you don’t want to display the checkbox (and instead automatically add users to a group) including {style="display:none"} in the same div block as the group code will add members without giving the option to select (or not select) a group.
Lastly, if you are trying to add members to a tag, there is already a native feature in the Embedded Form builder that should let you create auto-assigned tags.
Cloneables
With these processes in mind, you can begin designing your sign-up forms. Here are a couple of our favorite Webflow and Mailchimp clonables:
Newsletter Sign-up Landing Page
https://showcased.webflow.io/projects/free-newsletter-sign-up-landing-page
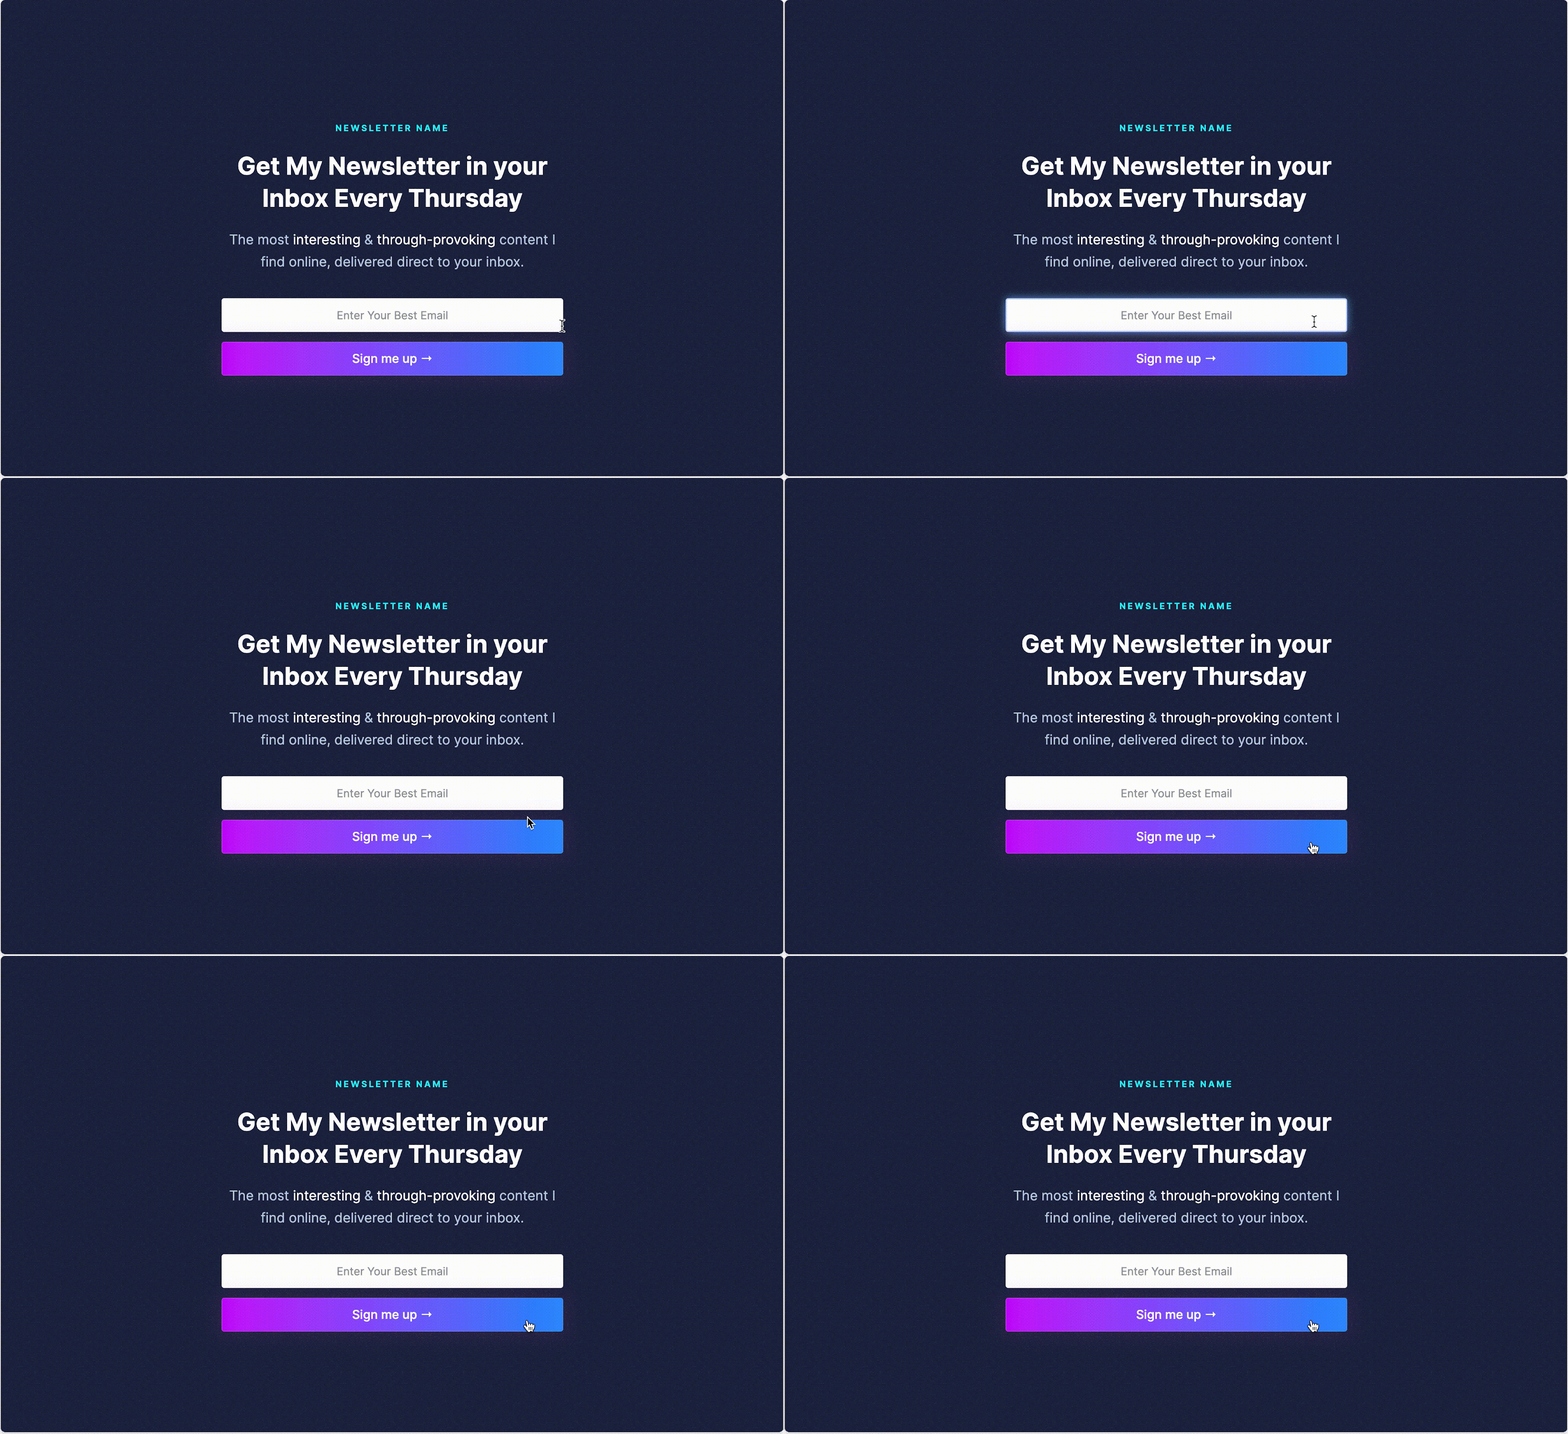
This sleek newsletter sign-up template from Youssef gives you a visually appealing way to collect user emails. This follows the most basic process for integrating with a Mailchimp audience, containing only a single email signup field that is connected to Mailchimp via the form action URL.
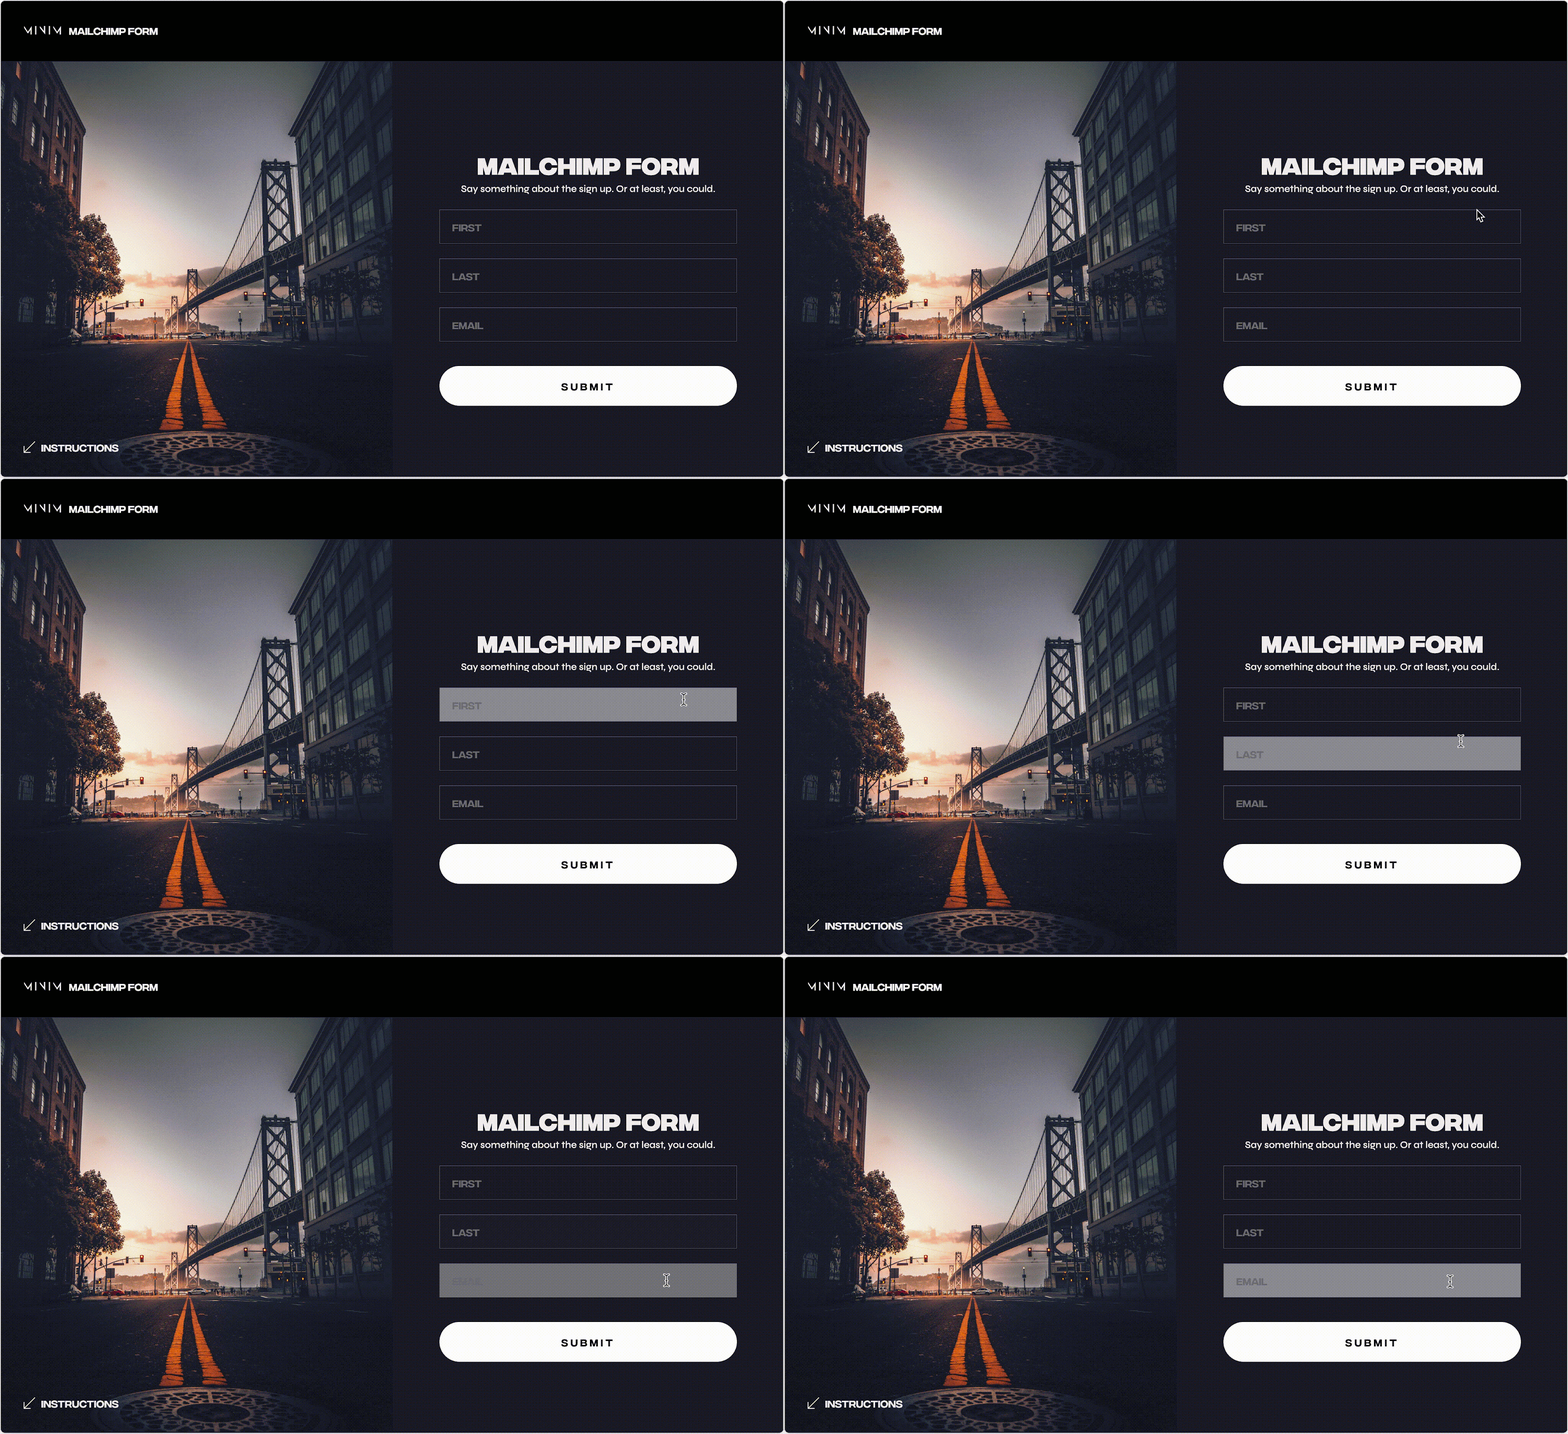
Minim Mailchimp Form
https://showcased.webflow.io/projects/Minim-Mailchimp-Form\
Often, you’ll want to collect information other than an email from incoming users to your site. This form from Minim provides other (of course, customizable) form fields that can be connected to corresponding fields on your Mailchimp audience list. I described this process in the previous section, but the most important thing to remember is that the field names that appear in the Embed code must match the name that you include in the input element.
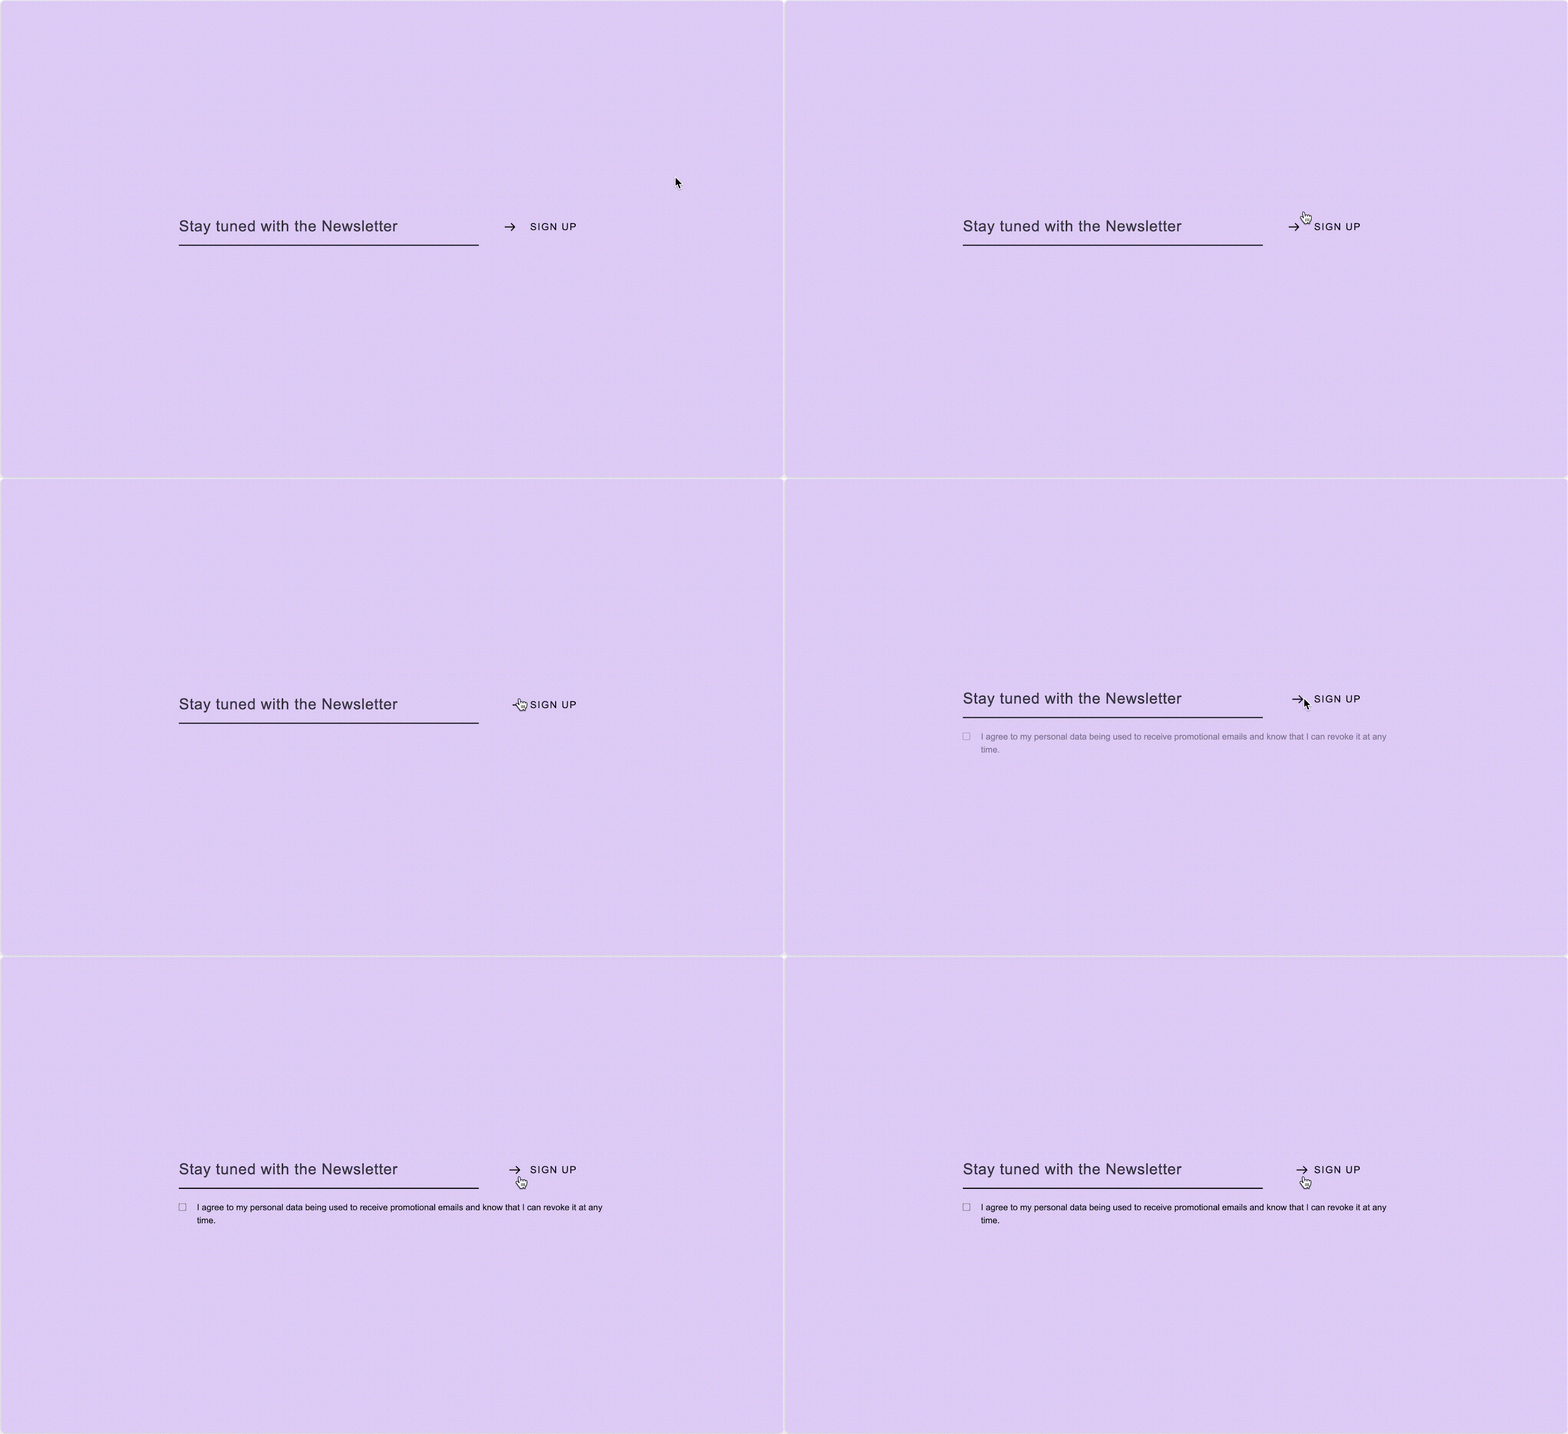
Sign Up Form with GDPR-Checkbox on Active Input
https://showcased.webflow.io/projects/e-mail-sign-up-gdpr
GDPR is an important data protection protocol for all countries in the EU — although it is quickly becoming the standard for data privacy across the internet. This Sign-up form template from Goldmann dos Santos offers a visually-appealing solution for people needing to be compliant with these regulations. Here is a short checklist from Webflow that outlines what compliance should look like.
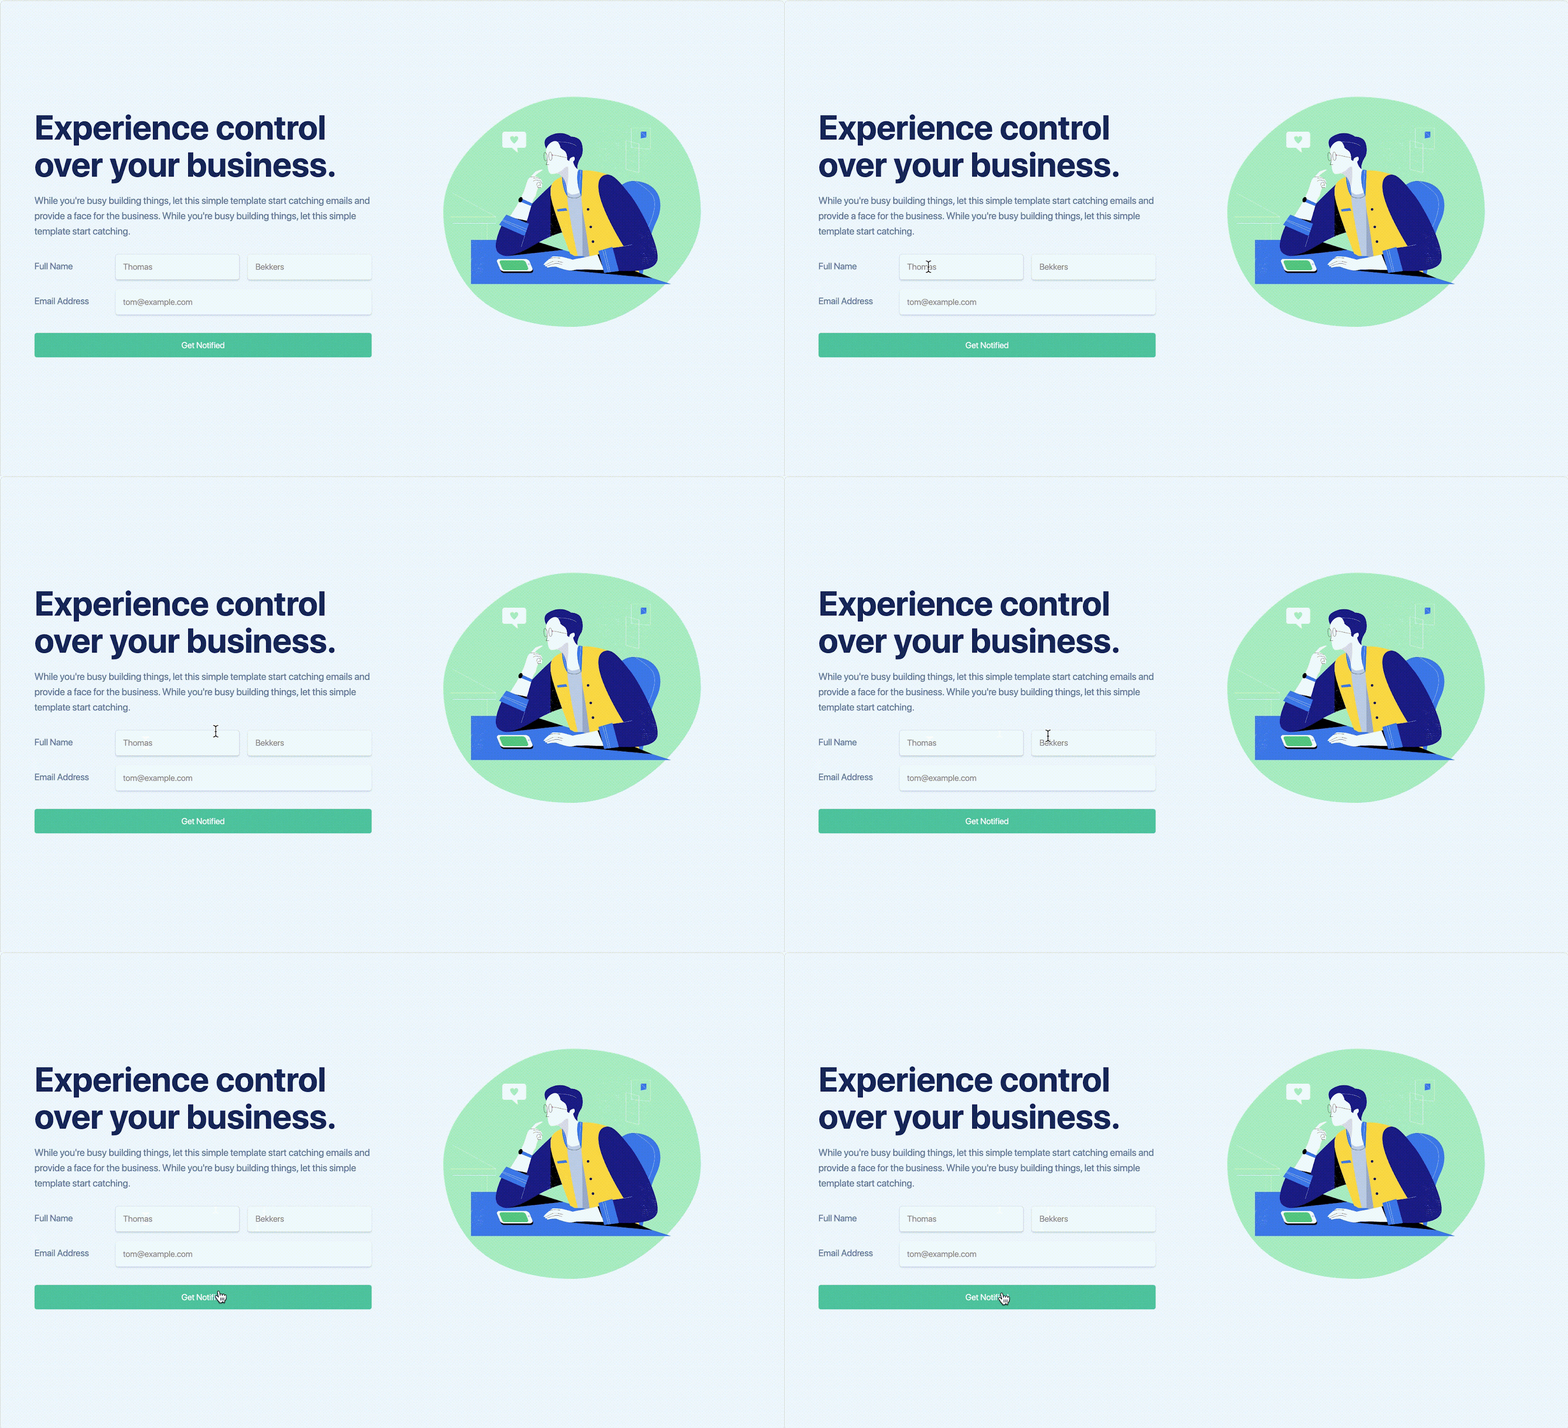
Mail Catchment
https://webflow.com/made-in-webflow/website/Mail-Catchment
This template from Flowbase offers a multi-field notification sign-up form. Because it splits the First and Last Name fields, the Embed Code from Mailchimp would specify FNAME and LNAME fields that would need to be inserted into the Text Field Settings box.


.png)
