


TABLE OF CONTENTS

FOLLOW
Learn how to use Webflow's APIs to manage collection items, and trigger actions when events occur – such as sending promotional emails to paying Memberstack members each time a new product item is added to a Webflow collection.
What is the Webflow API?
The Webflow API enables you to programatically store and read site data in the CMS associated with your Webflow site.
It's an HTTP API that provides resources and methods to:
- Get and list your sites, their domains, and collections. A collection can be visualised as an excel sheet, and in the CMS for each Webflow site we can have multiple collections.
- Create, list, retrieve, and modify items in any of your site's Ecommerce or non-Ecommerce collections. An Ecommerce collection is a special type of collection created by Webflow for sellable items. Items in these collections are referred to as products, and are always linked to items in an SKU collection.
- Create, list, retrieve and remove Webhooks.
What can you do with the Webflow API
The API enables you to:
- import data from an existing database into your Webflow CMS.
- export Webflow content to use in other apps.
- synchronise with an existing CMS.
- pull your Webflow CMS data in a mobile app.
- fire actions when user events occur in Webflow.
Getting Started with the Webflow API

This guide explains how to:
- get authenticated access to Webflow's API using either OAuth or a personal API Key
- add new ecommerce products using Webflow's APIs
- poll your ecommerce collection for updates using Webflow's APIs
- avoid rate limits using Webflow's webhooks
Along the way we'll imagine we're working on a simple app built with Webflow + Memberstack's seamless auth and payments service, to illustrate how important aspects of the Webflow API work.
At the end of the guide you will understand how to use Webflow's APIs to manage collection items, and trigger actions when events occur – such as sending promotional emails to paying Memberstack members each time a new product item is added to a Webflow collection.
Get a Webflow + Memberstack account
To use the Webflow APIs and follow along with this guide we suggest creating both Memberstack and Webflow accounts.
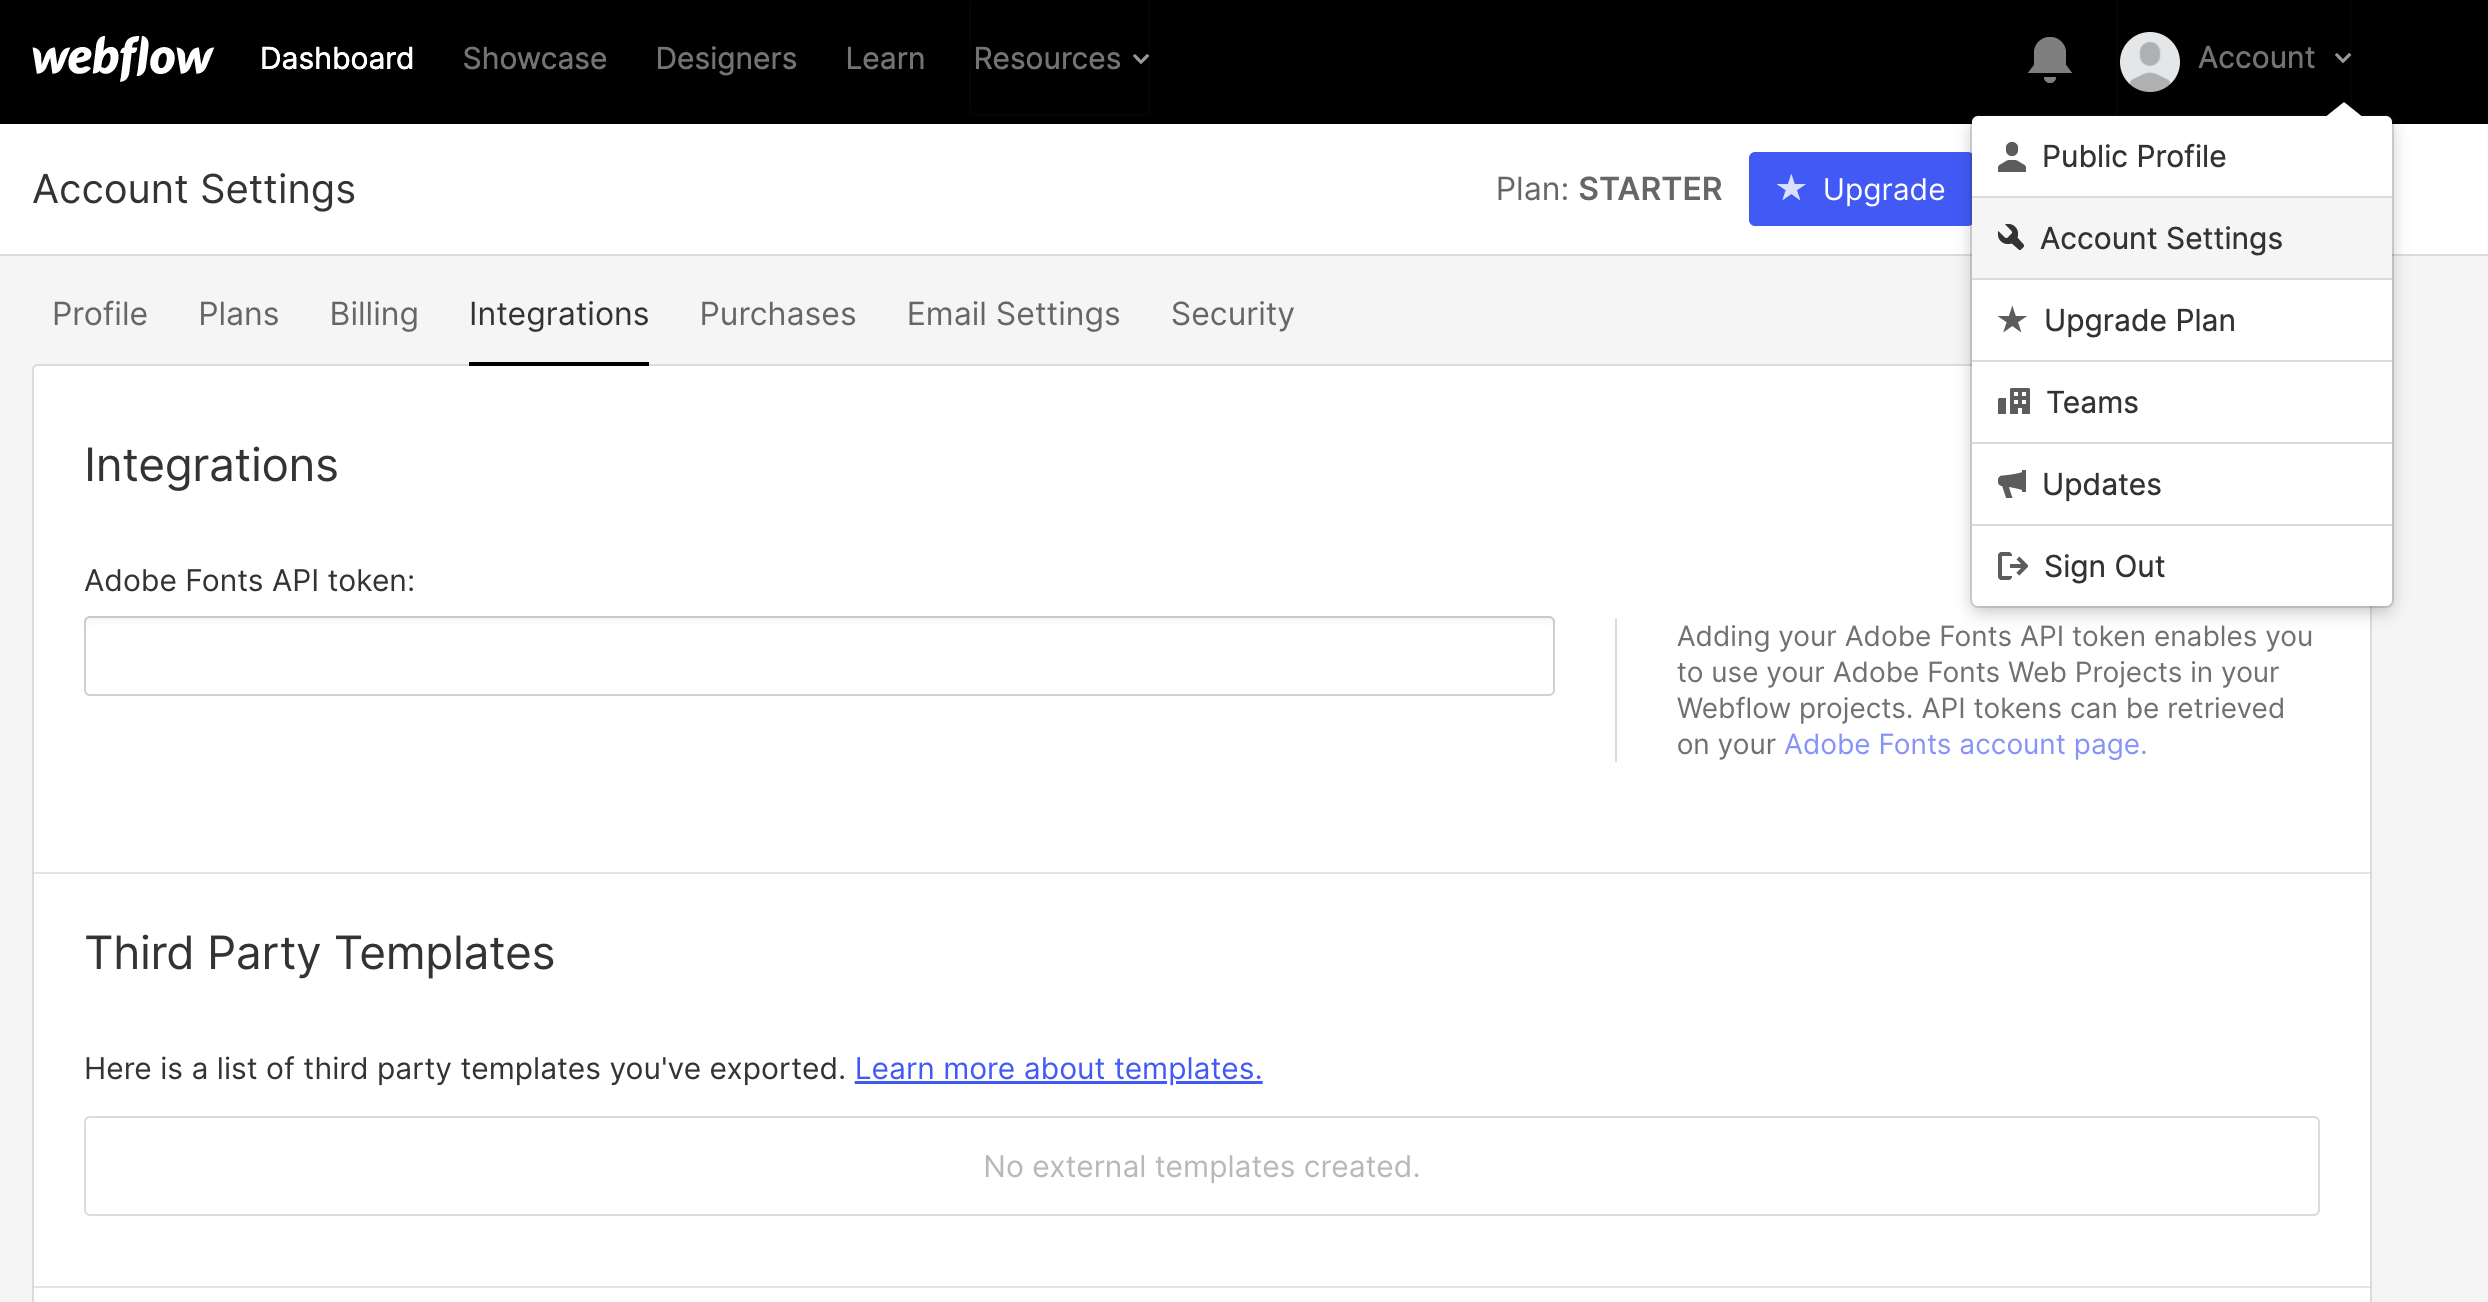
How to get the Webflow API auth tokens
Option A - Implement the Webflow OAuth flow
Use this option if you're building an app which needs access to other people's Webflow accounts.
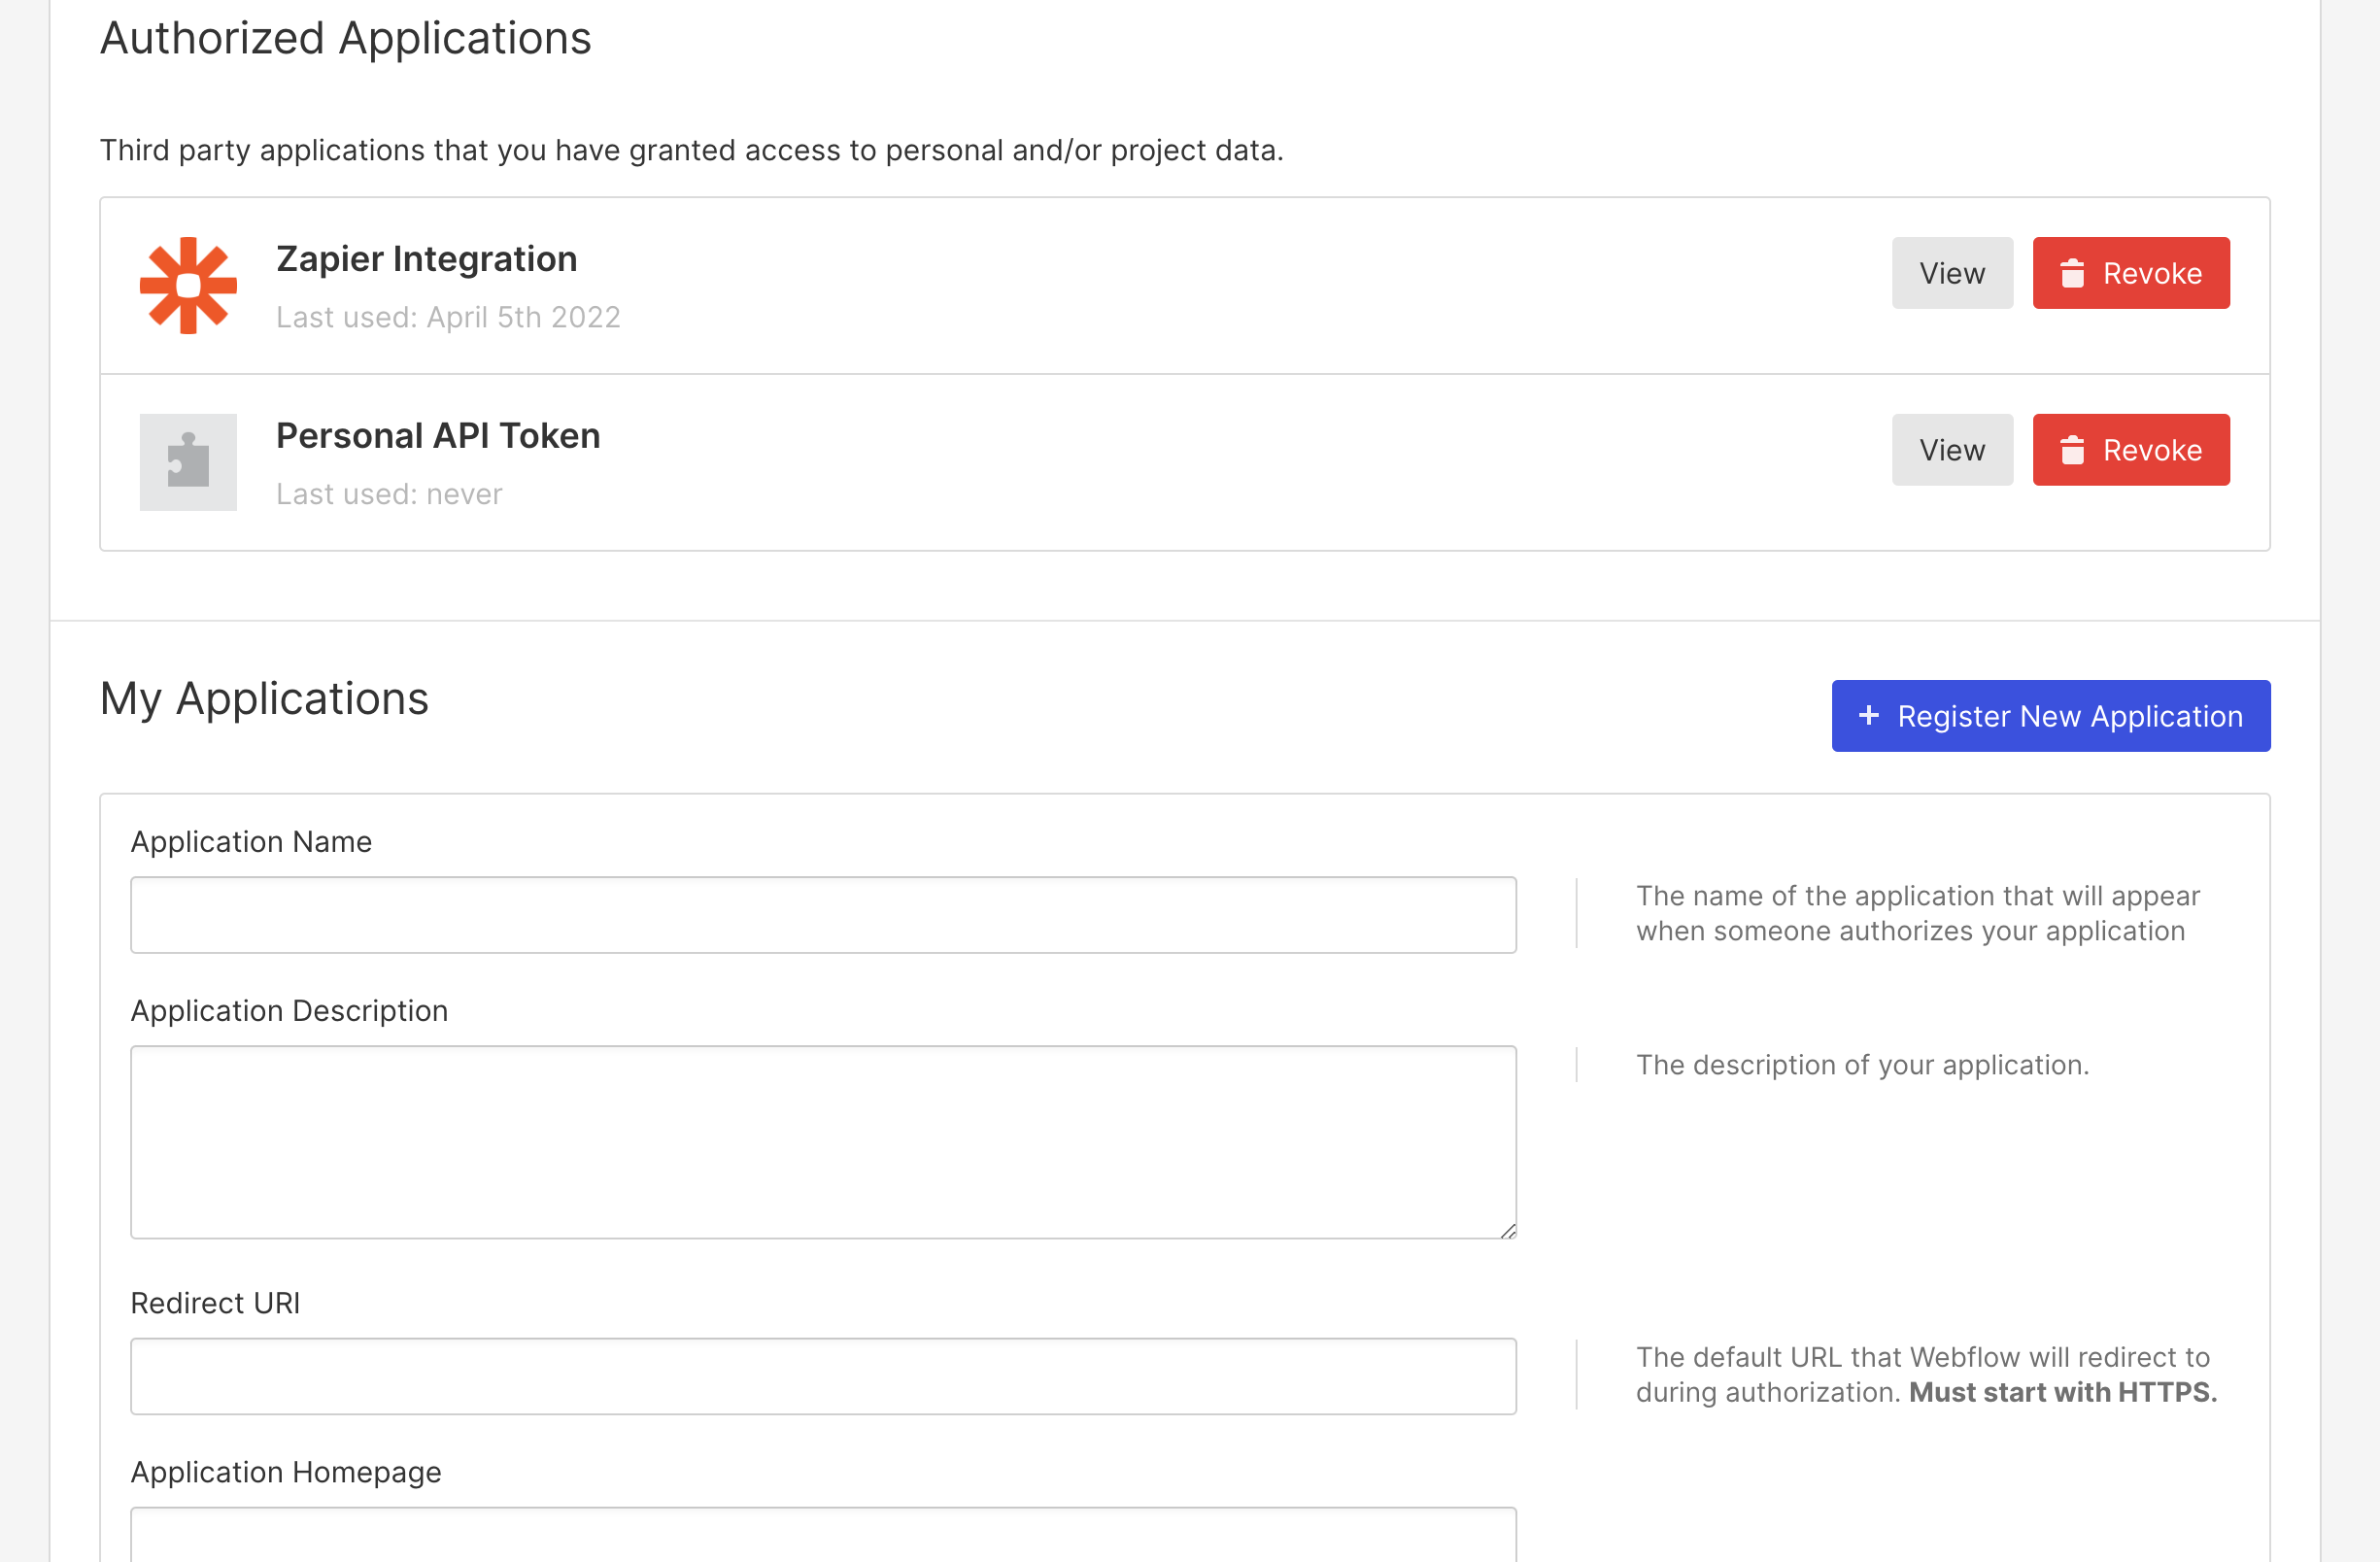
1 - First register an application to get a client id
Open the integrations tab of account settings and click the “Register New Application” button. Fill in the details and copy the generated client id.
2 - Plug the client id into Webflow's OAuth URL
The final URL should look like this, but substituted with your own client_id and optional state parameters:
https://webflow.com/oauth/authorize/?client_id=ed57c4a2324c5a0a5c183b0a882432cf065f3f42e23300800489bc517e7000d7&response_type=code
3 - Use Webflow's OAuth URL to retrieve an authorisation code from users
When users click it, they'll be prompted to authorise your application, and when they do, an authorisation code will be returned as a URL parameter
4 Use the authorisation code to obtain an access token
Once your application has retrieved the authorisation token from the redirect URLs code parameter, it can request for the Webflow API access token.
Option B - Issue a personal API key
Use this option If you are developing a private integration to Webflow and are only interacting with your own account.
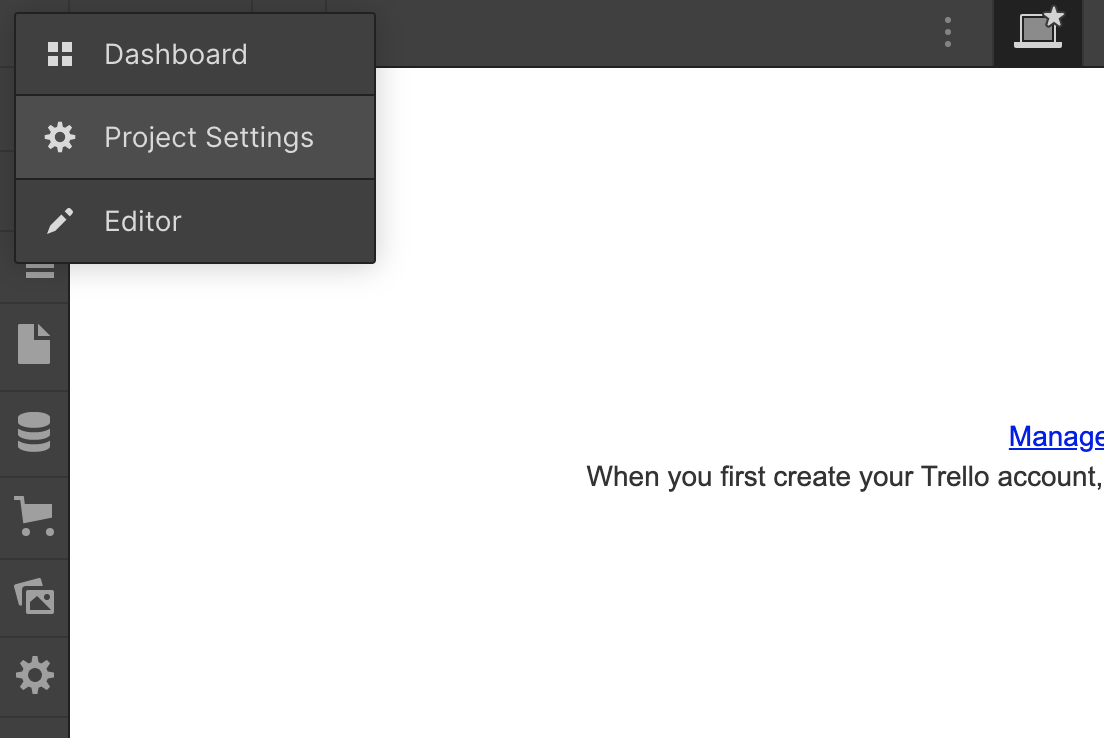
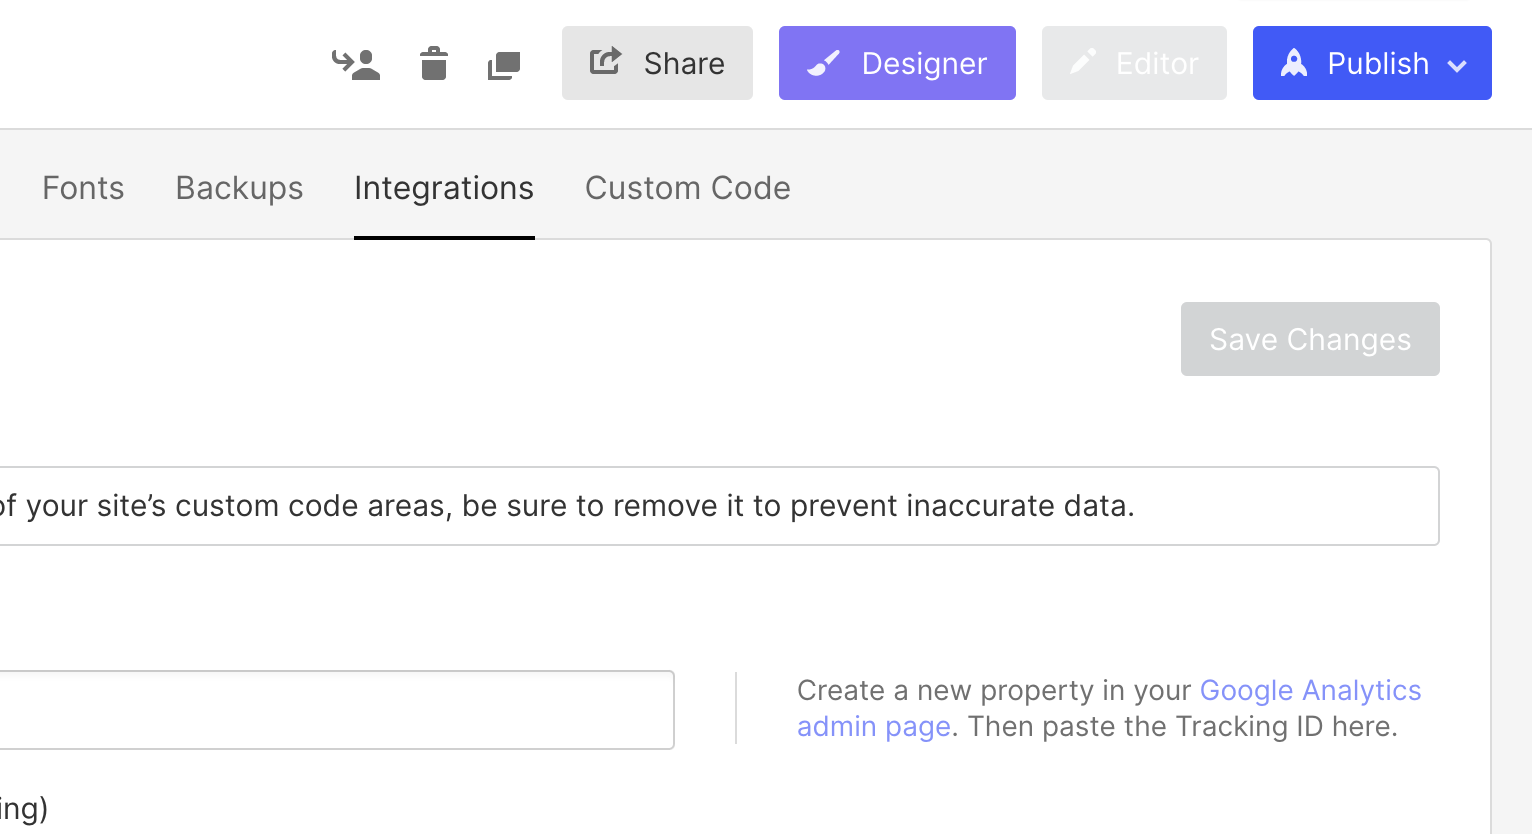
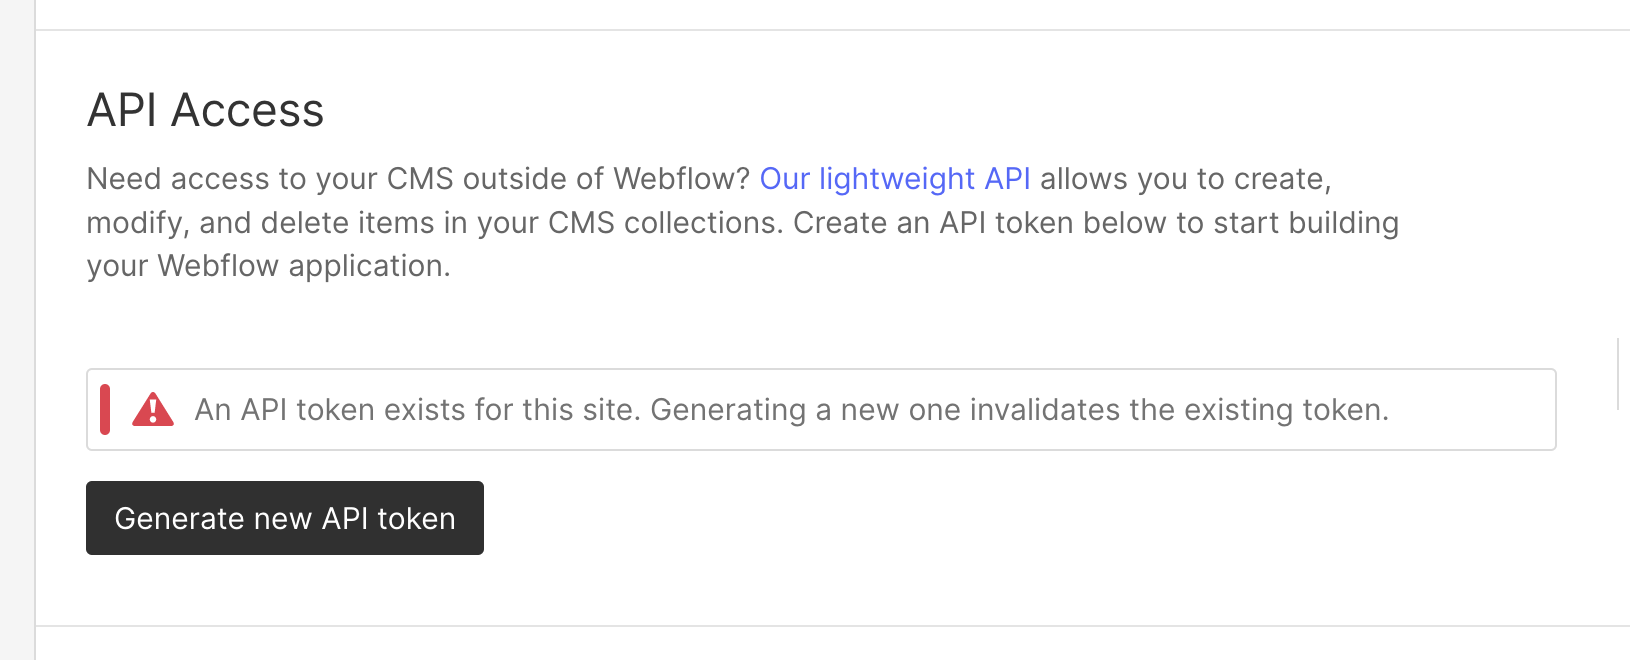
1. Go to project settings
2. Click integrations
3. Scroll down to generate an API key
Note that these keys can only be generated on a per-site basis.
What are the most important parts of the Webflow API?
Webflow CMS Collection Fields
Fields are the Webflow equivalent of spreadsheet columns and are by far the most important part of the Webflow API.
Without fields you can't have items – the Webflow equivalent of rows.
Without items you can't have collections – the Webflow equivalent of a single spreadsheet.
And without collections, you can't have a CMS – the Webflow equivalent of an excel file.
Everything we do with the Webflow API is about managing fields, but ironically we can't programatically create fields with the Webflow API. So to really get started with the Webflow API it's very important that you understand how to create fields.
How to Create Fields
There is ONLY ONE WAY to do this, and it involves using the Webflow UI.
1 - Create a Webflow site
2 - Create a collection in the Webflow site
This can be one of two types:
- a generic collection that can contain any item types.
- a Webflow ecommerce collection that comes with predefined Webflow product fields.
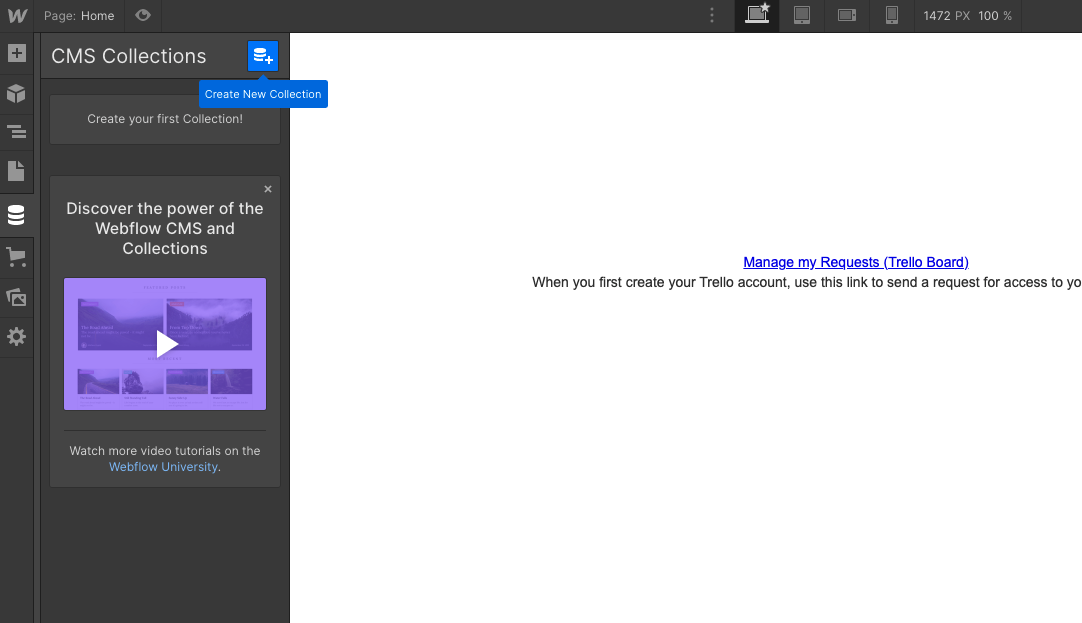
Creating a generic collection
- In the Webflow designer click on CMS
- Click create new collection
- Choose a template or fill in the fields to create a custom collection


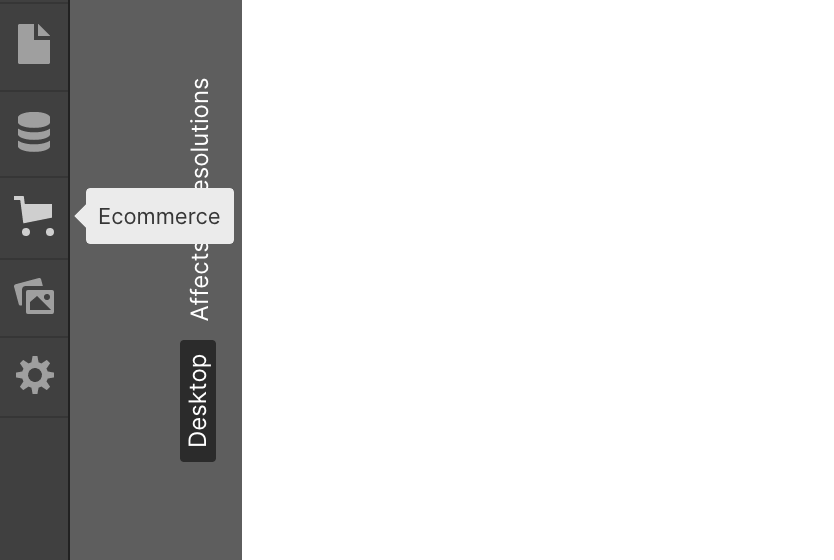
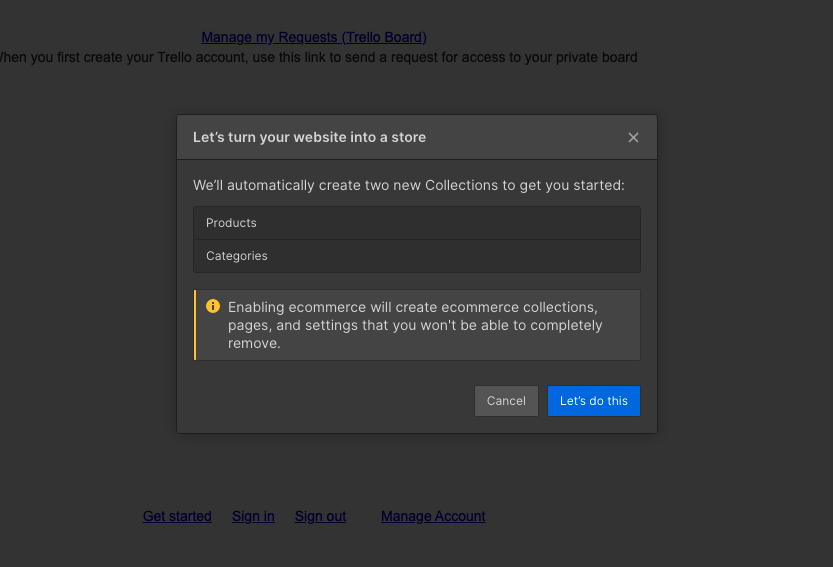
Creating an ecommerce collection
- In the Webflow Designer click on Ecommerce
- You'll be warned that these collections cannot be deleted
- When you click Let's Do This a Product collection and a Categories collection are created for you
3 - Define the fields in your collection
As you define a field you will need to choose the field type.
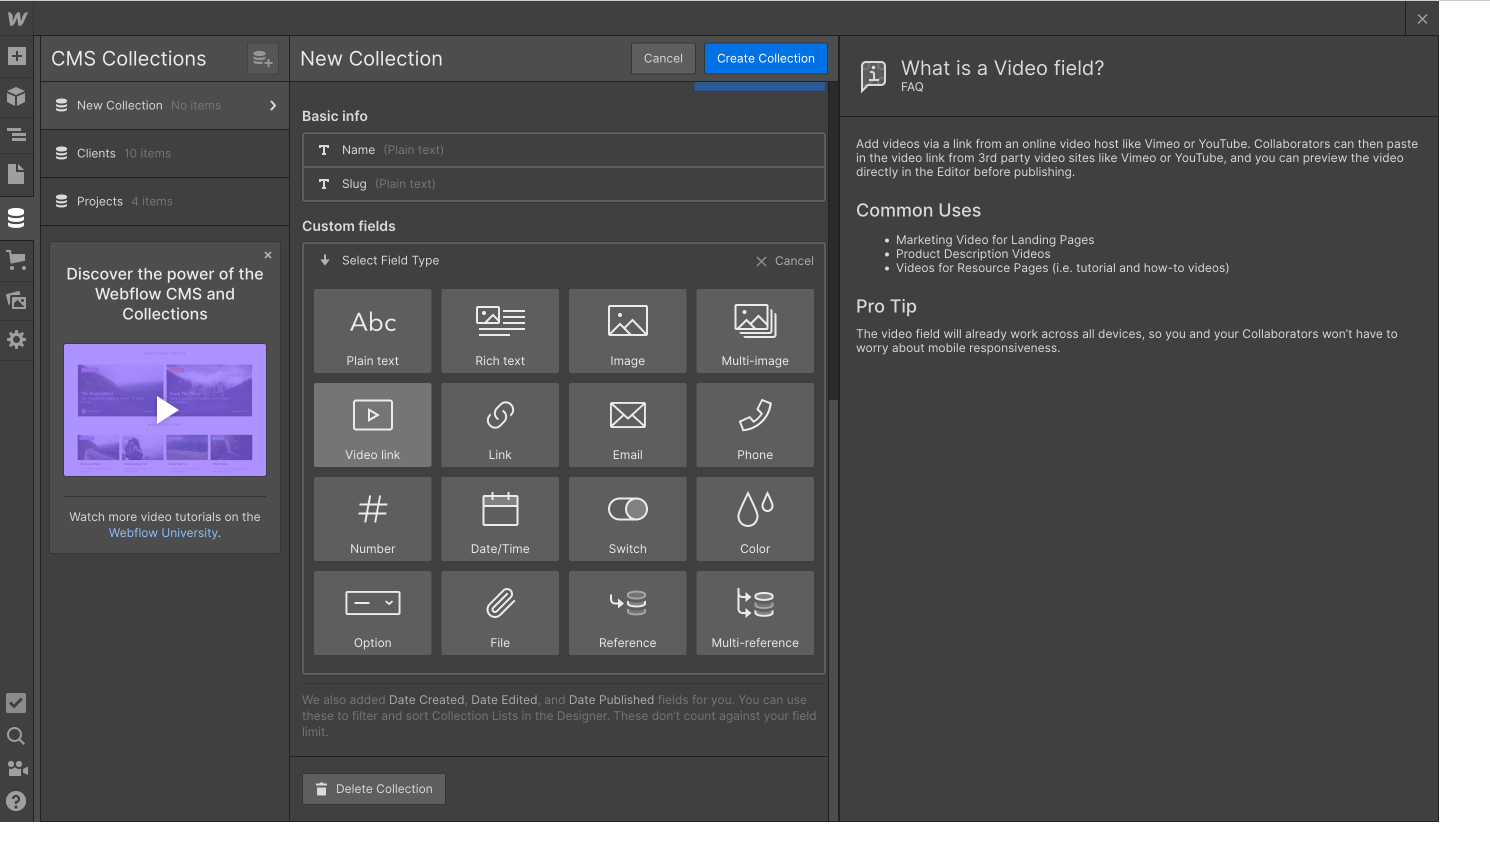
Field types range from the typical types – Image, Color, Bool, Number, Video, to types that allow you to work across collections such as:
- ItemRef: Field containing item referenced from another Collection
- ItemRefSet: Field containing multiple items referenced from another Collection
- ExtFileRef: An object containing name (string) and URL (string) properties
For a complete reference please see the official documentation.
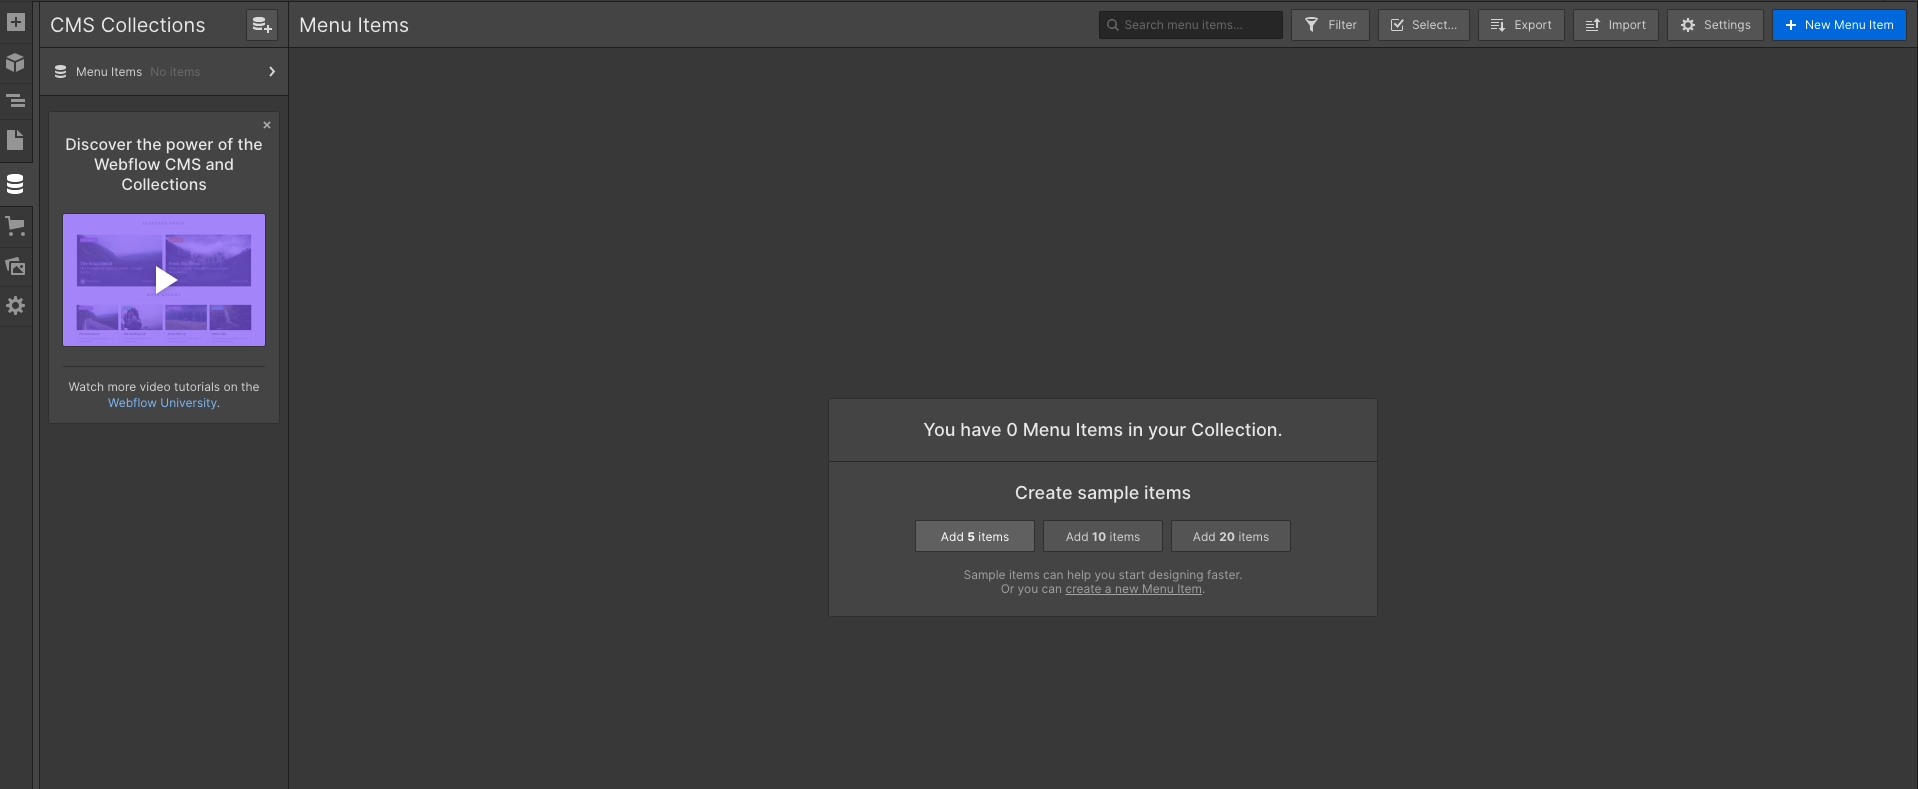
Webflow CMS Collection Items
Items are the next most important aspect of the Webflow API and all items belong in a collection.
How to add a new Item to a collection
Here's how to add a new one to an existing collection:
1. Retrieve the ID of the collection you want to add the item to
The simple way to do this is to copy it from the collection settings.

2. Use the Create New Collection Item Endpoint
Make a POST request to
https://api.webflow.com/collections/:collection_id/items
In the request:
- replace :collection_id with your collection's ID
Example request URL
https://api.webflow.com/collections/580e63fc8c9a982ac9b8b745/items
- set the auth token we obtained earlier, in the request's Authorization header, remembering to prepend the string with Bearer.
Example authorization header:
Authorization: Bearer d59f681797fbb3758b2a0ce8e5f31a199e2733110cb468bb2bb0d77f23417b32
- set your Accept-Version and Content-Type headers.
COPY
- Populate the values in the item object you want to add, and pass it in the body of your request. Its property names should match the names of the collections's fields.
Example JSON body:
- Send your request
Here's an example request:
How to list all items in a collection
1. Retrieve the collection's ID
2. Use the Get All Items For a Collection Endpoint
Make a GET request to
https://api.webflow.com/collections/:collection_id/items
In the request:
- replace :collection_id with your collection's ID
- add a rate limit url query parameter limit. The limit parameter specifies the maximum number of items to be retured. The max limit is 100.
Example request URL
https://api.webflow.com/collections/580e63fc8c9a982ac9b8b745/items?limit=1
- set the auth token we obtained earlier, in the request's Authorization header, remembering to prepend the string with Bearer.
Example authorization header:
Authorization: Bearer d59f681797fbb3758b2a0ce8e5f31a199e2733110cb468bb2bb0d77f23417b32
- set your Accept-Version headers.
- Send your request
Here's an example request:
If you have more than 100 items in your collection you will need to paginate, in which case you will need to use the offset URL query parameter. Assume you have 500 items. To get the 5th page of items one option is to set limit=100, and offset: 400
Here's an example request:
How to delete an Item from a collection
1. Retrieve the ID of the item you need to delete
If you do not know the item ID but know for instance the item name, you can do this:
- list all the items in the collection using the Get All Items For a Collection endpoint
- filter out the item object with the correct name property
- get the object's ID from it's _id field
2. Use the Remove Collection Item Endpoint
Make a DELTE request to
https://api.webflow.com/collections/:collection_id/items/:item_id
In the request:
- replace :collection_id with your collection's ID
- replace :item_id with the correct item's ID
Example request URL
https://api.webflow.com/collections/580e63fc8c9a982ac9b8b745/items/581d2d8256e14ea22daf82df'
- set the auth token we obtained earlier, in the request's Authorization header, remembering to prepend the string with Bearer.
Example authorization header:
Authorization: Bearer
d59f681797fbb3758b2a0ce8e5f31a199e2733110cb468bb2bb0d77f23417b32
- set your Accept-Version headers.
- Send your request
Here's an example request:
How to use the Webflow Ecommerce APIs
So far we have explained how to use the Webflow APIs to create, list and delete items from a generic Webflow collection.
These are not the only actions we can perform on a generic Webflow collection – we can also patch and update individual items.
Further more, generic collections are not the only collections we can perform actions on – we can also add, list, update and delete items from Ecommerce collections.
When working with Ecommerce collections the same process applies:
- Identify the action to perform – GET, POST, PUT, PATCH, or DELETE
- Obtain the values for the endpoint's parameters
- Set your headers
- Make your request
However, when working with Ecommerce collections there are some important things to note as a minimum:
- Ecommerce collections use different endpoints, so if your collection ID isn't working and you're confused, crosscheck that you're using the correct endpoint.
- Items in Ecommerce collections are called products. When adding a new product item it needs to have at a minimum an SKU item.
Reference the official documentation to learn more about how to add values to SKU items, and why the product type of a Product defaults to Advanced when you add a new Ecommerce product.
The Usefulness of Webflow's Webhooks API
So far along the way in building our imaginary Memberstack + Webflow app, we've learned how to set up an Ecommerce store on Webflow and about some of the APIs we can use to manage our Products catalog programatically.
To achieve our goal of sending emails to our Memberstack members each time a new product is added, we could constantly list out the products in our collection to check if anything has changed,
then send an email to a list of our Memberstack members, whose emails we can get very similarly by using their Backend Members API or by exporting from their dashboard.
But polling would be a terrible idea, and would be subject to Webflow's API rate limit of 60 requests / minute.
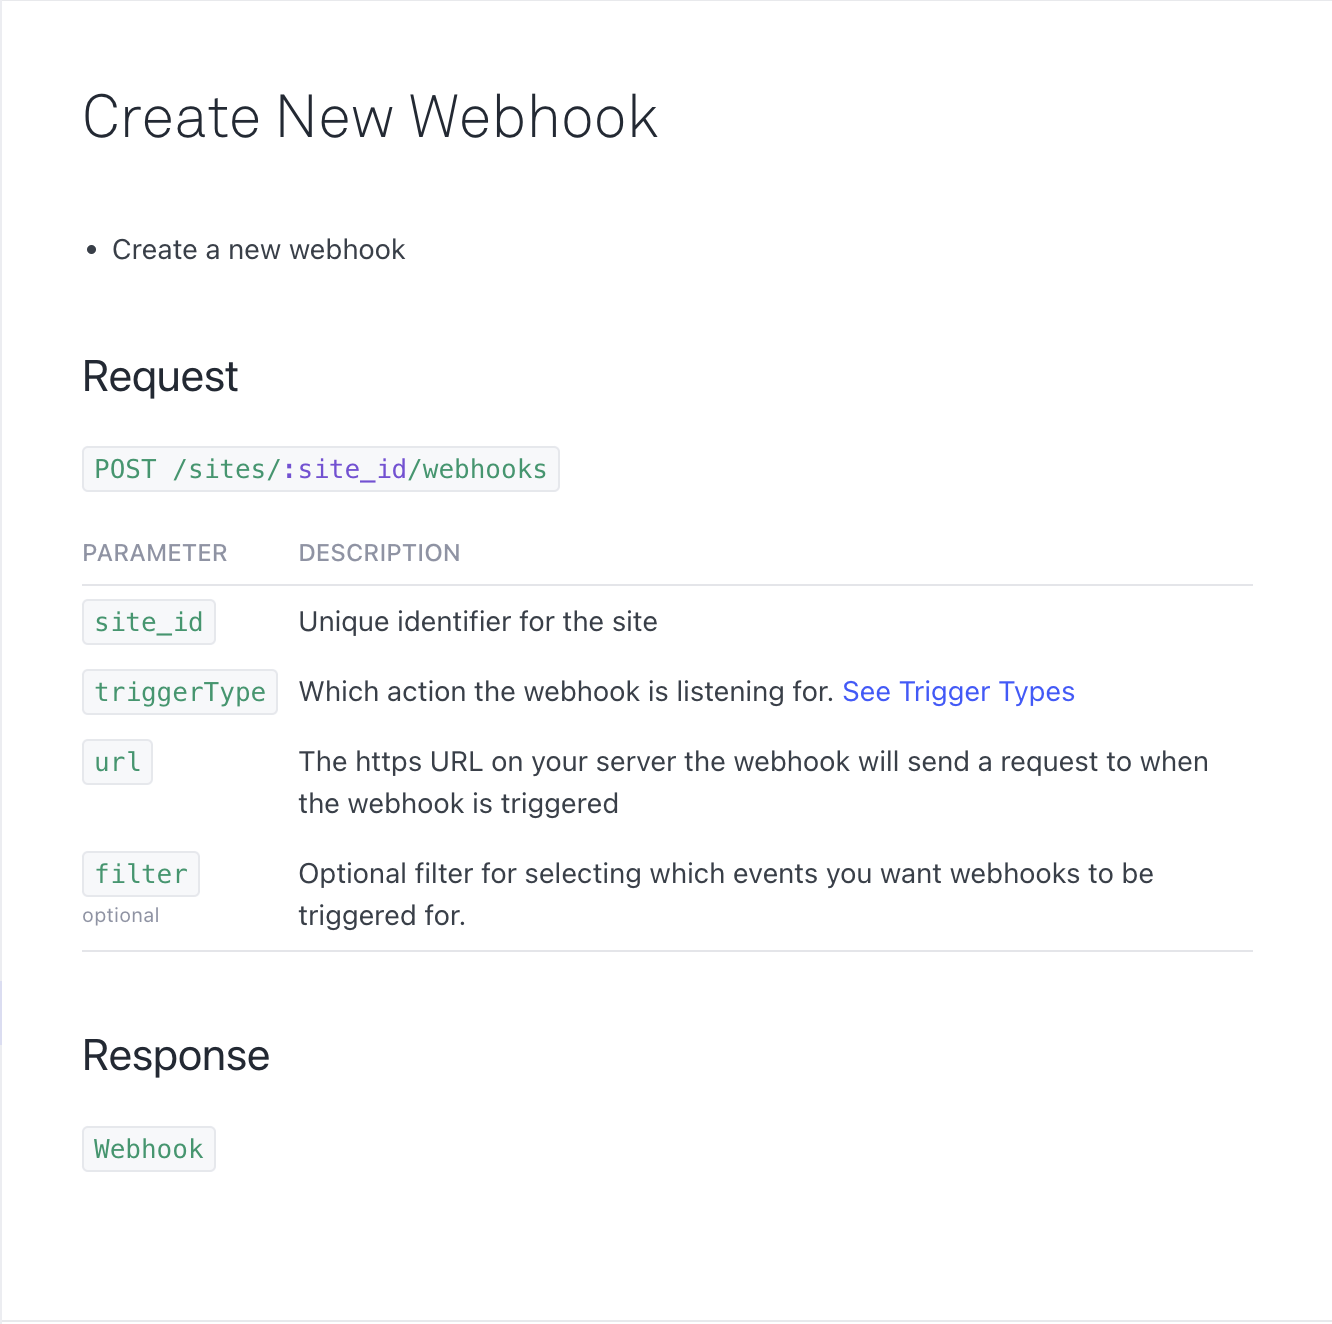
A better option is to create Webflow API Webhooks which trigger each time a new collection item is created.
Refer to the official documentation for more info on how to do this.
Webflow API Endpoints Cheatsheet
Continued...
Official Webflow API documentation
Please refer to Webflow's official documentation on the Webflow API for more information on any concept mentioned in this guide.
FAQ
- Is there a Node SDK for Webflow's API? Yes and it's available on NPM
- I don't have time to build out an app to consume these APIs, what do I do? Use third party tools like Zapier and Integromat. Zapier especialy will allow you to seamlessly integrate between Memberstack and Webflow without coding.
- How do I create a new Live collection item? When adding new CMS items with the API, the default behavior is only to add the item as “staged” but not to include it in the published site. To override this default behaviour add the query parameter ?live=true
- How do I update a live collection item? Very similarly to creating a new Live collection, add the query parameter ?live=true
- The query parameter ?live=true is not working, what do I do? Re-publish your site to ensure all domains have the latest collection schema associated with them.


.png)
