

Something not working as expected?
We would really appreciate if you could let us know what the issue is! If you want us to get back to you about it, you can leave your email too.
Allow members to add and delete rows from a form input.
Need help with this MemberScript?
All Memberstack customers can ask for assistance in the 2.0 Slack. Please note that these are not official features and support cannot be guaranteed.
Creating the Make.com Scenario
1. Download the JSON blueprint below to get stated.
2. Navigate to Make.com and Create a New Scenario...

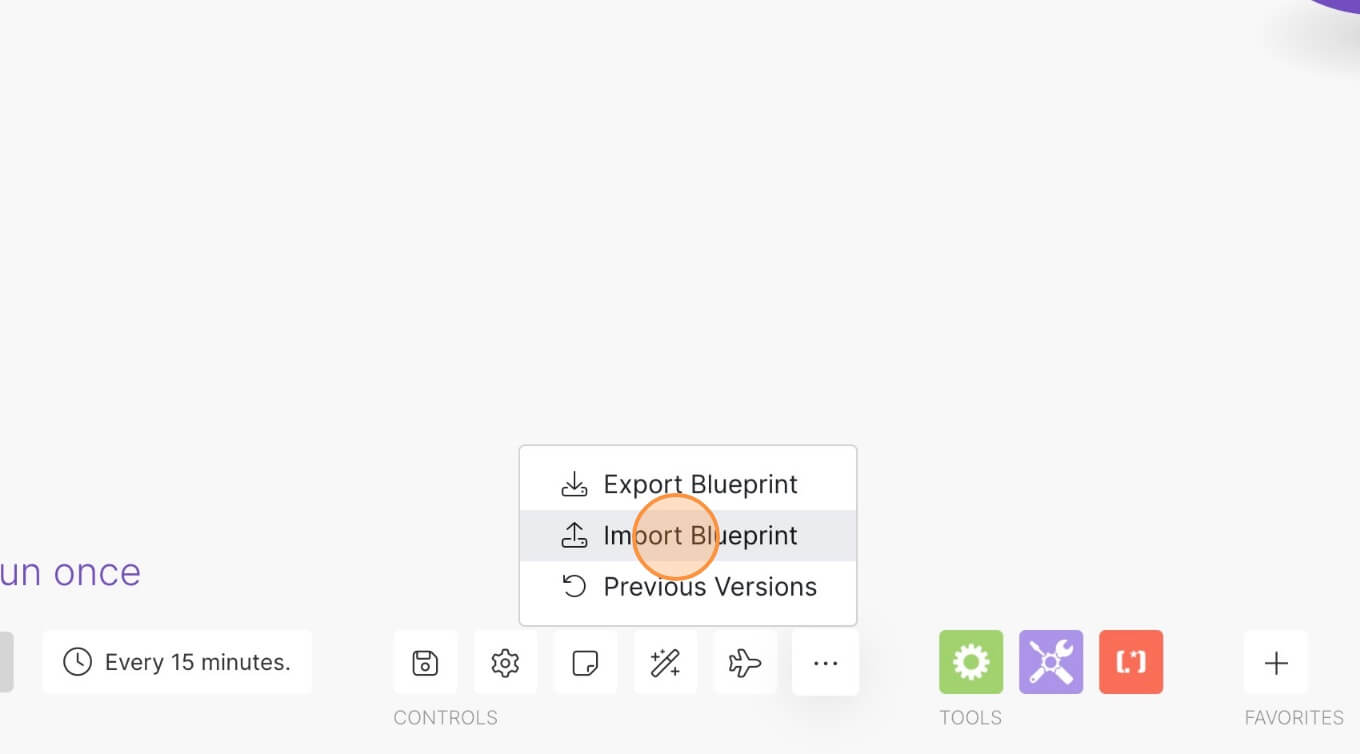
3. Click the small box with 3 dots and then Import Blueprint...
4. Upload your file and voila! You're ready to link your own accounts.
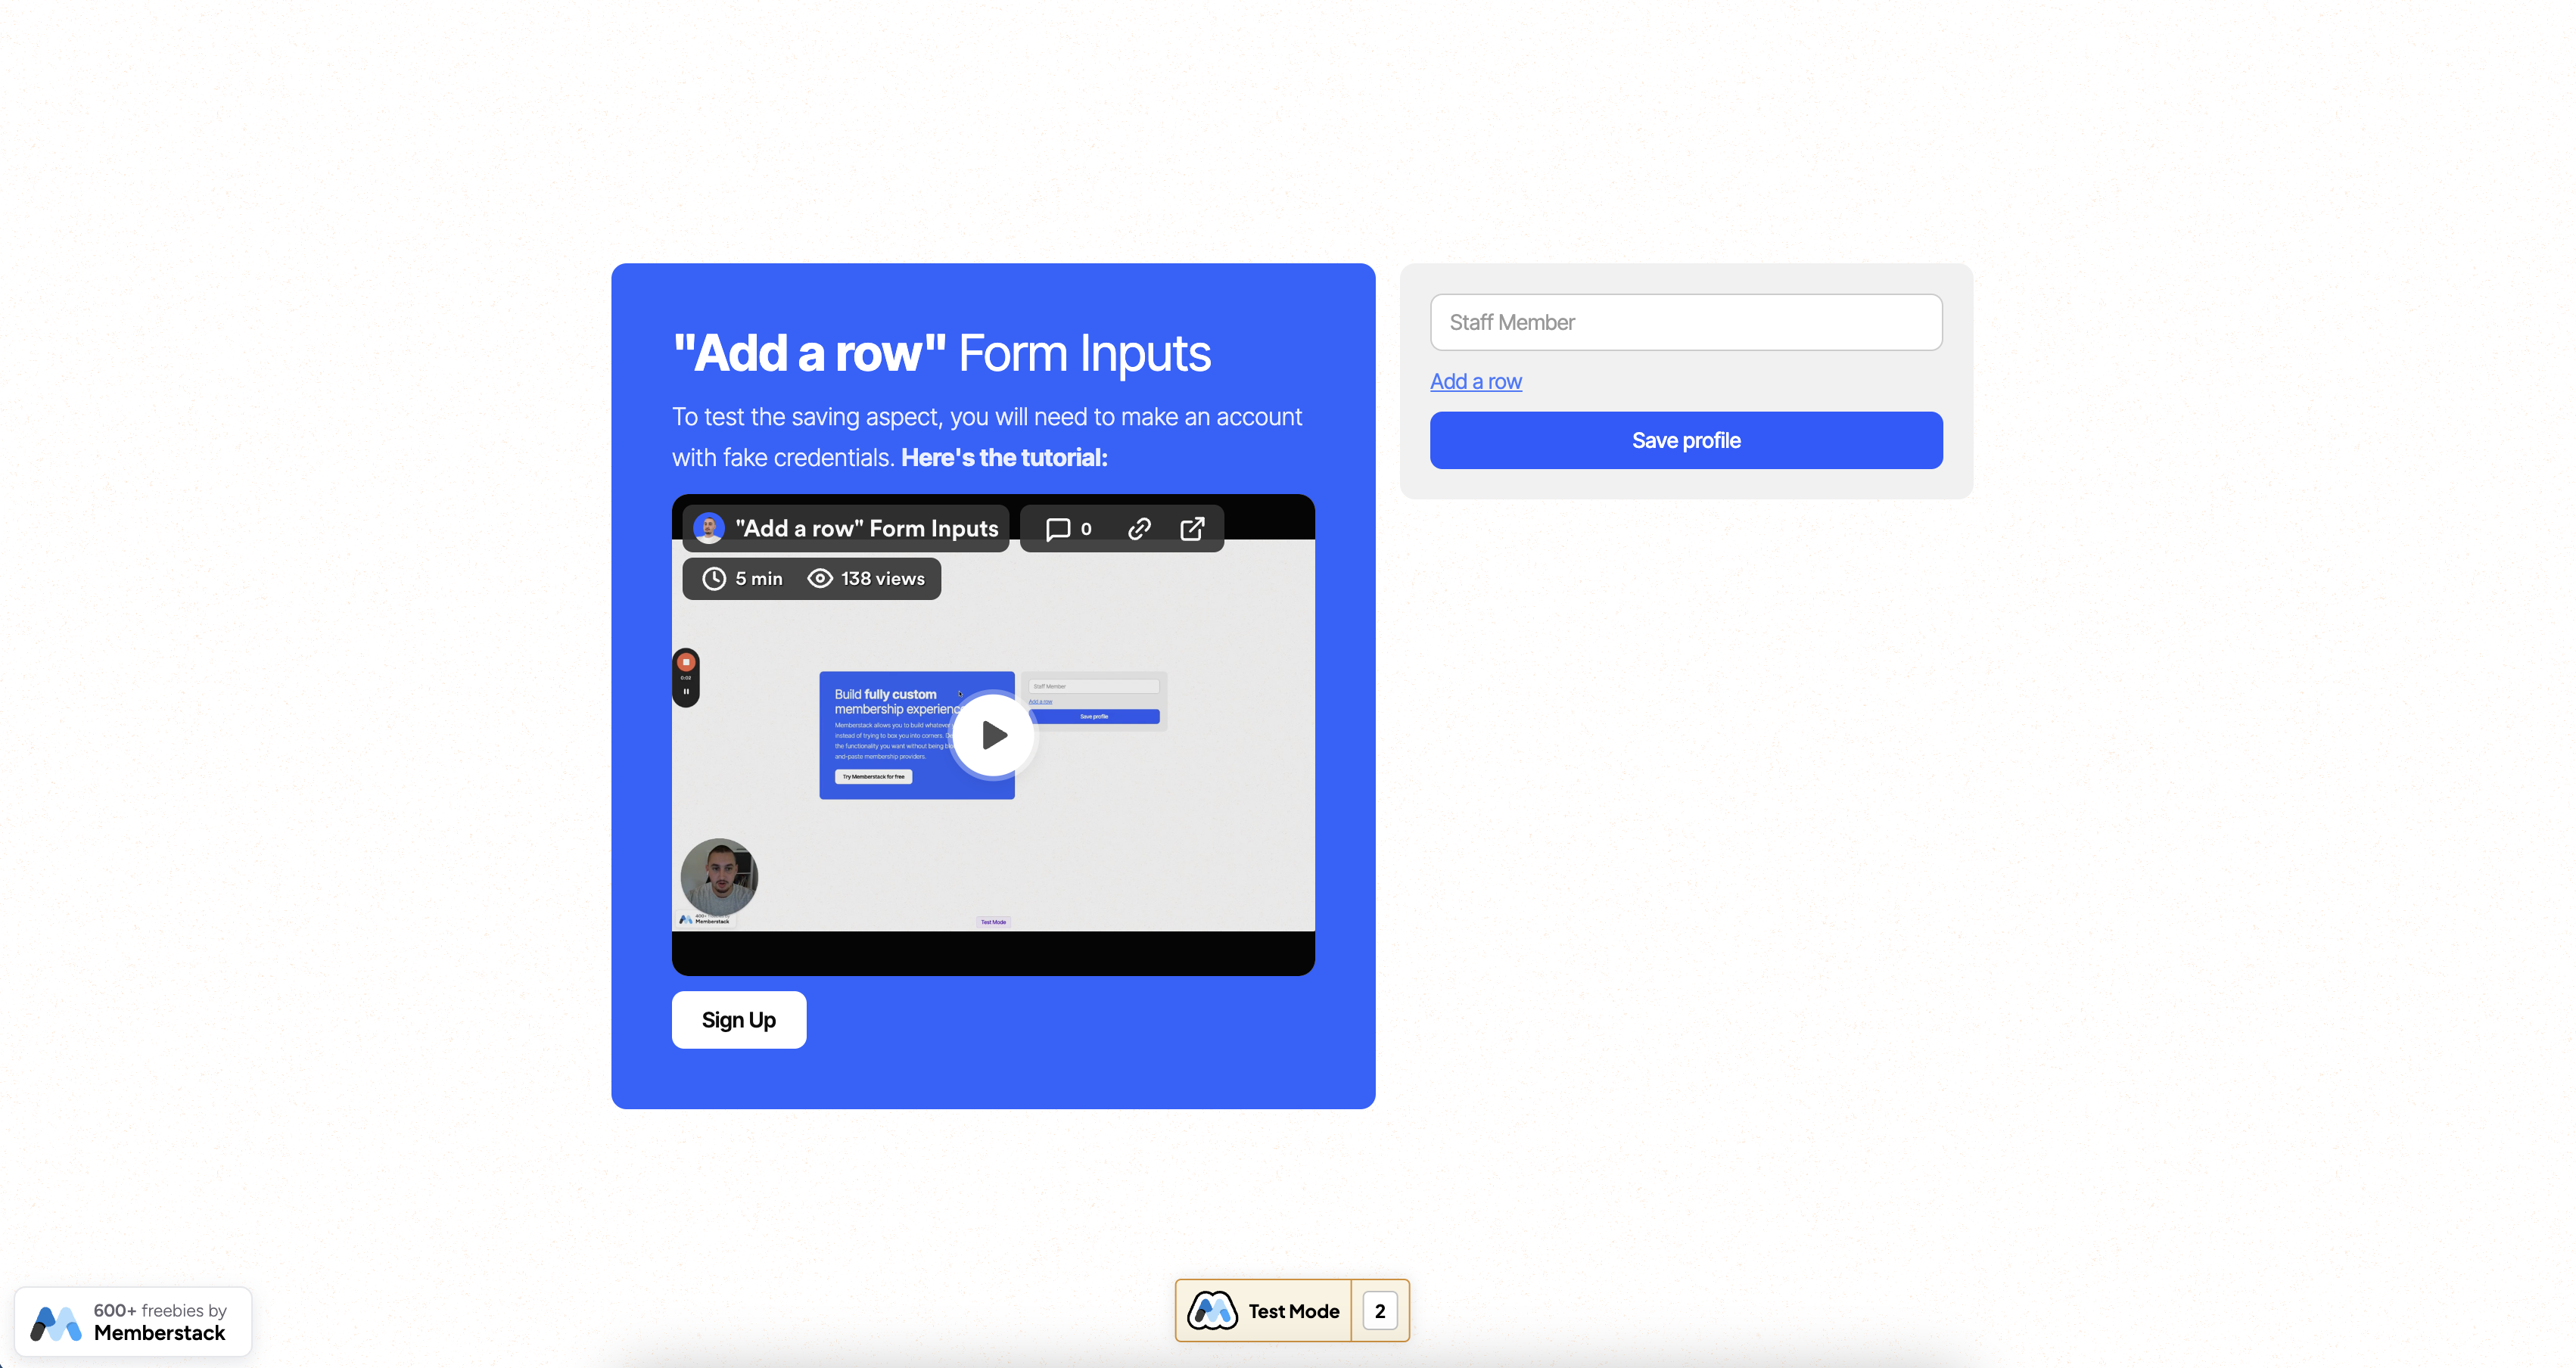
How to Build Form Inputs in Webflow with Dynamic Rows
Memberscripts needed
https://www.memberstack.com/scripts/85-add-a-row-form-inputs
Tutorial
Cloneable
Why/When would need to Build Form Inputs in Webflow with Dynamic Rows?
- Allowing users to build lists of things or people and keep track of whatever they might need to keep track of.
This guide will help you build a form that allows users to add new rows to it and save the data to Memberstack once they submit it.
Building form inputs with dynamic rows in Webflow
To build form inputs with dynamic rows on a Webflow site, we’re going to use MemberScript #85 – “Add a Row” Form Inputs. Follow the link to get the code you’ll need to add to your page and watch a video tutorial on how to set everything up.
Setting it up
The first thing you’ll need to do is create a form with a single field and style it however you want.
Place the field inside a wrapper and add the following attribute to the wrapper:
- ms-code-row-input=”original”
This marks the field as the original one which is always displayed and can’t be deleted.
Next, add a new field with a delete button that can go to the right of the field. Place both of them inside a wrapper and add the following attribute to the wrapper:
- ms-code-row-input=”new”
This will now essentially serve as the template for any new fields added to your form.
Now select the new field inside the wrapper and add the following attribute to it:
- ms-code-row-input=”new-input”
Then select the delete button and add the following attribute to it:
- ms-code-row-input=”new-input”
Next up, you’ll need to add an empty div block below the form fields and add the following attribute to it:
- ms-code-row-input=”row container”
This will essentially serve as a container for the new rows added to the form.
Now you need to add a link or a button that your visitors use to add new rows to the form. Once you’ve added it to the form, select it and add the following attribute to it:
- ms-code-row-input=”add-row”
Finally, and this is very important, add an additional input field with the following attributes:
- ms-code-row-input=”holder”
- data-ms-member=”VALUE”
The second attribute’s value needs to be the ID of the custom field under which the data should be saved in Memberstack. It could be anything, depending on the data users are inputting, like “staff-members” if they’re making a list of staff members.
Once you’ve added the attributes, set the field to hidden.
This field will automatically get populated with all the other inputs from the form, all comma separated, and that’s how the data will get saved to Memberstack.
Making it work
Now that you’ve got your form all set up, all you need to do is add the MemberScript #85 custom code to your page, before the closing body tag.
Additionally, for a better user experience, you might also want to use MemberScript #23 - Skeleton Screens / Content Loaders. This will show a nice loading animation for the second or two that it takes the form to load.
Conclusion
That’s everything, you can now go ahead and test the form on your live site.
If you want to use our demo project to get you started, just click the button below to add it to your Webflow site.
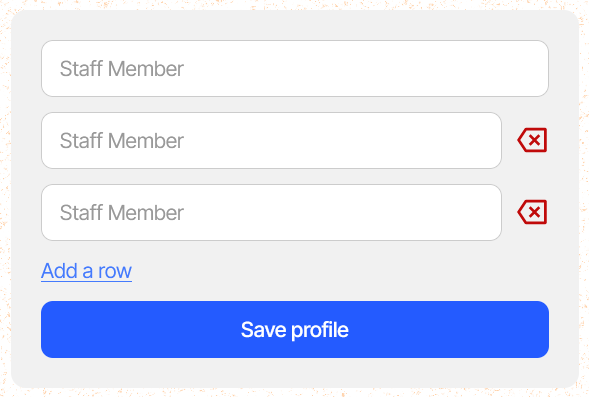
Our demo can help you easily add new rows to a form and save the data in Memberstack.


.png)
