

Something not working as expected?
We would really appreciate if you could let us know what the issue is! If you want us to get back to you about it, you can leave your email too.
Show a custom, built-in-Webflow context menu when your element is right-clicked.
Need help with this MemberScript?
All Memberstack customers can ask for assistance in the 2.0 Slack. Please note that these are not official features and support cannot be guaranteed.
Creating the Make.com Scenario
1. Download the JSON blueprint below to get stated.
2. Navigate to Make.com and Create a New Scenario...

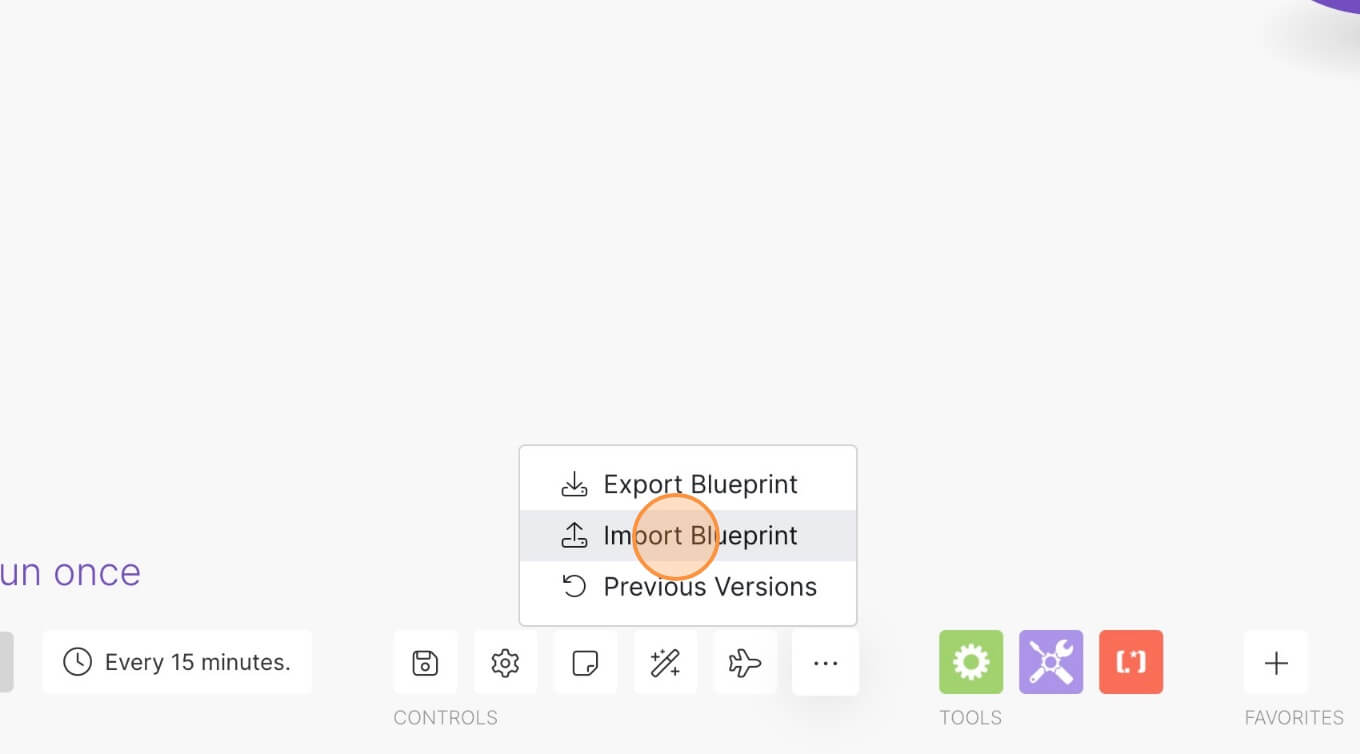
3. Click the small box with 3 dots and then Import Blueprint...
4. Upload your file and voila! You're ready to link your own accounts.
How to Build a Custom Context Menu in Webflow
Memberscripts needed
Tutorial
Cloneable
Why/When would need to Build a Custom Context Menu in Webflow?
- Offer visitors customized and potentially more relevant context menus on your website.
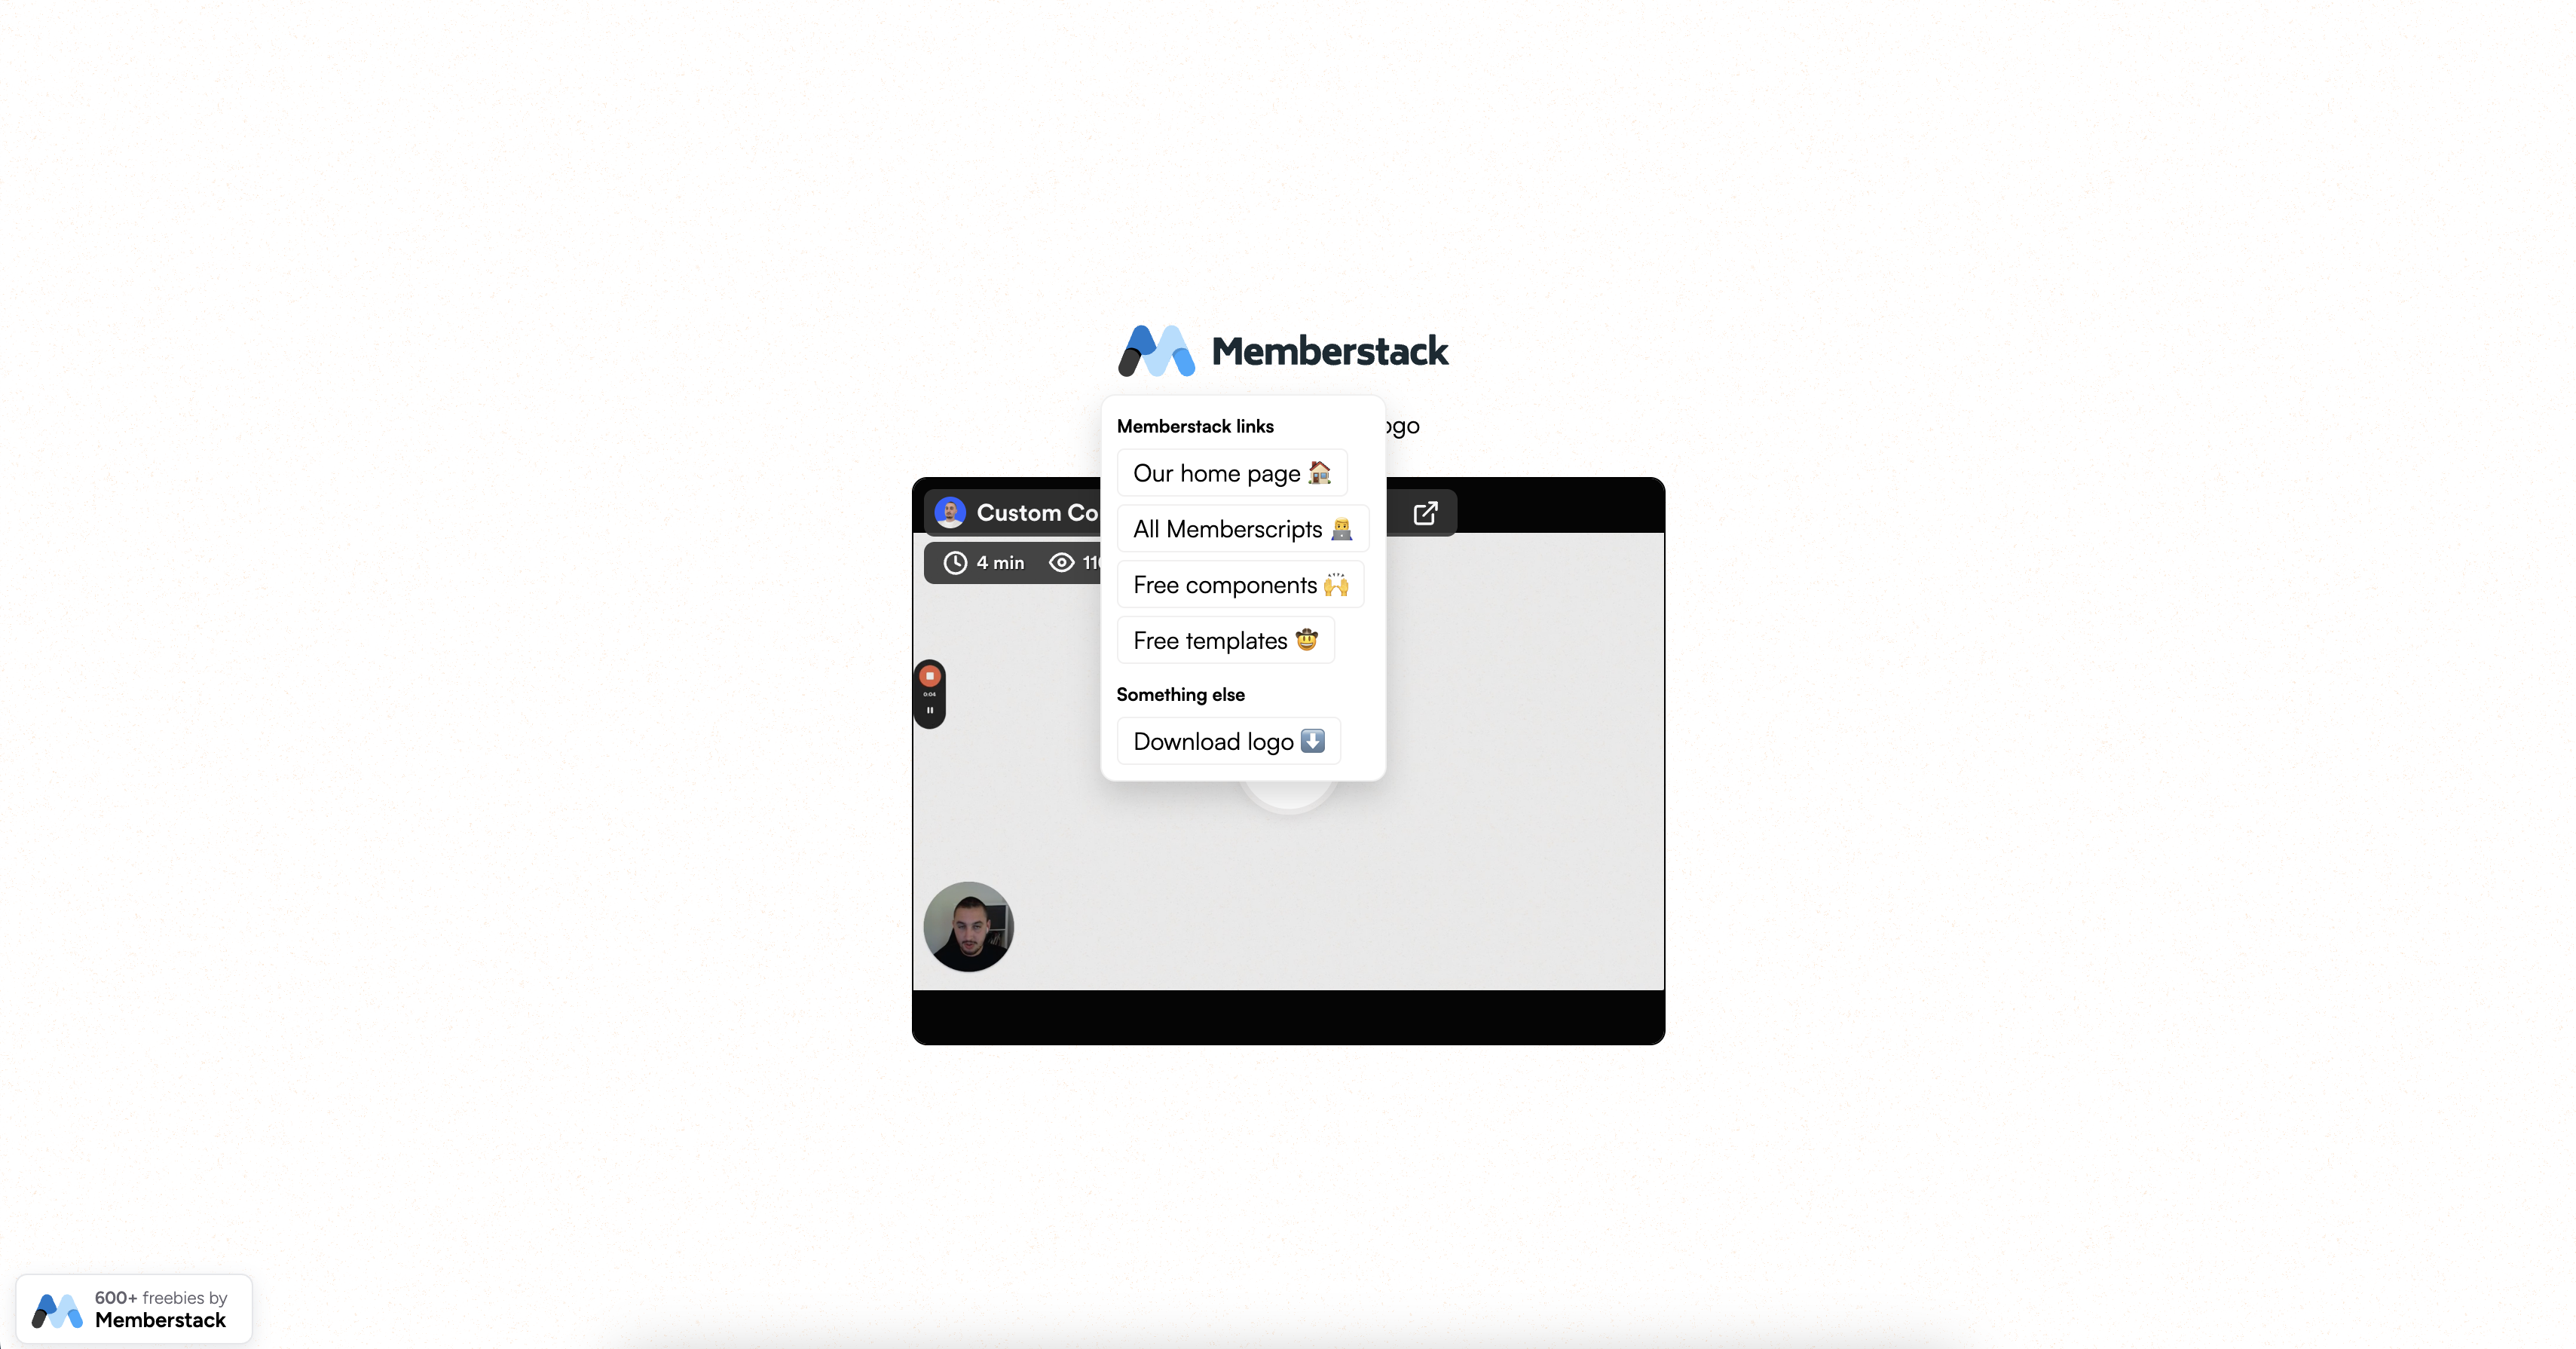
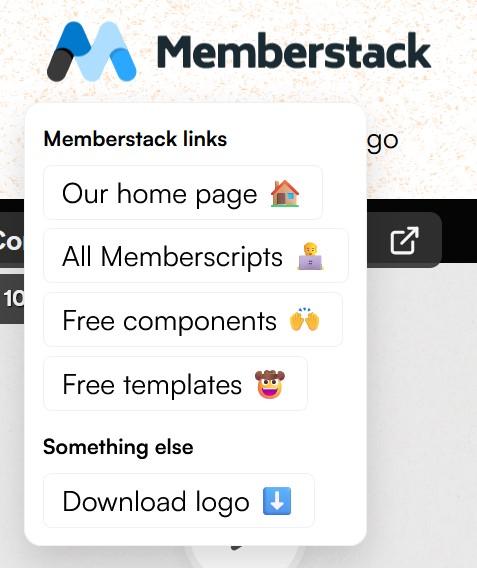
You’ve probably seen on some sites (even on Webflow) that when you right click inside them, instead of getting the default browser context menu, there’s a custom one with more specific and relevant options available.
You can do the same for your website visitors and this guide will show you just how to do that on Webflow.
Building a custom context menu in Webflow
To build a custom context menu on a Webflow site, we’re going to use MemberScript #89 – Custom Context Menus. Follow the link to get the code you’ll need to add to your page and watch a video tutorial on how to set everything up.
Setting it up
The first thing you’ll need to do is put the element that will trigger the custom context menu inside a wrapper and set the wrapper’s position to relative.
Next, you’ll need to create your custom context menu, add all the different items, links, and icons you want, then put it inside a wrapper and set the wrapper’s position to absolute.
Now add a CSS combo class to the context menu called “visible” and add a z-index value that is higher than 0.
Then remove that combo class, add another one called “hidden” and set its display to none. This will be the combo class you use when publishing your page.
Now going back to the trigger element (not its wrapper), add the following attribute to it:
- ms-code-context-item=”1”
Now add the following attribute to the context menu:
- ms-code-context-menu=”1”
You can have multiple instances of custom context menus on a page. Each trigger and menu pair needs to use the same attribute value. So, for example, if you added the context menu from above using “1” as the value for both attributes, a second custom context menu would use “2.”
Making it work
Now that you’ve got your custom context menu built and you’ve added the appropriate attributes, all you need to do is add the MemberScript #89 custom code to your page, before the closing body tag.
Otherwise, if you plan to add custom context menus sitewide, you can add the custom code to your entire site from your site’s settings in the Webflow dashboard.
Keep in mind that the code uses the CSS classes “visible” and “hidden,” so make sure there aren’t any conflicts with anything else on your site.
Conclusion
That’s everything, you can now go ahead and test your custom context menu on your live site.
If you want to use our demo project to get you started, just click the button below to add it to your Webflow site.
Our demo can help you add a custom context menu when visitors right click on your website.


.png)
