

Something not working as expected?
We would really appreciate if you could let us know what the issue is! If you want us to get back to you about it, you can leave your email too.
Allow uploads to an S3 bucket from a Webflow form.
Need help with this MemberScript?
All Memberstack customers can ask for assistance in the 2.0 Slack. Please note that these are not official features and support cannot be guaranteed.
Creating the Make.com Scenario
1. Download the JSON blueprint below to get stated.
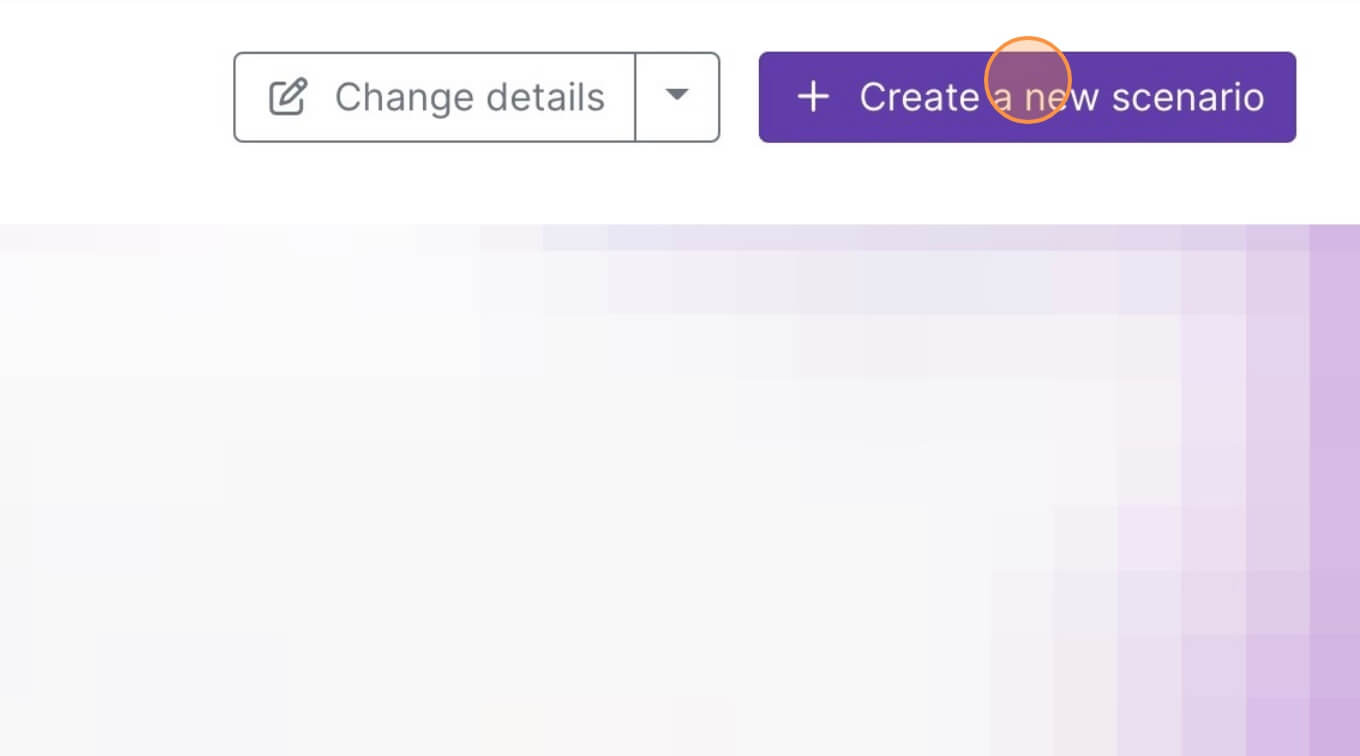
2. Navigate to Make.com and Create a New Scenario...
3. Click the small box with 3 dots and then Import Blueprint...
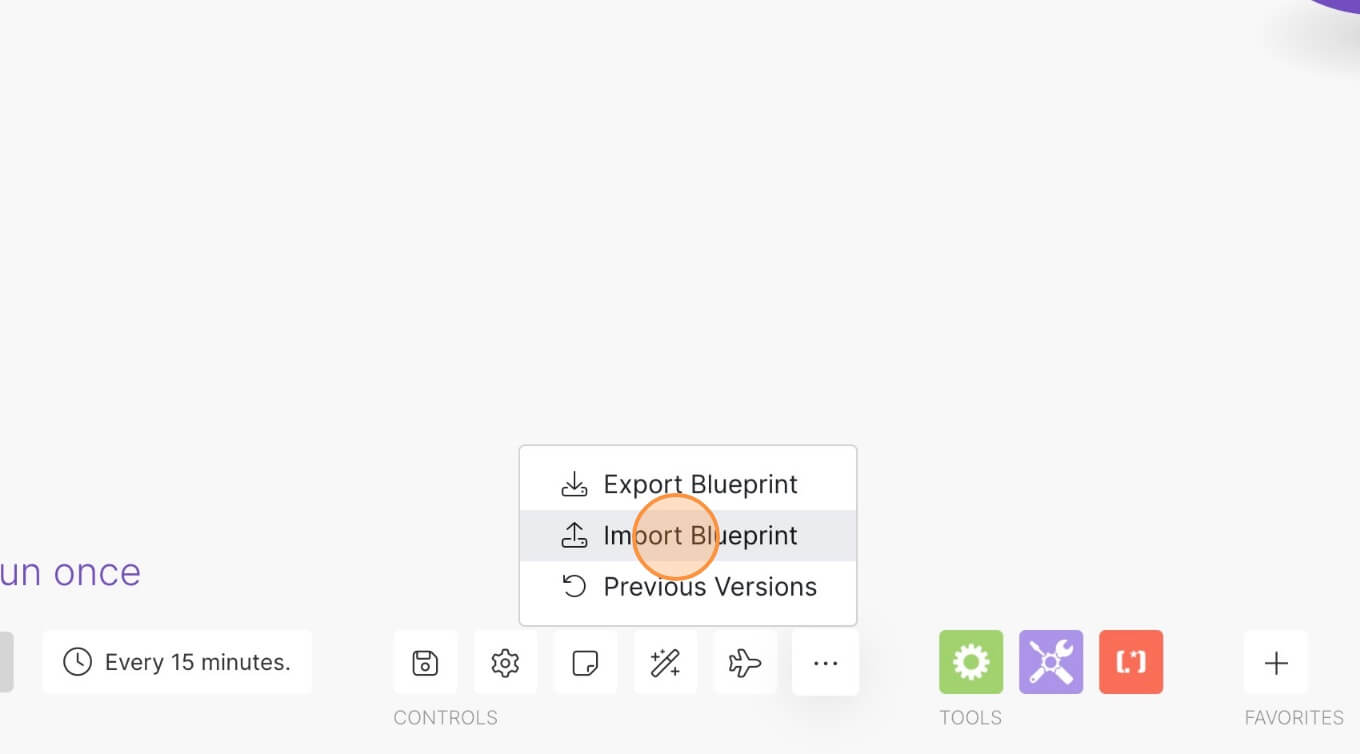
4. Upload your file and voila! You're ready to link your own accounts.
How to Add an S3 File Uploader to your Webflow Site
Memberscripts needed
https://www.memberstack.com/scripts/97-upload-files-to-s3-bucket
Tutorial
Cloneable
https://webflow.com/made-in-webflow/website/amazon-s3-file-uploads?utm_medium=affiliate&ps_partner_key=ZHVuY2FuaGFtcmE1MTg5&ps_xid=4MWWISHPKXf7CL&gsxid=4MWWISHPKXf7CL&gspk=ZHVuY2FuaGFtcmE1MTg5
Why/When would need to Add an S3 File Uploader to your Webflow Site?
- Implementing a scalable and reliable solution for file storage that sends files from form submissions to an S3 bucket for later use
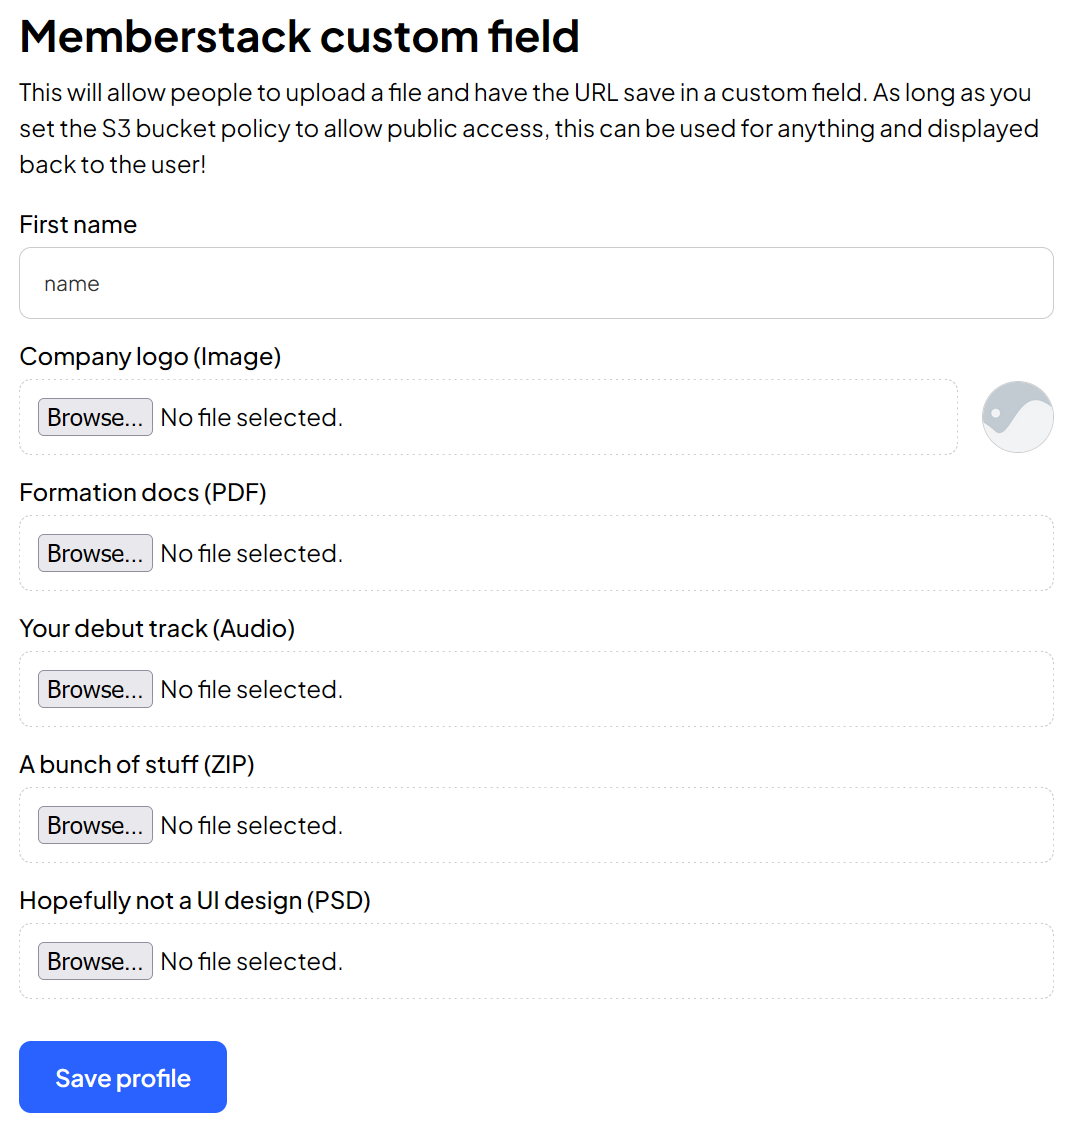
This guide will help you add a file uploader to a Webflow form which sends files to an S3 bucket on AWS.
Once the form with the file is submitted, you’ll receive an email with a link to the file and if you go into your S3 bucket, you should also see the file there.
Using S3 buckets like this can be beneficial since it’s scalable storage, unlike other solutions, and you can upload any file type (there may be a file size limit, however).
Adding an S3 file uploader to a Webflow site
To add an S3 file uploader to a Webflow site, we’re going to use MemberScript #97 – Upload Files to S3 Bucket. Follow the link to get the code you’ll need to add to your page and watch a video tutorial on how to set everything up.
CUSTOM CODE FOR 10MB FILE SIZE LIMIT IS MISSING FROM MS97 PAGE. Not sure if this was intentional. It’s in the demo, though.
Setting everything up in AWS
Step 1
The first thing you’ll need to do is create an AWS account if you don’t already have one and create a new bucket.
When creating a new bucket, keep in mind the region code (e.g. Stockholm is “eu-north-1”), untick “Block all public access,” tick the acknowledgement box, enable Bucket Versioning, then click on Create bucket.
Now go to the Permissions tab and under Bucket policy paste the following code:
{
"Version": "2012-10-17",
"Statement": [
{
"Sid": "PublicReadGetObject",
"Effect": "Allow",
"Principal": "*",
"Action": "s3:GetObject",
"Resource": "YOUR-ARN/*"
}
]
}
Then copy the Bucket ARN from above the Policy field, paste it in the code instead of “YOUR-ARN,” and click on Save changes. This code is from the Resources page in your project that we’ll work on later.
Step 2
Next, go to Identity and Access Management (IAM) in your AWS dashboard and select Policies in the side menu.
Select Create policy, under Service select S3, under Access level go to Write and tick PutObject, then click on Next.
Enter a name for your policy and click Create policy.
Step 3
Now go to Roles in the side menu and click on Create role.
Under Use case select API Gateway, then click on Next and again on Next. Enter a role name and click on Create role.
Now click on the role you just created, click on Add permissions, Attach policies, tick the box next to the policy you created earlier, and click on Add permissions.
Step 4
Next, in the AWS dashboard under API Gateway, click on Create API, then on Build under REST API. Type in a name for your API and click on Create API.
Now click on Create resource, type {bucket} under Resource name, tick CORS (Cross Origin Resource Sharing) and then click on Create resource.
Create another resource just like before and under Resource name type {filename}.
Click on Create method, select PUT under Method type and select AWS Service.
Under AWS Region select the same region you used when creating your bucket earlier, under AWS Service select Simple Storage Service (S3), under HTTP Method select PUT, select Use path override under Action type and under Path override – optional type /{bucket}/{filename}.
Under Execution role paste the ARN from the role you created earlier (just click on it and you should see the ARN in the upper right corner).
Now just click on Create method.
Step 5
Now in the Resources list, select OPTIONS under /{filename} and in the Integration request tab under Mapping templates (1) click on Edit and replace whatever’s there with the following code and then click on Save template:
#set($origin = $input.params("Origin"))
#set ($headers = $input.params("Access-Control-Request-Headers"))
{
"statusCode": 200,
"headers": {
"Access-Control-Allow-Origin": "$origin",
"Access-Control-Allow-Methods": "GET, PUT, POST, DELETE, HEAD, OPTIONS",
"Access-Control-Allow-Headers": "$headers",
"Access-Control-Max-Age": "86400"
},
"body": ""
}
Moving on to the Method response tab, click on Edit next to Response 200, click on Add header and in the new Header name field type X-Requested-With, then click on Save.
On the Integration response tab click on Edit next to Default – Response and under X-Requested-With paste in the same value as under Access-Control-Allow-Origin and click on Save.
Step 6
Now in the Resources list select PUT under /{filename}.
Go to the Integration request tab and click on Edit next to Integration request settings.
Under URL path parameters click twice on Add path parameter and use bucket and filename for the two new path parameters. In the Mapped from fields type method.request.path.bucket and method.request.path.filename and click on Save.
On the Method response tab, click on Edit next to Response 200, click on Add header 4 times and in the new Header name fields type:
- Access-Control-Allow-Headers
- Access-Control-Allow-Methods
- Access-Control-Allow-Origin
- X-Requested-With
Then click on Save.
On the Integration response tab click on Edit next to Default – Response and add all the same header mappings and values from the Integration response tab for OPTIONS and click on Save.
That’s about it for the AWS side of things, your API should now be completely done.
Setting everything up in Webflow
Go ahead and create and style your form however you like.
The actual upload functionality will work using a piece of custom code, so just add an embed component inside a wrapper to your form, along with the field label and add the following code inside it:
- <input ms-code-s3-uploader id="fileUpload" accept="application/pdf" type="file">
You can delete or replace accept="application/pdf" if you want, that’s just to restrict the file type to pdfs.
Select the upload field’s wrapper and add the following attribute to it:
- ms-code-s3-wrapper=”VALUE”
For the attribute’s value, go back to the Resources page in the AWS dashboard and click on Deploy API. Select *New stage*, give it a name, and click on Deploy.
Now copy the Invoke URL and paste it in Webflow as the attribute’s value.
We’re not done yet with the value, though; at the very end of the URL you just pasted, add a forward slash followed by the name of your bucket.
And we’re still not done with the attribute; add another forward slash at the end and then add this:
- ${encodeURIComponent(fileName)}
In the end, the value should look like this: https://{YOURINVOKEURL}/{YOURS3BUCKET}/${encodeURIComponent(fileName)}
Now besides the embed component and the field label, there’s also a hidden input you need to add inside this wrapper.
This can be a simple text input that you can name whatever you want, all you have to do is add the following attribute to it:
- ms-code-s3-file=”VALUE”
For the value, go to the AWS dashboard, select your bucket, and upload a file. Once you’ve uploaded it, click on it, copy the object URL without the file name at the end, and paste it as the attribute’s value.
Making it work
Now that you’ve got everything configured in AWS and your form’s set up in Webflow, all you need to do is add the MemberScript #97 custom code to your page, before the closing body tag.
Conclusion
That’s everything, you can now go ahead and test your S3 file uploader on the live site.
If you want to use our demo project to get you started, just click the button below to add it to your Webflow site.
Our demo can help you create an S3 bucket in AWS, create roles and permissions, build a file uploader API, and make it all work with Webflow.


.png)
