Block other fields/items if a checkbox is not checked.
Need help with this MemberScript?
All Memberstack customers can ask for assistance in the 2.0 Slack. Please note that these are not official features and support cannot be guaranteed.
Creating the Make.com Scenario
1. Download the JSON blueprint below to get stated.
2. Navigate to Make.com and Create a New Scenario...

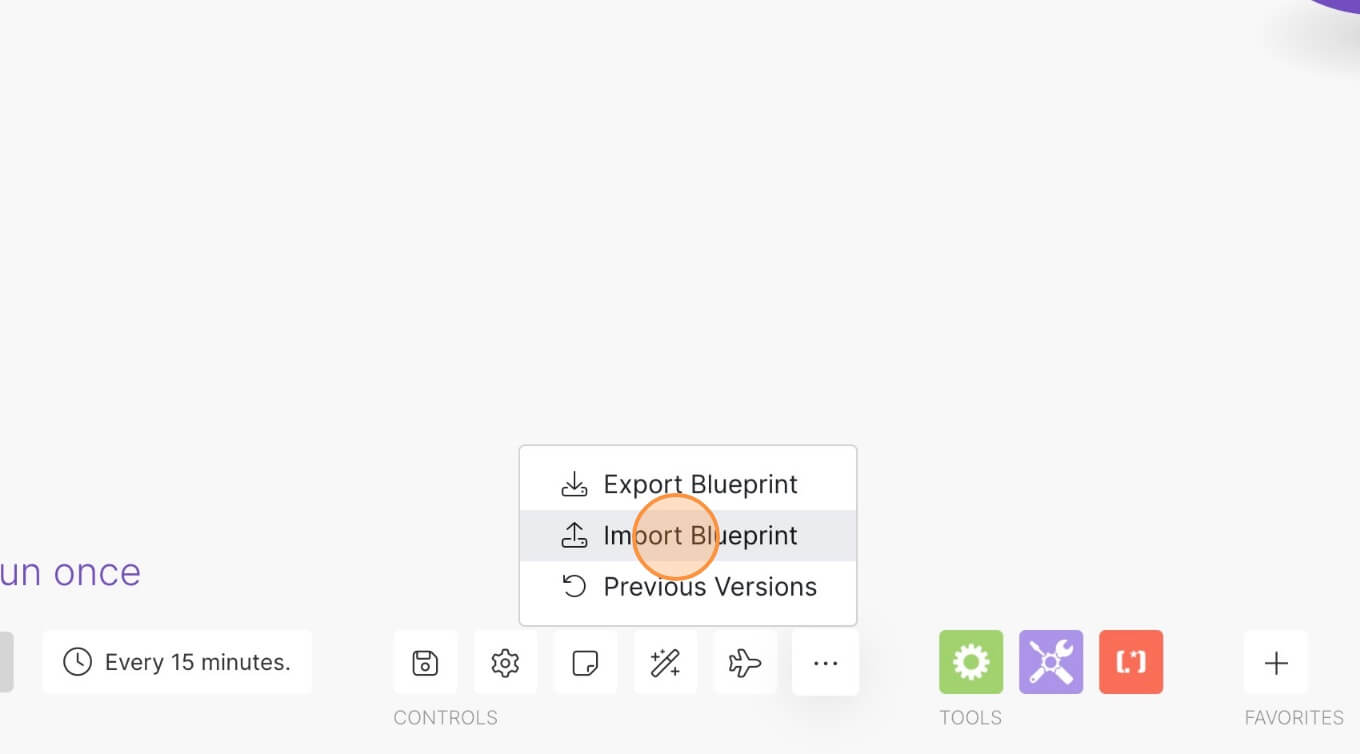
3. Click the small box with 3 dots and then Import Blueprint...

4. Upload your file and voila! You're ready to link your own accounts.
How to Show a Webflow Form Field Only when a Checkbox is Checked
Memberscripts needed:
Tutorial:
Cloneable:
https://webflow.com/made-in-webflow/website/ios-toggle-form

Why/When would you need to show a Webflow Form Field only when a checkbox is checked?
- Improve the user experience by disabling irrelevant form fields unless a checkbox is checked.
Sometimes when asking users to fill out a form, you may need to apply some conditional logic.
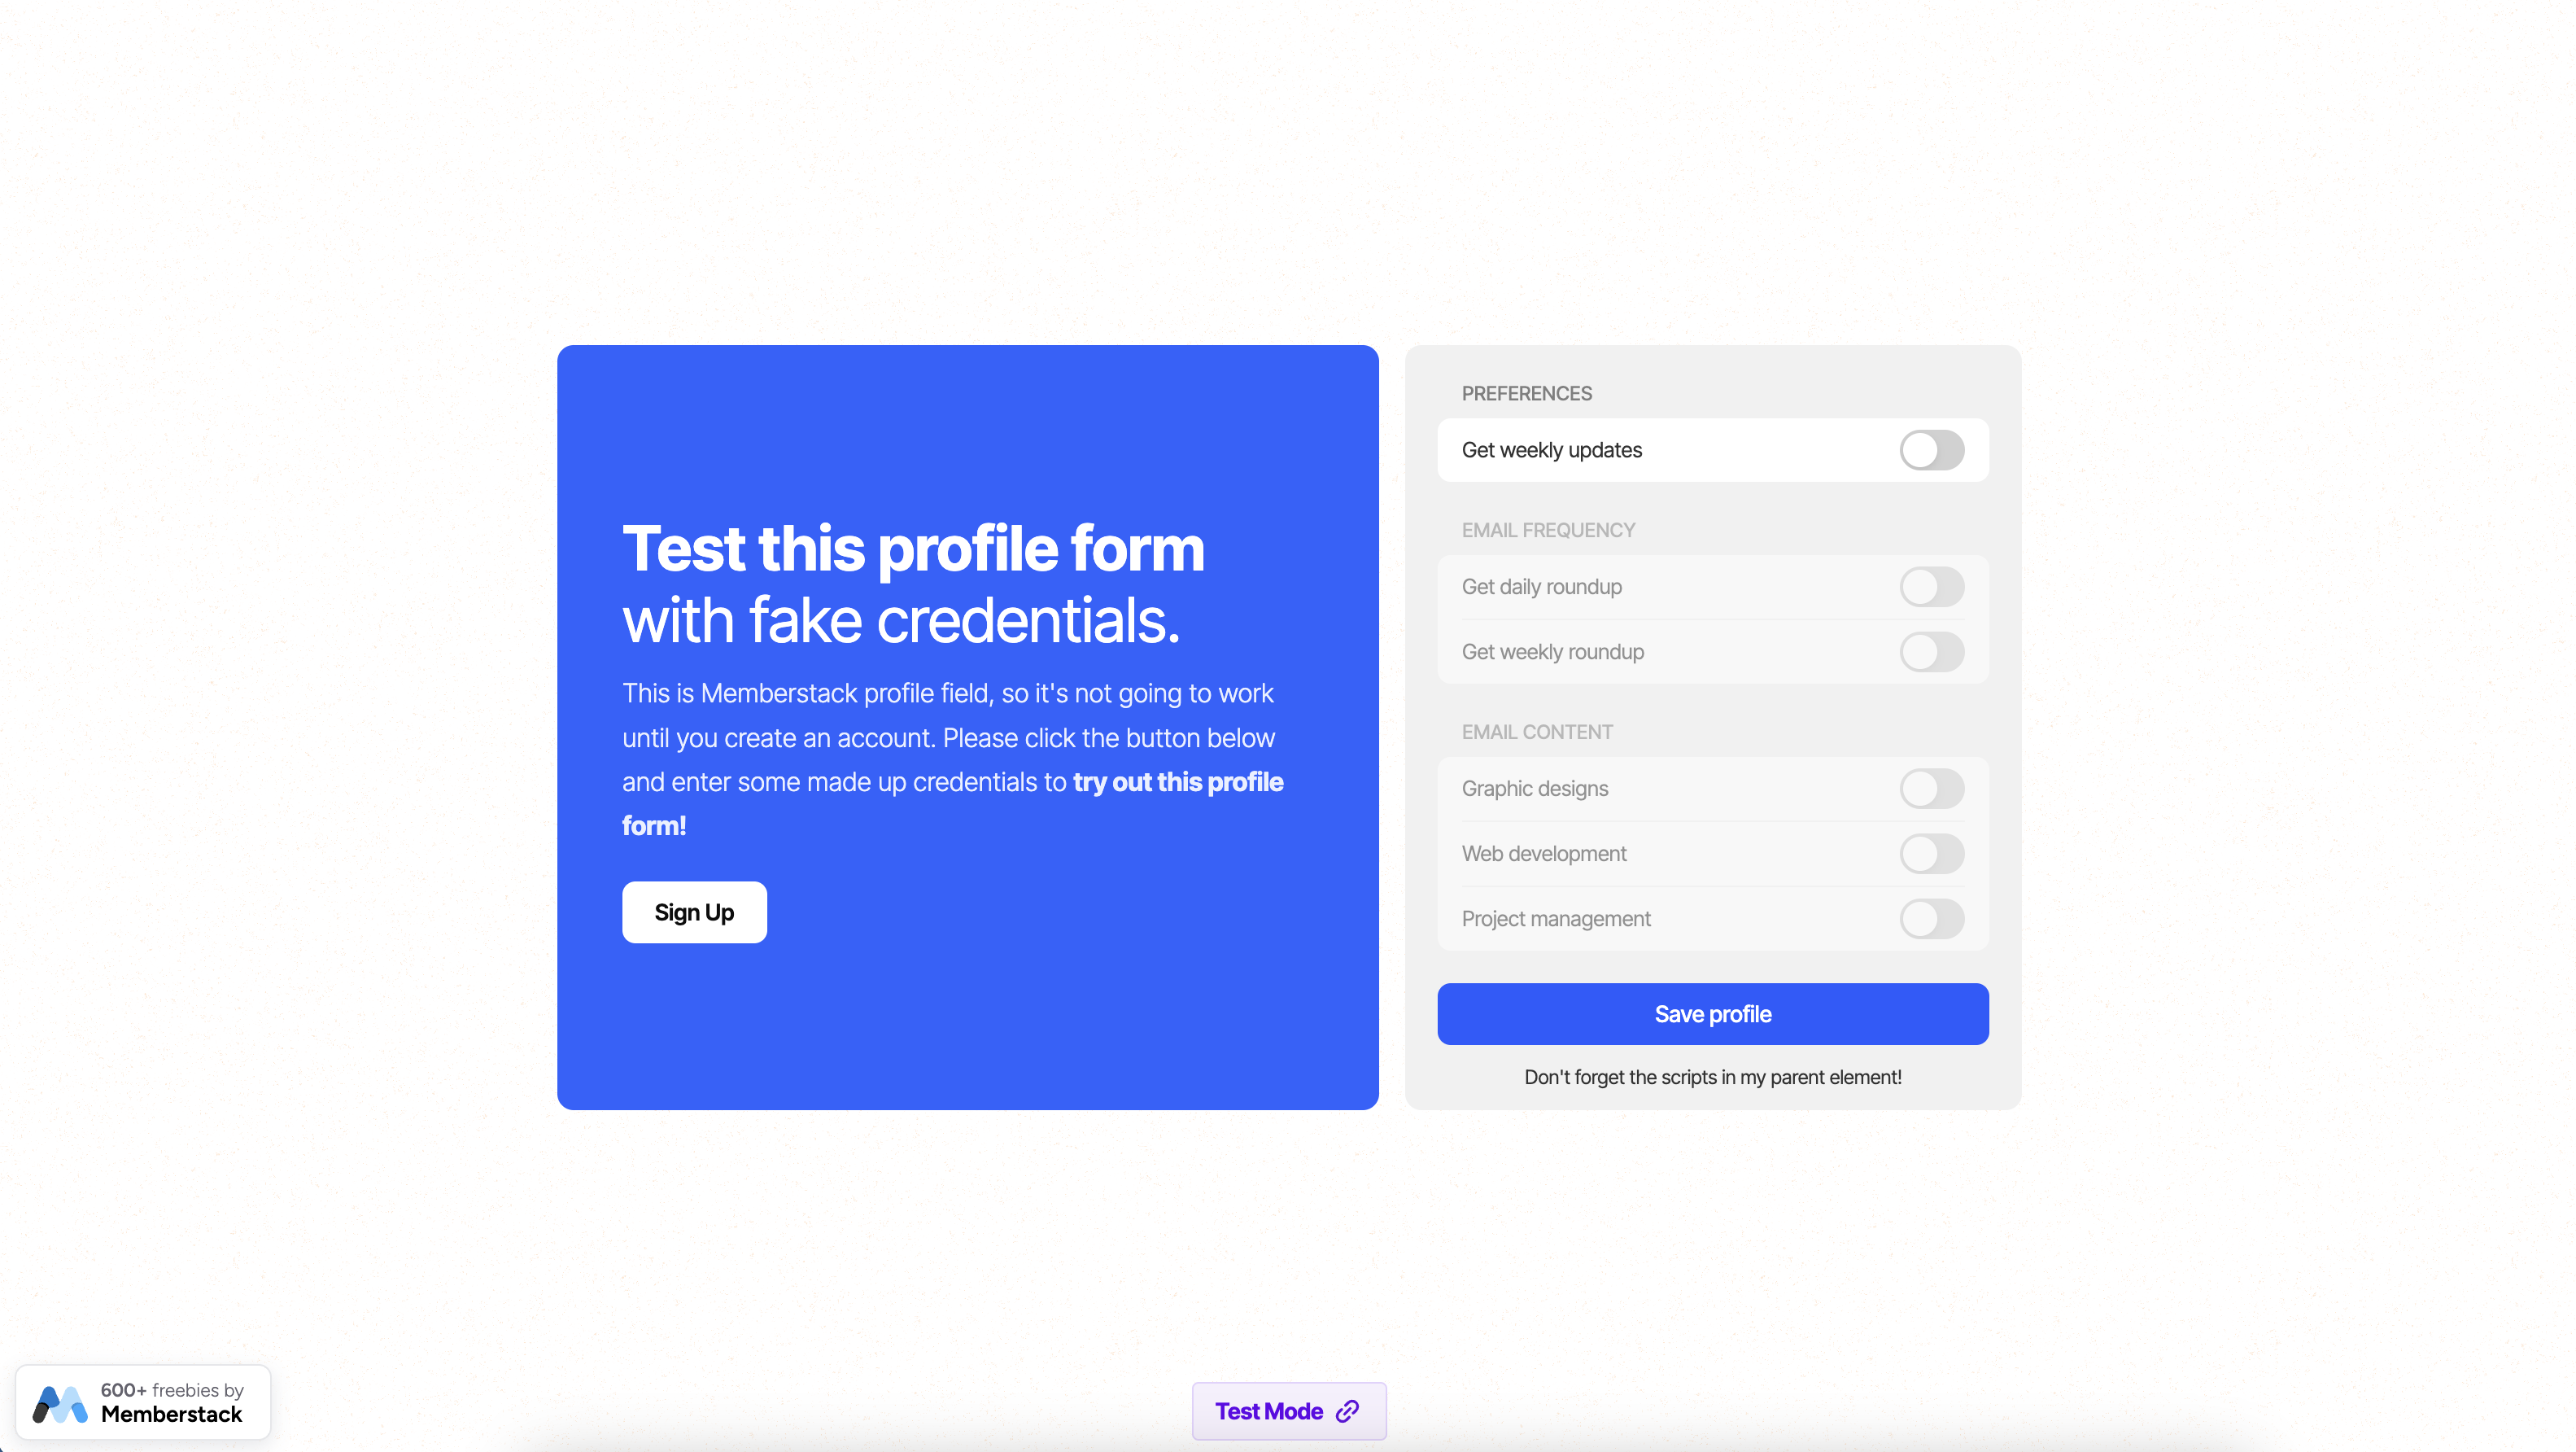
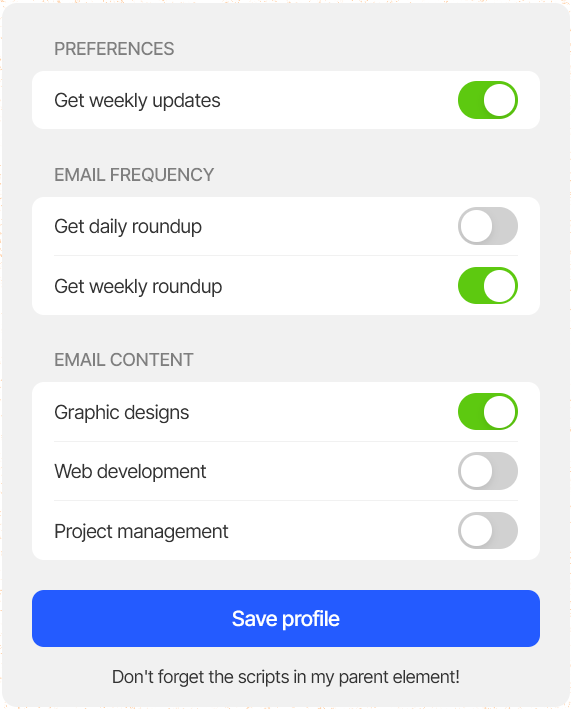
For example, if you’re using checkboxes, some fields may become irrelevant unless the checkboxes are checked, so users shouldn’t need to fill out those fields anymore. As such, you’ll want to disable those fields.
That’s exactly what we’re going to do with MemberScript #54 below.
Showing a form field only when a checkbox is checked in Webflow forms
To show form fields only when a checkbox is checked in a Webflow form, we’re going to use MemberScript #54 – Checkbox Form Field Logic. Follow the link to get the code you’ll need to add to your page and watch a video tutorial on how to set everything up.
Setting it up
The first thing you’ll need to do is build out the form itself and style it however you want.
Once you’ve added all the fields, select the checkbox and add the following attribute to it:
- ms-code-field-logic-trigger=”email-preferences”
The value can be anything you want.
Then select the fields you want that checkbox to disable and add the following attribute to it:
- ms-code-field-logic-target=”email-preferences”
Keep in mind that the value needs to match the value of the checkbox’s attribute.
For example, if you’ve got multiple checkboxes, each enabling or disabling their own set of fields, you need to match the values of the attributes of the disabled fields with their corresponding checkbox.
Making it work
Now that you’ve got the form set up and you’ve created the show/hide buttons, all you need to do is add the MemberScript #54 custom code to your page, before the closing body tag.
You’ll notice at the beginning of the custom code there’s a CSS class called “disabled.” That class defines the inactive fields, so you can go ahead and style them however you like.
Conclusion
That’s everything, you can now go ahead and test your form.
If you want to use our demo project to get you started, just click the button below to add it to your Webflow site.

Our demo can help you add a form with checkboxes that enable or disable certain fields within it.
Take me to the Script!


.png)
