

Something not working as expected?
We would really appreciate if you could let us know what the issue is! If you want us to get back to you about it, you can leave your email too.
Add a custom booking form to your website which creates a Google calendar event.
Need help with this MemberScript?
All Memberstack customers can ask for assistance in the 2.0 Slack. Please note that these are not official features and support cannot be guaranteed.
Creating the Make.com Scenario
1. Download the JSON blueprint below to get stated.
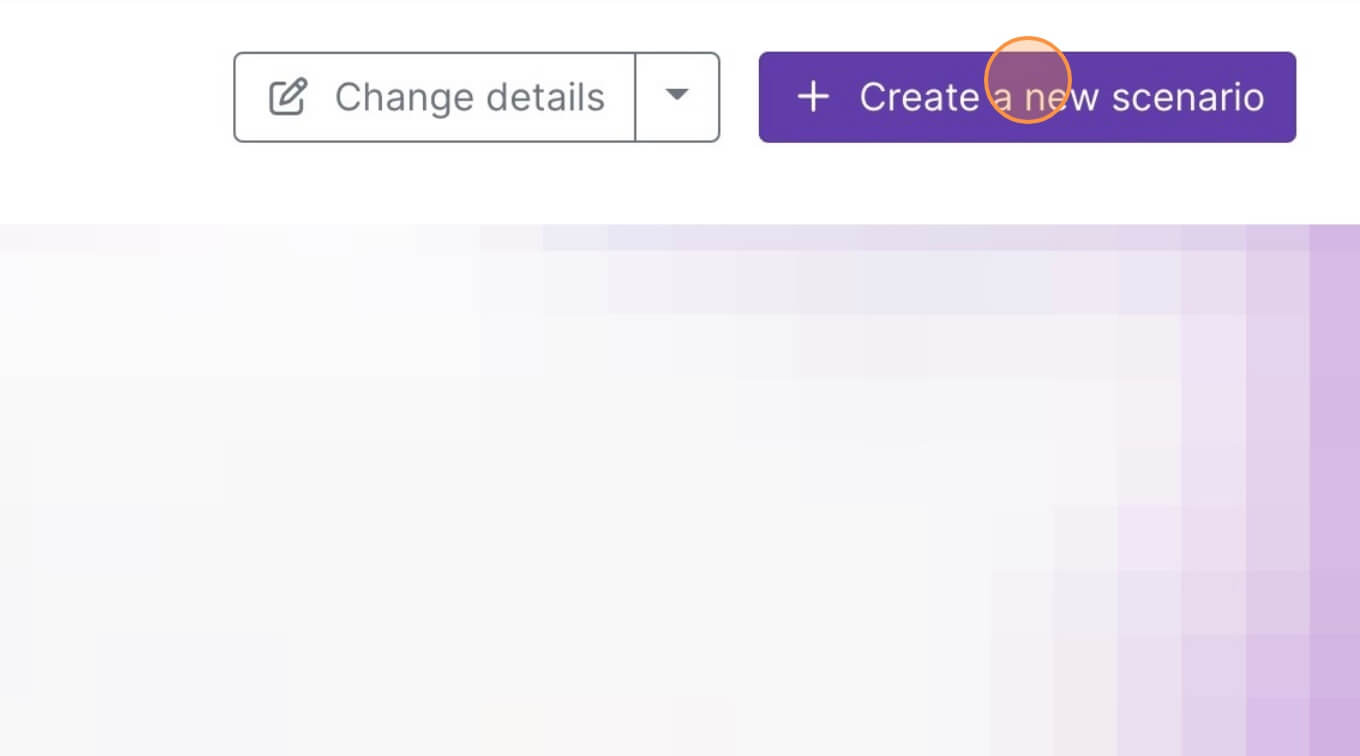
2. Navigate to Make.com and Create a New Scenario...
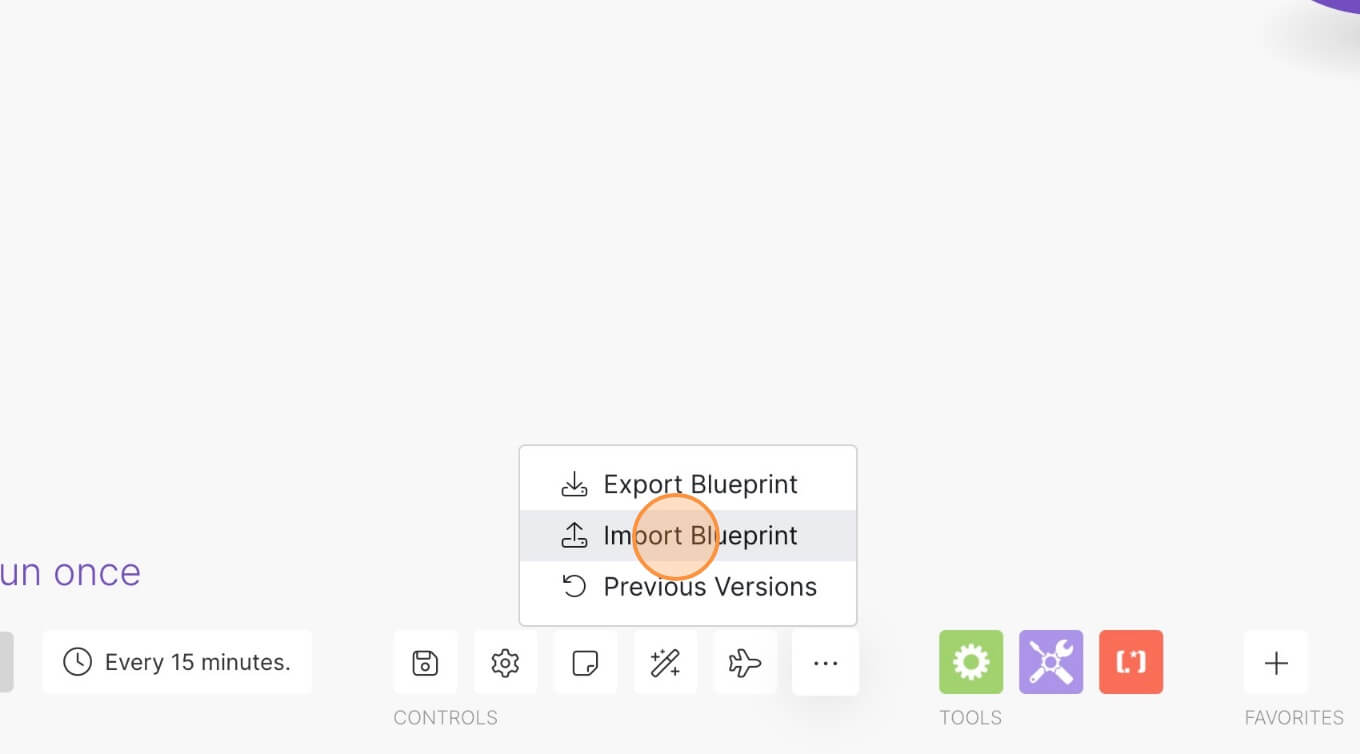
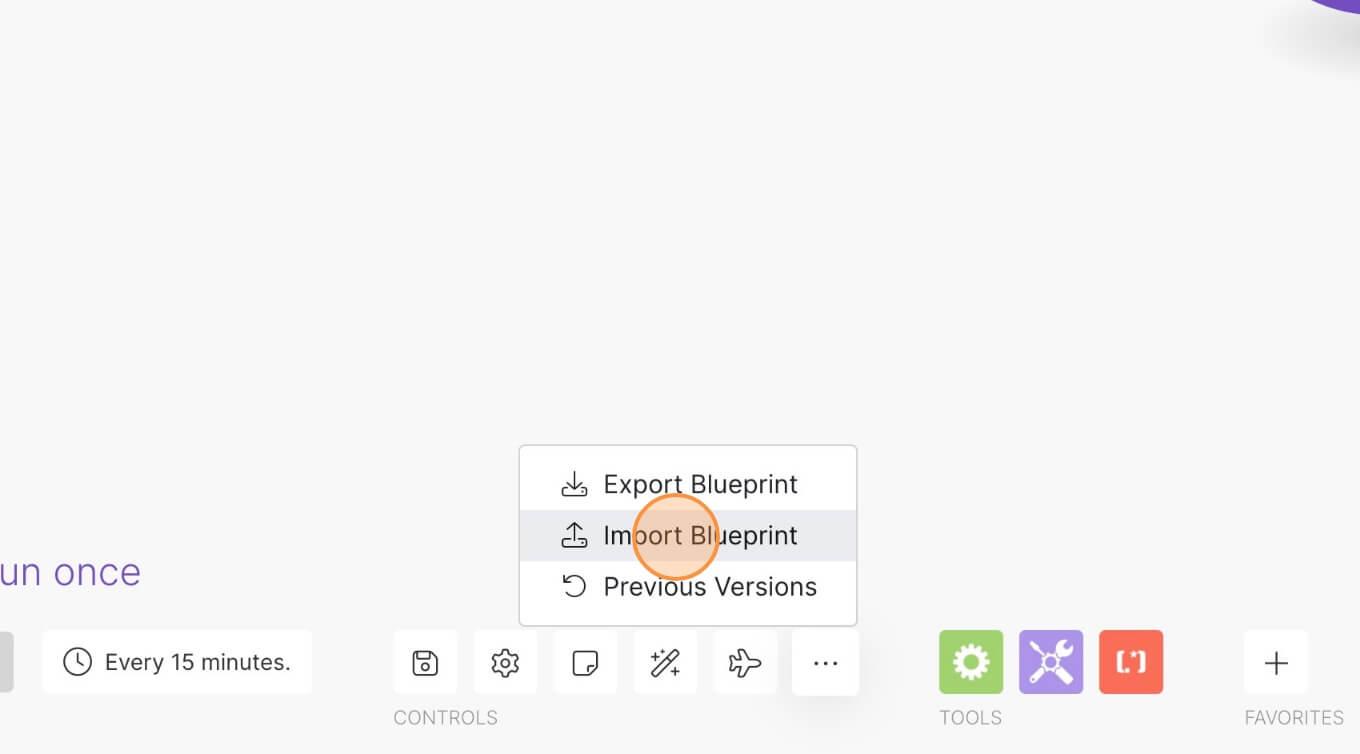
3. Click the small box with 3 dots and then Import Blueprint...
4. Upload your file and voila! You're ready to link your own accounts.
How to Create a Google Calendar Invite from a Webflow Form
Memberscripts needed
https://www.memberstack.com/scripts/custom-booking-form
Tutorial
Cloneable
Why/When would need to Create a Google Calendar Invite from a Webflow Form?
- Simplify your site by avoiding third-party embeds.
- Avoid Calendly embeds which might not fit in as well with your design or simple forms that don’t have any booking automations.
If you’re looking for a simple way to have a custom-styled booking form without using Calendly or other third-party embeds, you can use one of our MemberScripts and Make.com for a nicer looking, feature-packed custom form.
Granted, this won’t have all the bells and whistles of a Calendly form (e.g. this won’t be able to tell when you’re busy and when you’re available), but it might still be a better fit for most people who want that custom, branded look while retaining the main functionalities of a Calendly form.
Creating a Google calendar invite from a Webflow form
To create a Google calendar invite from a Webflow form, we’re going to use MemberScript #103 – Custom Booking Form. Follow the link to get the code you’ll need to add to your page and watch a video tutorial on how to set everything up.
Setting everything up in Webflow
The first thing you’ll need to do is create your booking form and style it however you want.
Select the form itself and add the following attribute to it:
- ms-code-booking-timezone=”TIMEZONE” – the value can be EST, CET, etc.
Now select the day field and add the following attribute to it:
- ms-code-booking=”day”
This will populate the day dropdown with all the business days within the next two weeks.
Then select the time field and add the following attribute to it:
- ms-code-booking=”time”
Setting everything up on Make.com
If you don’t already have a Make.com account, go ahead and create one now.
After you’ve got your account, go ahead and download this JSON blueprint file to help you get started.
Once you’ve got the blueprint files, go to Make.com and select Create a new scenario.

Next, click on the button with 3 small dots inside it and select Import Blueprint.
Select the blueprint file you downloaded earlier and you’re good to go.
Here’s what you need to do to manually create the scenario:
Create a webhook and copy its URL.
Go to Webflow, select your form, and in the sidebar under Form settings, paste the URL in the Action field and select POST as the method.
Now go back to Make and create a Google Calendar module. Link it to your Google account and style it however you want.
For start date, use the timestamp from the webhook you created earlier.
Under Duration just type how long you want these events to last (e.g. 00:30, 01:00, etc.).
Under Description just get the information from whichever form field is relevant (if applicable).
Under Attendees fill out your email address for the first attendee and for the second, just let it get the email address from the form.
The rest of the settings can be tweaked however you want depending on your needs.
Making it work
Now that you’ve got your custom button and you’ve added the appropriate attributes, all you need to do is add the MemberScript #103 custom code to your page, before the closing body tag.
If you want to change the number of days the day dropdown shows, just edit the number in the custom code:

If you want to change the working hours for the time field, these are the lines you need to edit:

Conclusion
That’s everything, you can now go ahead and test the booking form on your live site.
If you want to use our demo project to get you started, just click the button below to add it to your Webflow site.
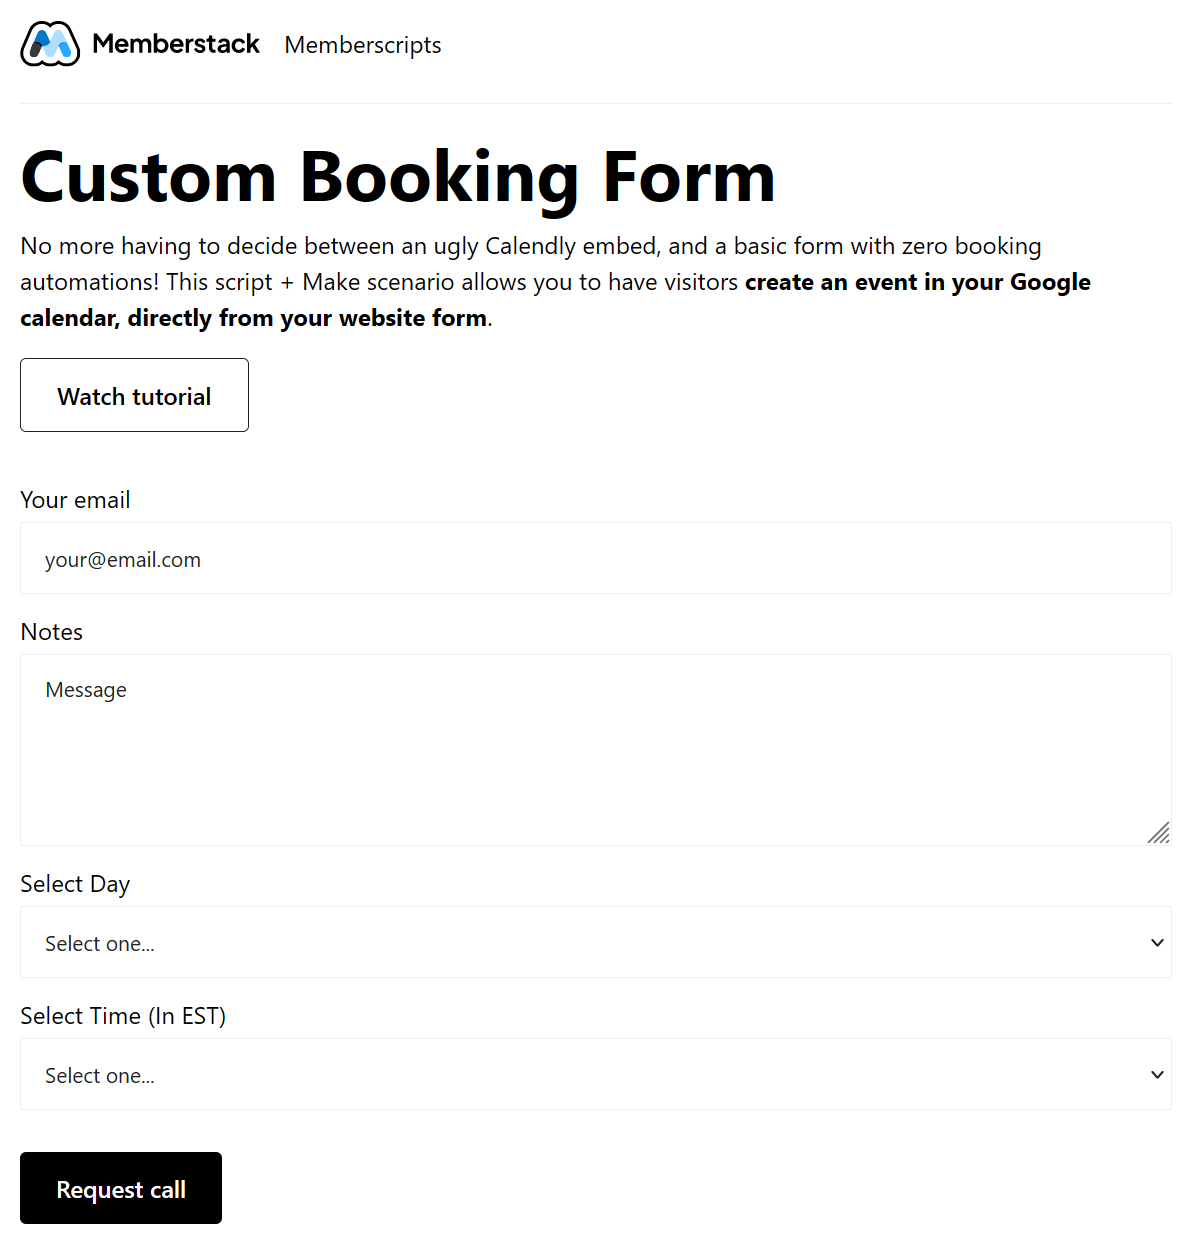
Our demo can help you add a custom styled booking form to your Webflow site which automatically creates a Google calendar invite.


.png)
