

Something not working as expected?
We would really appreciate if you could let us know what the issue is! If you want us to get back to you about it, you can leave your email too.
Create a price range input with individual inputs for min and max.
Need help with this MemberScript?
All Memberstack customers can ask for assistance in the 2.0 Slack. Please note that these are not official features and support cannot be guaranteed.
Creating the Make.com Scenario
1. Download the JSON blueprint below to get stated.
2. Navigate to Make.com and Create a New Scenario...

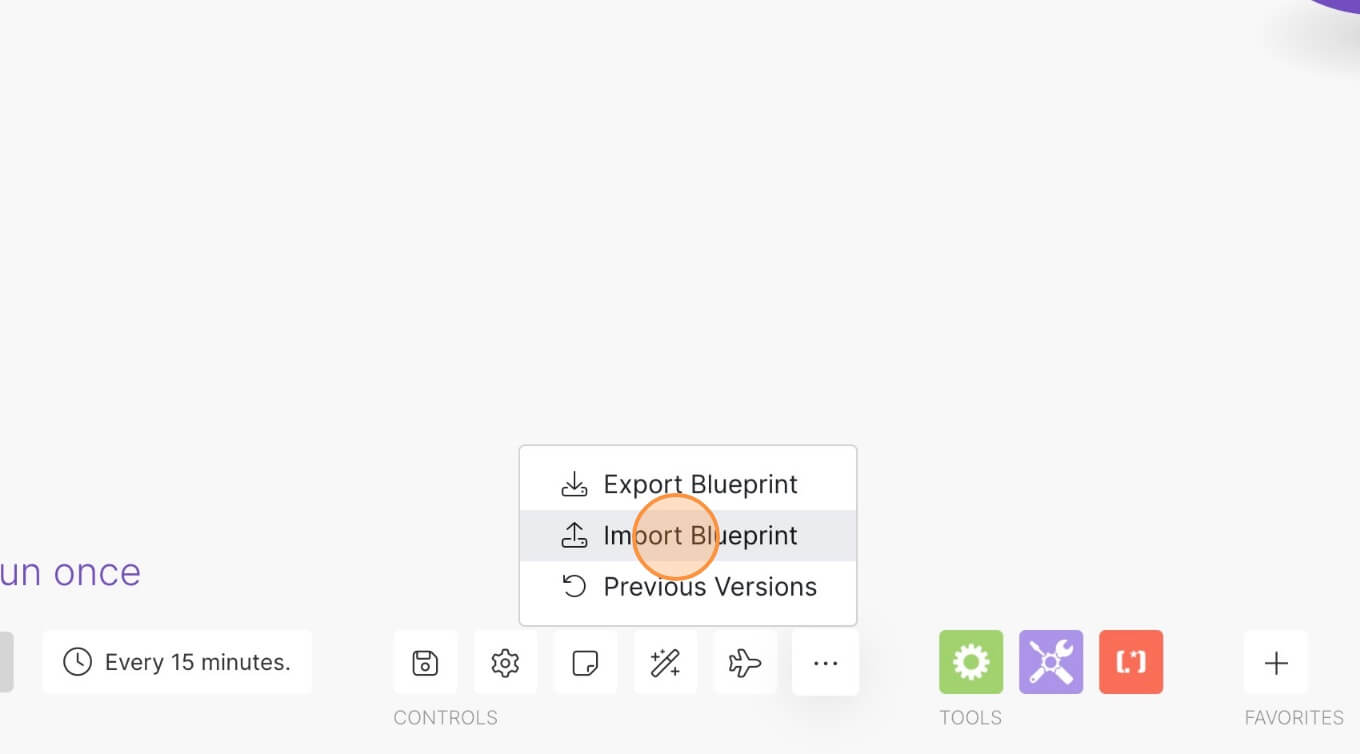
3. Click the small box with 3 dots and then Import Blueprint...
4. Upload your file and voila! You're ready to link your own accounts.
How to Add a Price Range Selector to your Webflow Form
Memberscripts needed:
https://www.memberstack.com/scripts/price-range-slider-inputs
Tutorial:
https://www.loom.com/share/2adf3ea08957458885ecf9363e3a4f5a?sid=fb7d4729-9ab2-48ed-ab43-83fd0ed2b7d8
Cloneable:
https://webflow.com/made-in-webflow/website/price-range-input
Why/When would need to Add a Price Range Selector to your Webflow Form?
- Provide a user-friendly way for users to choose a price range if you’re selling products or services.
If you’re building a website where you sell products or services, chances are price ranges are a part of your business.
Instead of using boring standard text inputs, you can offer users an easier way to select price ranges by using a range selector.
We’re going to see how you can do just that, and if you’re not selling anything, you can edit the range selector we’re building to fit any needs you have.
Adding a price range selector to Webflow forms
To add a price range selector to a Webflow form, we’re going to use MemberScript #58 – Price Range Slider Inputs. Follow the link to get the code you’ll need to add to your page and watch a video tutorial on how to set everything up.
Setting it up
The first thing you’ll need to do is build out the form itself and style it however you want.
Then, go ahead and add a regular text input field which you won’t need to style because it’ll just be replaced by the slider. Then add the following attribute to it:
- ms-code-input=”range-slider”
Now add another two text input fields for the manual “from” and “to” values, which you can style as you see fit. Add the following attributes accordingly:
- ms-code-input=”price-from”
- ms-code-input=”price-to”
Making it work
Now that you’ve got the form set up and you’ve added the required fields, all you need to do is add the MemberScript #58 custom code to your page, before the closing body tag.
Here are a few things you can change in the custom code:
- The default range values – to edit the default range values, simply change the values for var defaultFrom and var defaultTo.
- The slider shape – to change the shape from the default circle (“round”) you can change the value of skin to flat, big, modern, sharp, or square.
- The minimum and maximum values – to edit these, simply edit the values of min and max.
- The prefix – if you’re using another currency or simply want to remove the prefix altogether, either replace the prefix value with your symbol of choice or delete the line entirely.
Conclusion
That’s everything, you can now go ahead and test your form’s range selector feature.
If you want to use our demo project to get you started, just click the button below to add it to your Webflow site.
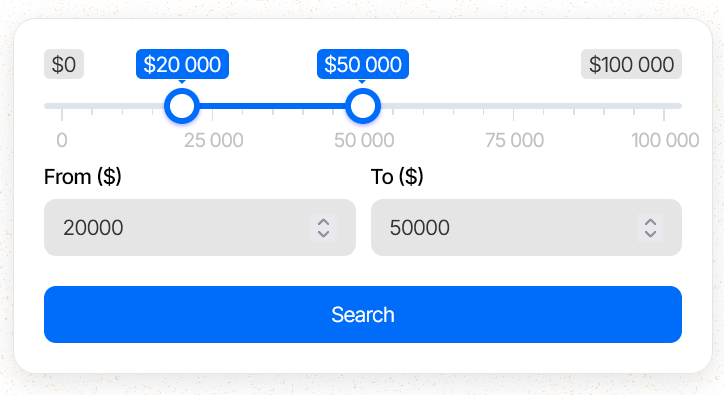
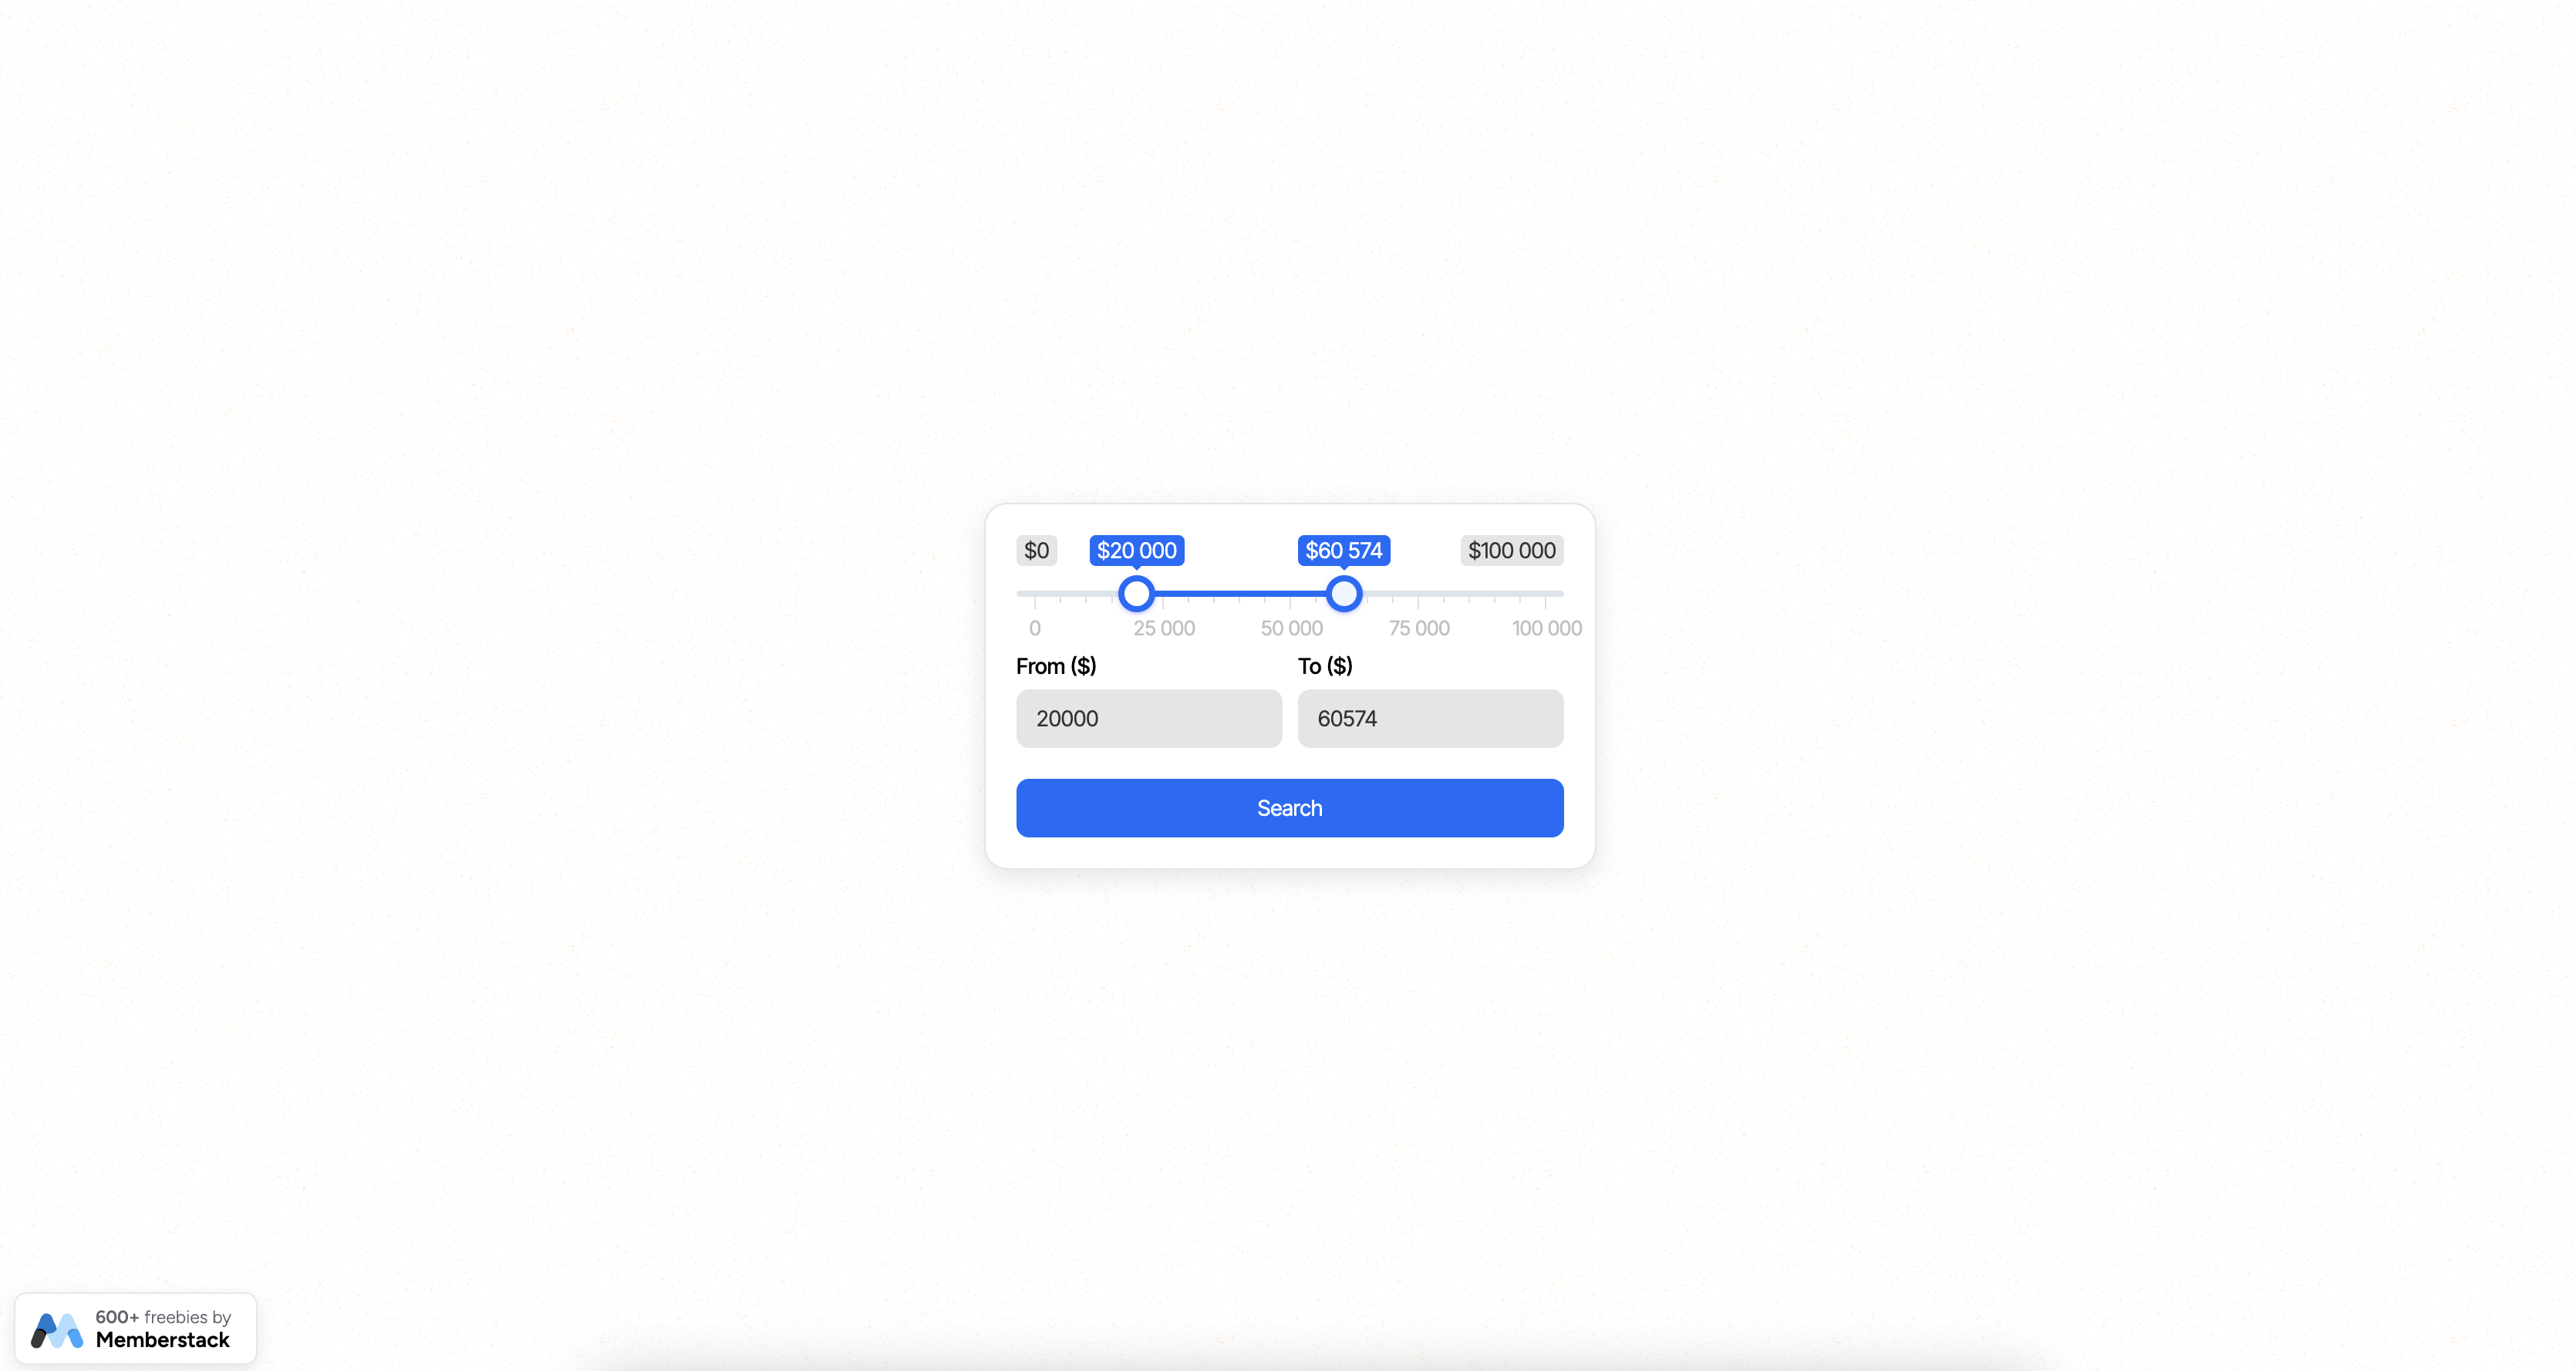
Our demo can help you add a price range selector to your Webflow forms.


.png)
