Key Benefits
Design Control
Start from scratch or use a ready made form and customize the colors, fonts, logo placement, and overall layout to create a form that matches your brand.
Segmentation
Collect specific data relevant to your business needs. Include additional fields to gather information and use to segment your audience and tailor your communication (like email) and product or service.
Analytics and Insights
Gather, track and analyze different user behaviour and engagement.
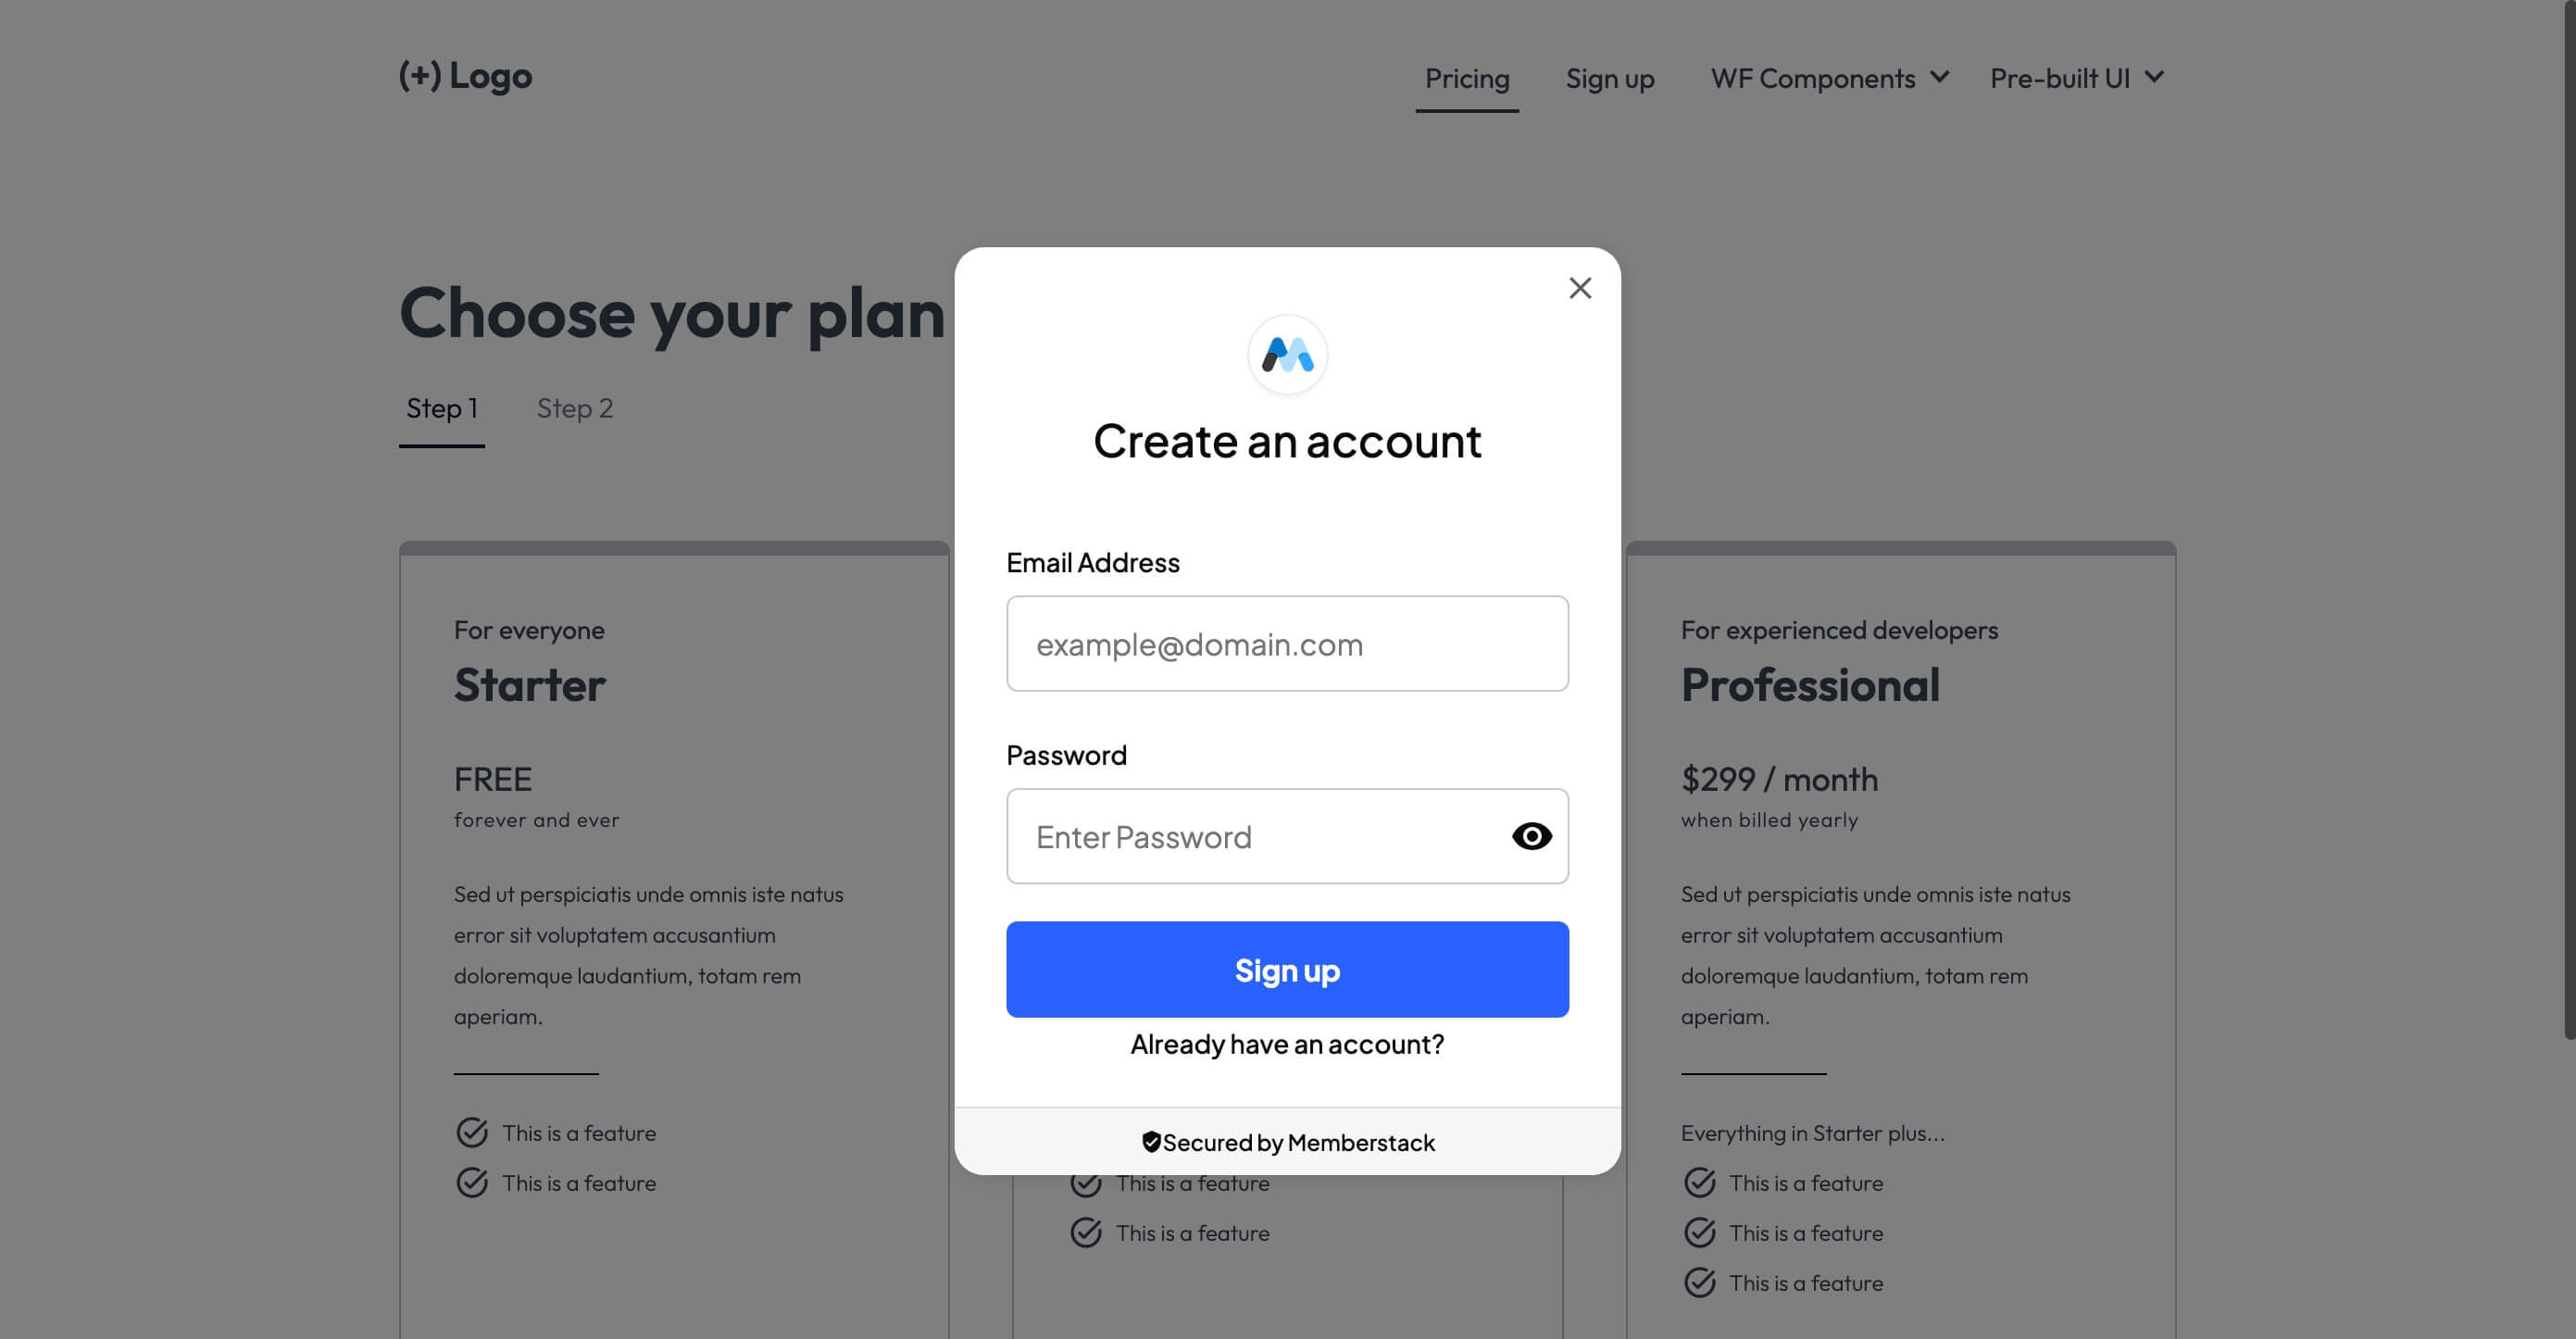
How to Integrate your Custom Webflow Login Form
Memberstack works with signup, login, and profile forms that you create in Webflow. Here’s how to integrate your custom Webflow login form with Memberstack.
A. Copy & Paste
This method is the fastest and most highly recommended. We have hundreds of customizable components you can use to get started.
1. Pick from over 200+ free components or start with an unstyled signup form.
2. Copy the form element and paste it into your project.
All of the attributes and custom code you need have already been set up for you.
If you want to collect additional information, please see "Optional Step 3 → Add custom fields"
below.
-------------
B. Start from Scratch
Step 1 → Build a form in Webflow
- Add a form block.
- Add the required input fields (email and password) and any additional fields you want to collect data for. These can be checkboxes, radio buttons, select fields, or test areas.
Step 2 → Add the Memberstack data attributes
- Add data-ms-form=”signup” to the <form> element.
- Add the data attributedata-ms-member="email” to your email input.
- Add data-ms-member="password” to your password input.
Optional Step 3 → Add custom fields
- If you have custom fields, you’ll need to add them to your database in Memberstack. Create Custom Fields
- Memberstack will generate a field ID for each, which you will need to add to Webflow. The attribute will look like data-ms-member="custom_field_id”, data-ms-member="name", data-ms-member="phone", etc.
- Your form is ready to start adding members to your memberstack application!
-------------
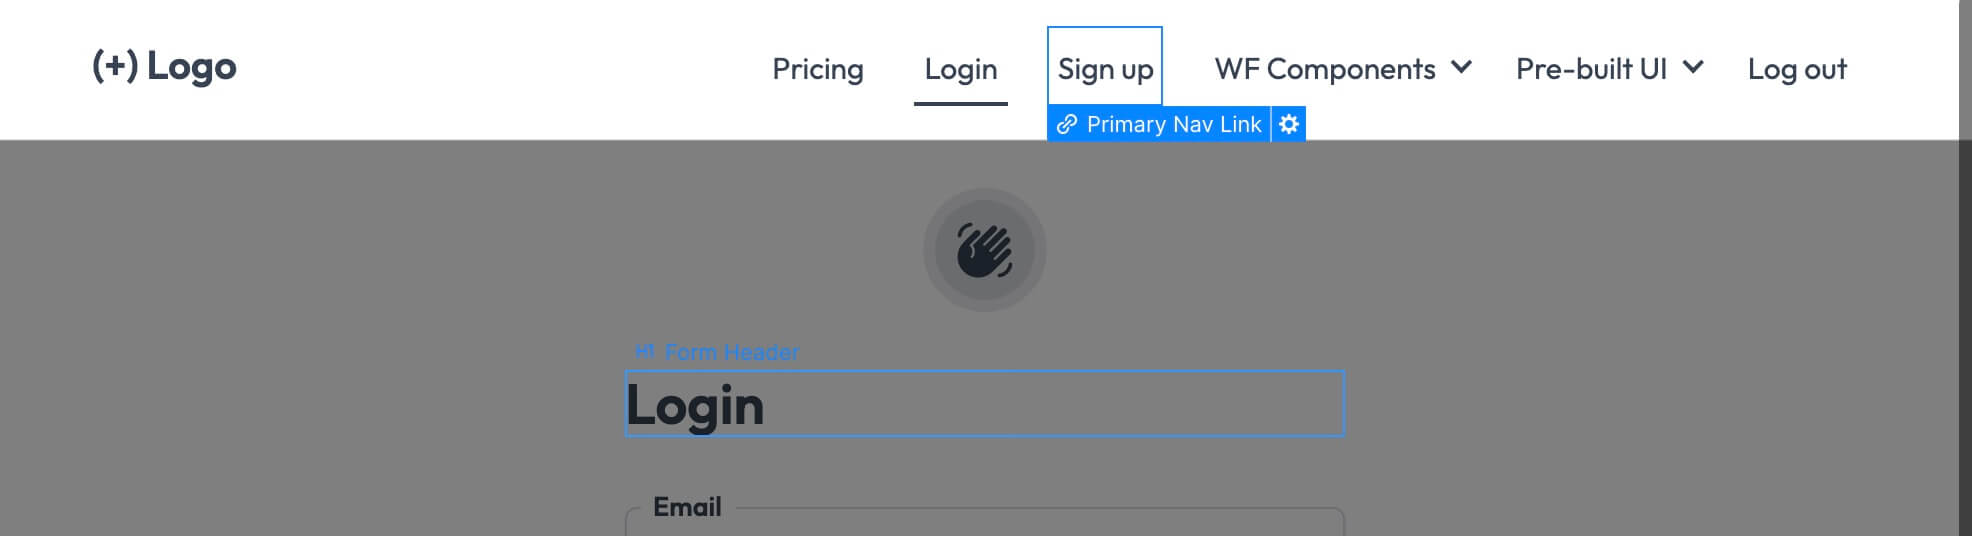
C. Pre-built Modals
Step 1 → Create a signup link or button on your site.
Step 2 → Add the data-ms-modal=”signup” attribute to your link.
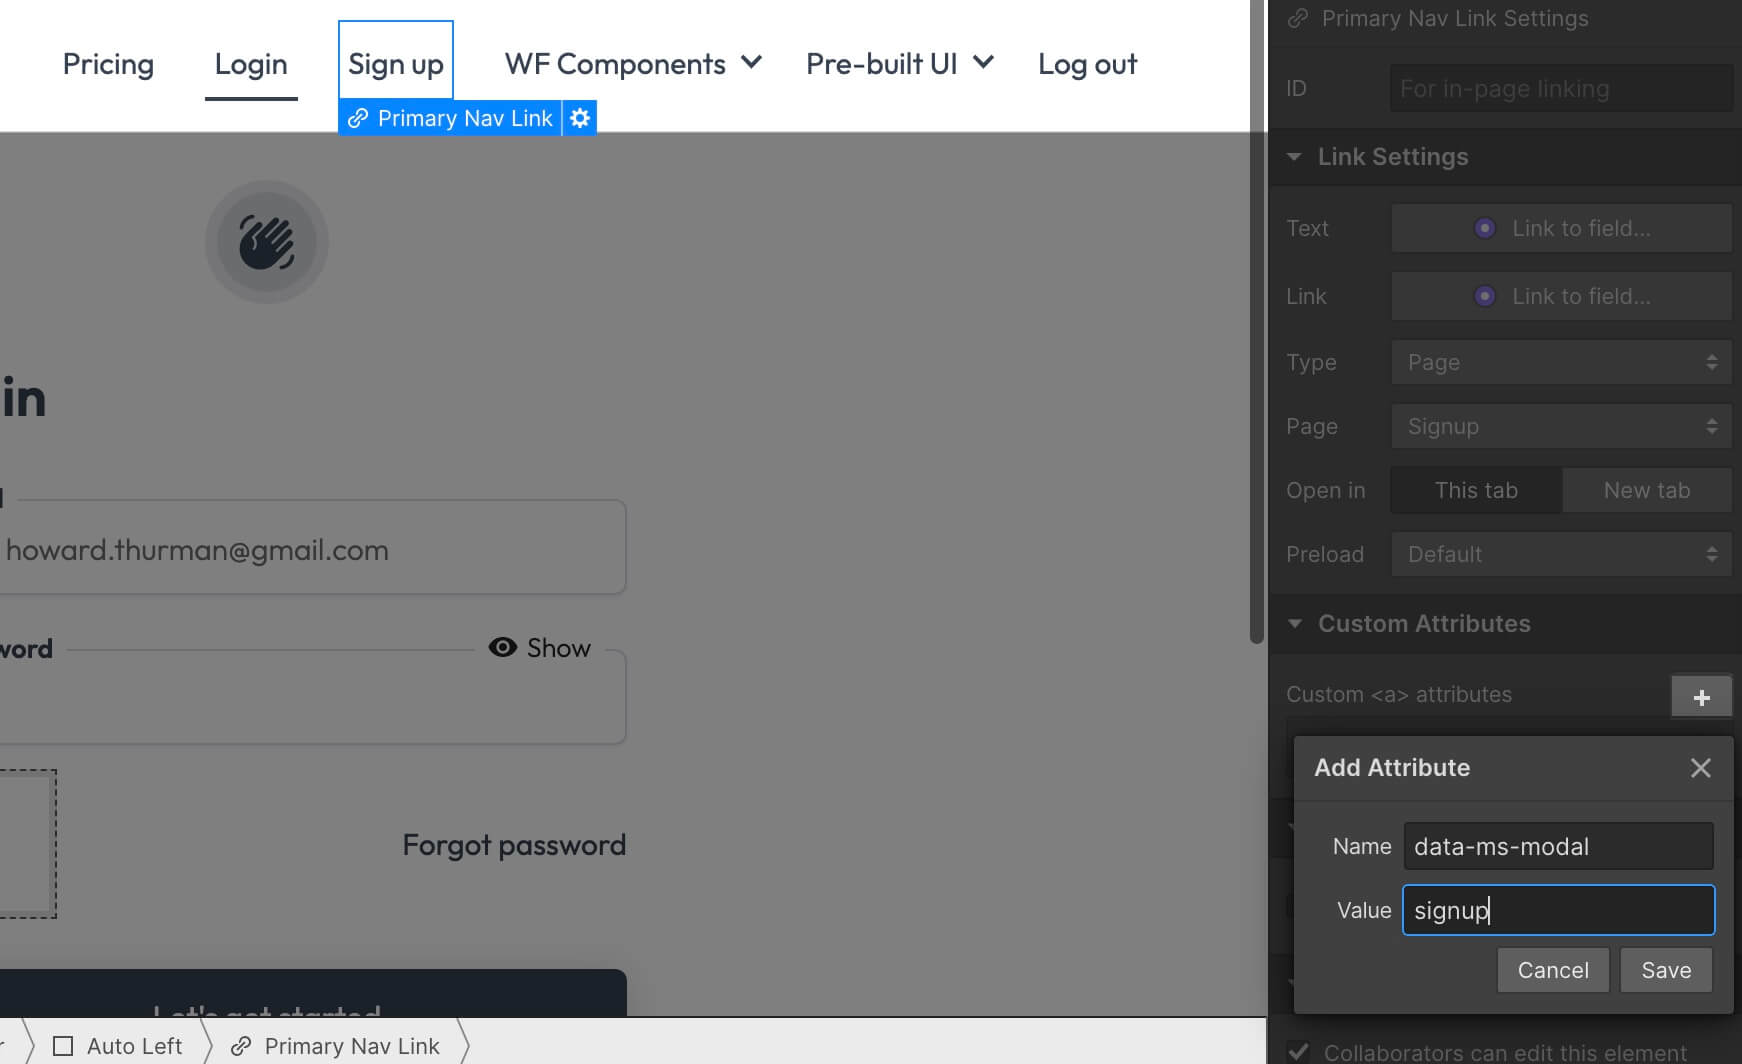
That’s it! → Your form is ready for members!
Creating Multiple Signup Pages
Please place your signup forms on individual pages. Memberstack cannot properly process a page with 2 or more signup forms on it.