Key Benefits
Let Members Manage Themselves
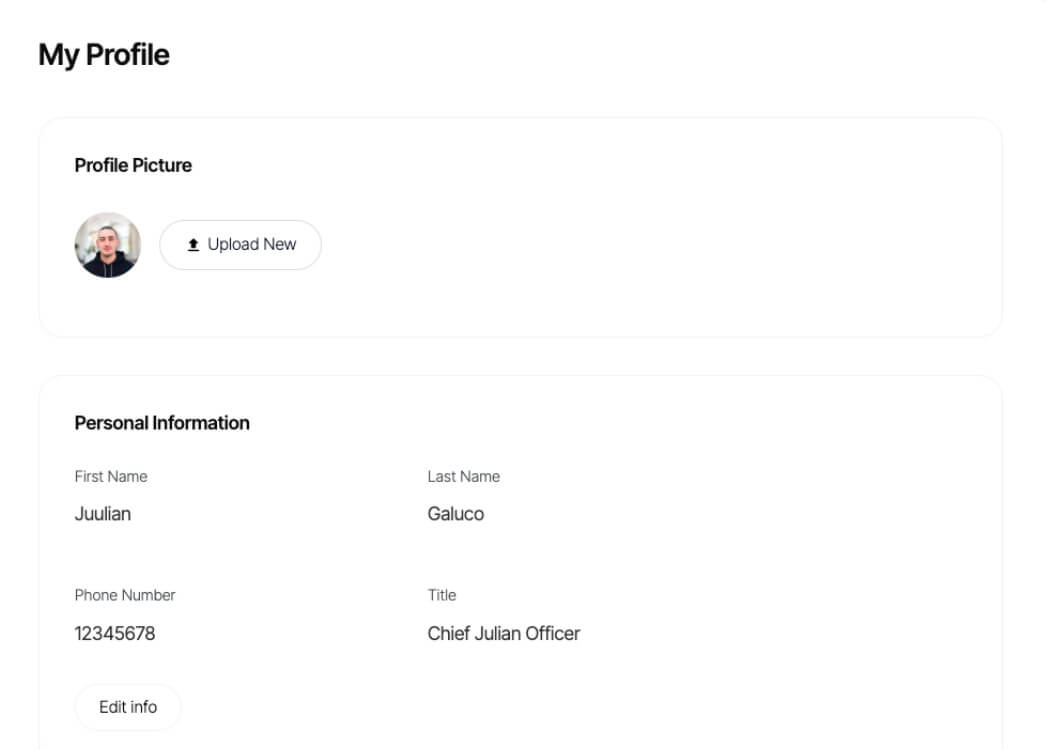
Provide a seamless and user-friendly experience for members. Members can easily update their profile information, such as contact details, preferences, or personal information, without the need for manual intervention or contacting customer support.
Accurate Member Data
Ensure member data remains accurate and up-to-date by allowing members to directly input or modify their information when things change.
How to Integrate a Profile Form with Memberstack and Webflow
Here are three different ways to integrate a profile form with Memberstack & Webflow.
A. Copy a Webflow Component (2 min)
This method is the fastest and most highly recommended. We have hundreds of customizable components you can use to get started.
1. Pick from over 100+ free components or start with an unstyled Profile form.
2. Copy the form element and paste it into your project.
All of the attributes and custom code you need have already been set up for you.
B. Build a Profile Page from Scratch (6min)
Form One → Update Custom Fields
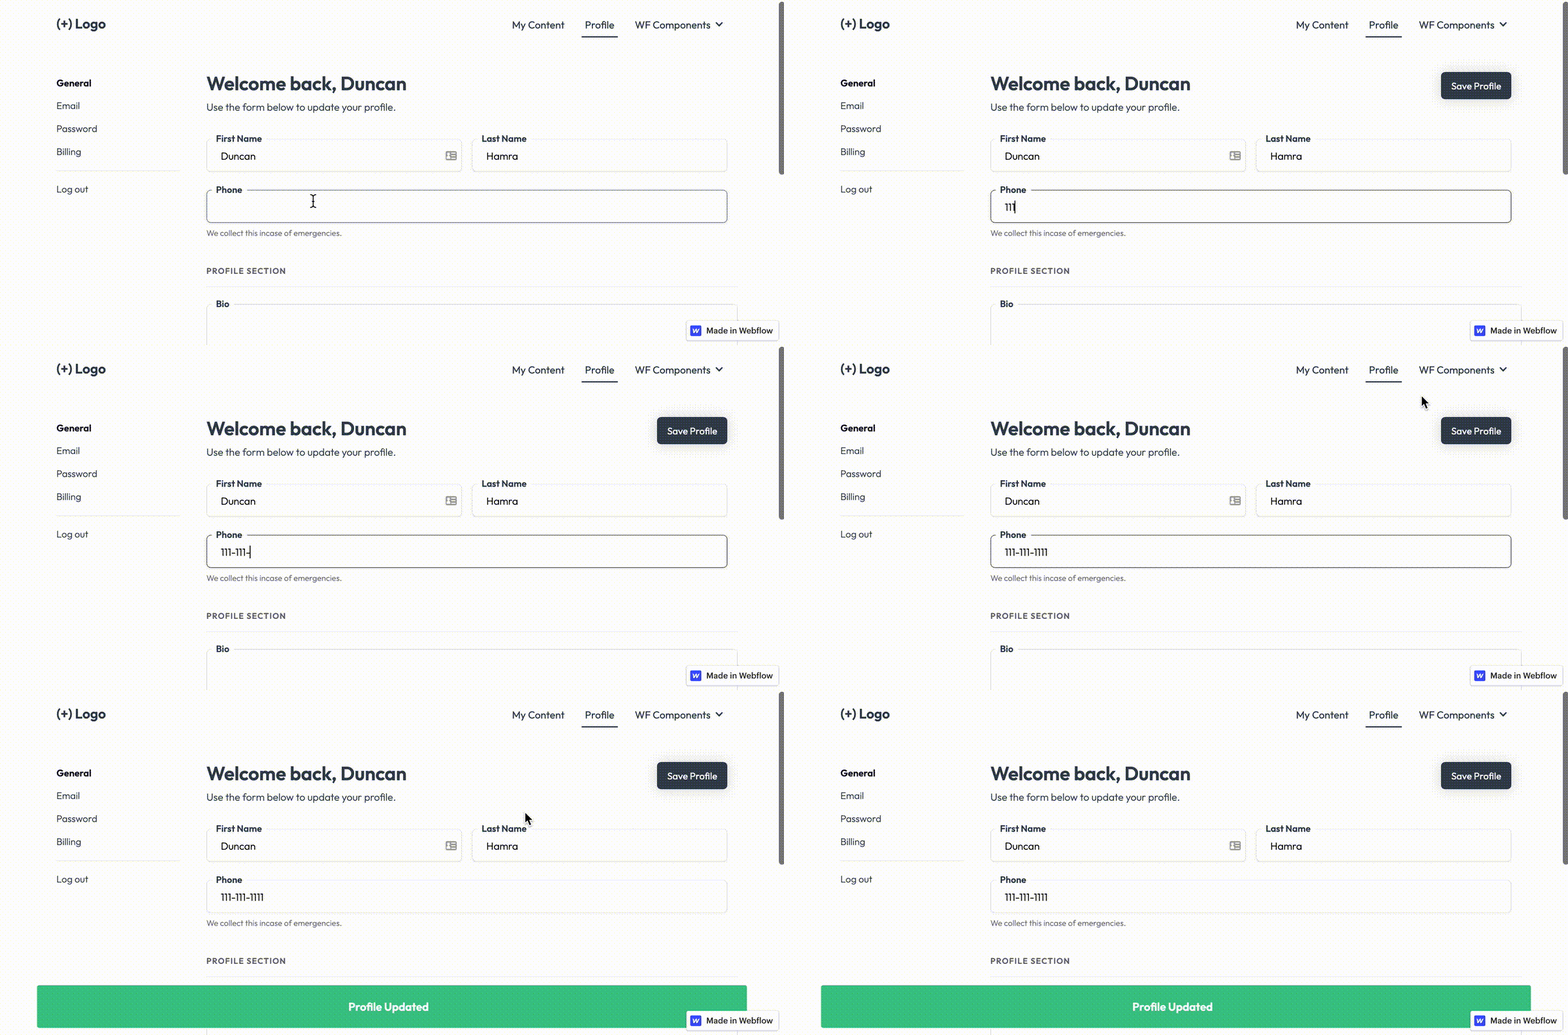
- Add the data-ms-form="profile" attribute to the form element.
- Next, you’ll need to design your various input fields to your website. Name fields, phone number, bio, links, etc.
- Then you’ll need to create the equivalent custom fields in Memberstack. Here’s an article to get your started… Create Custom Fields.
- Add the appropriate data-ms-member="fieldID" attributes to you input elements.
Form Two → Update Email
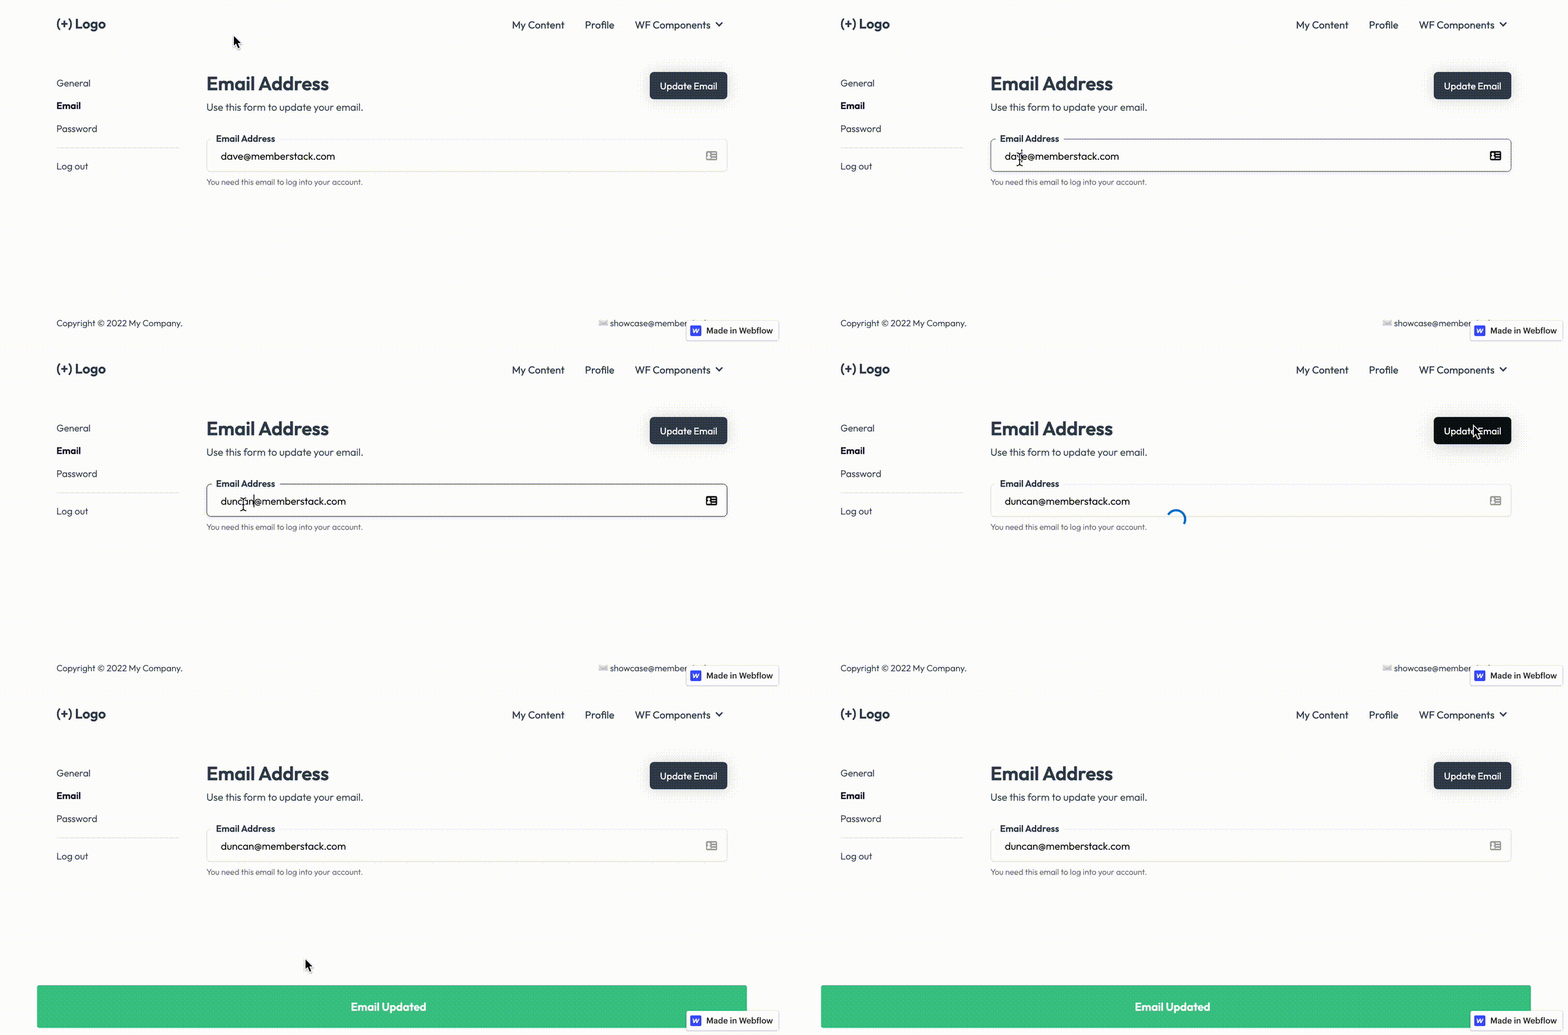
- Add the data-ms-form="email" attribute to the form element.
- Add the data-ms-member="email" attribute to an input element. Set the type to email.
💡 Each type of profile form can live on its own page, or share a page with the others. The layout is up to you. However, each form must have the right data attributes.
Form Three → Update Password
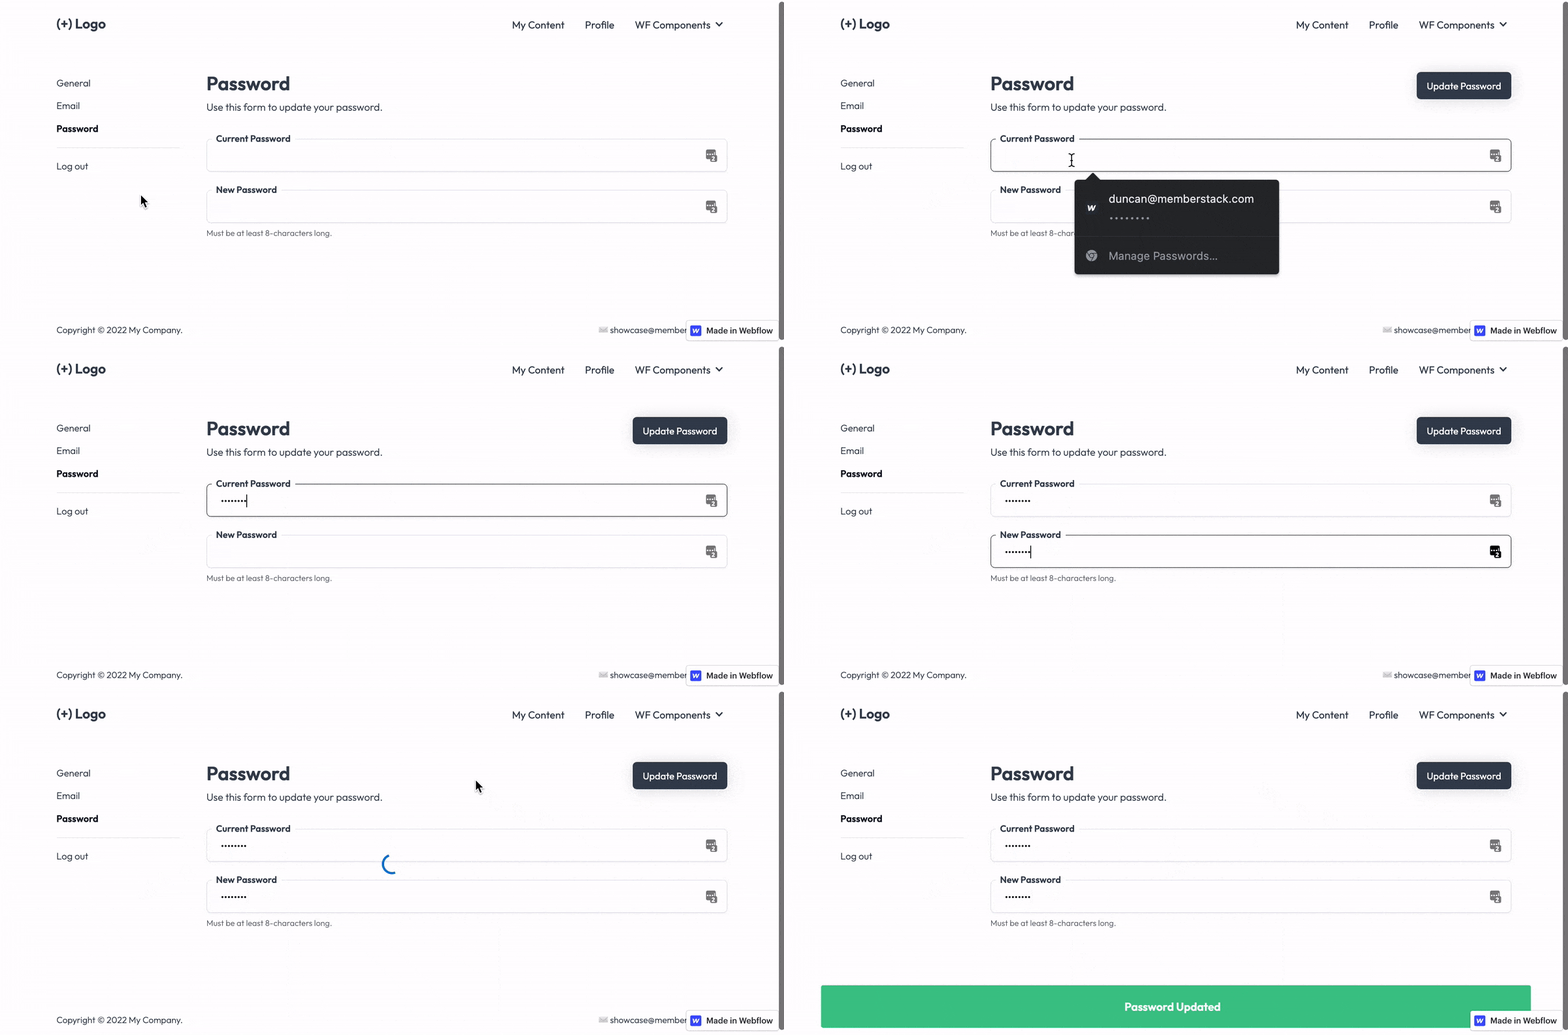
You need the following 3 data attributes.
- A the data-ms-form="password" attribute on the form element.
- A the data-ms-member="current-password" attribute for the members current password input.
- A the data-ms-member="new-password" attribute for the members new password.
Form Four → Stripe Customer Portal
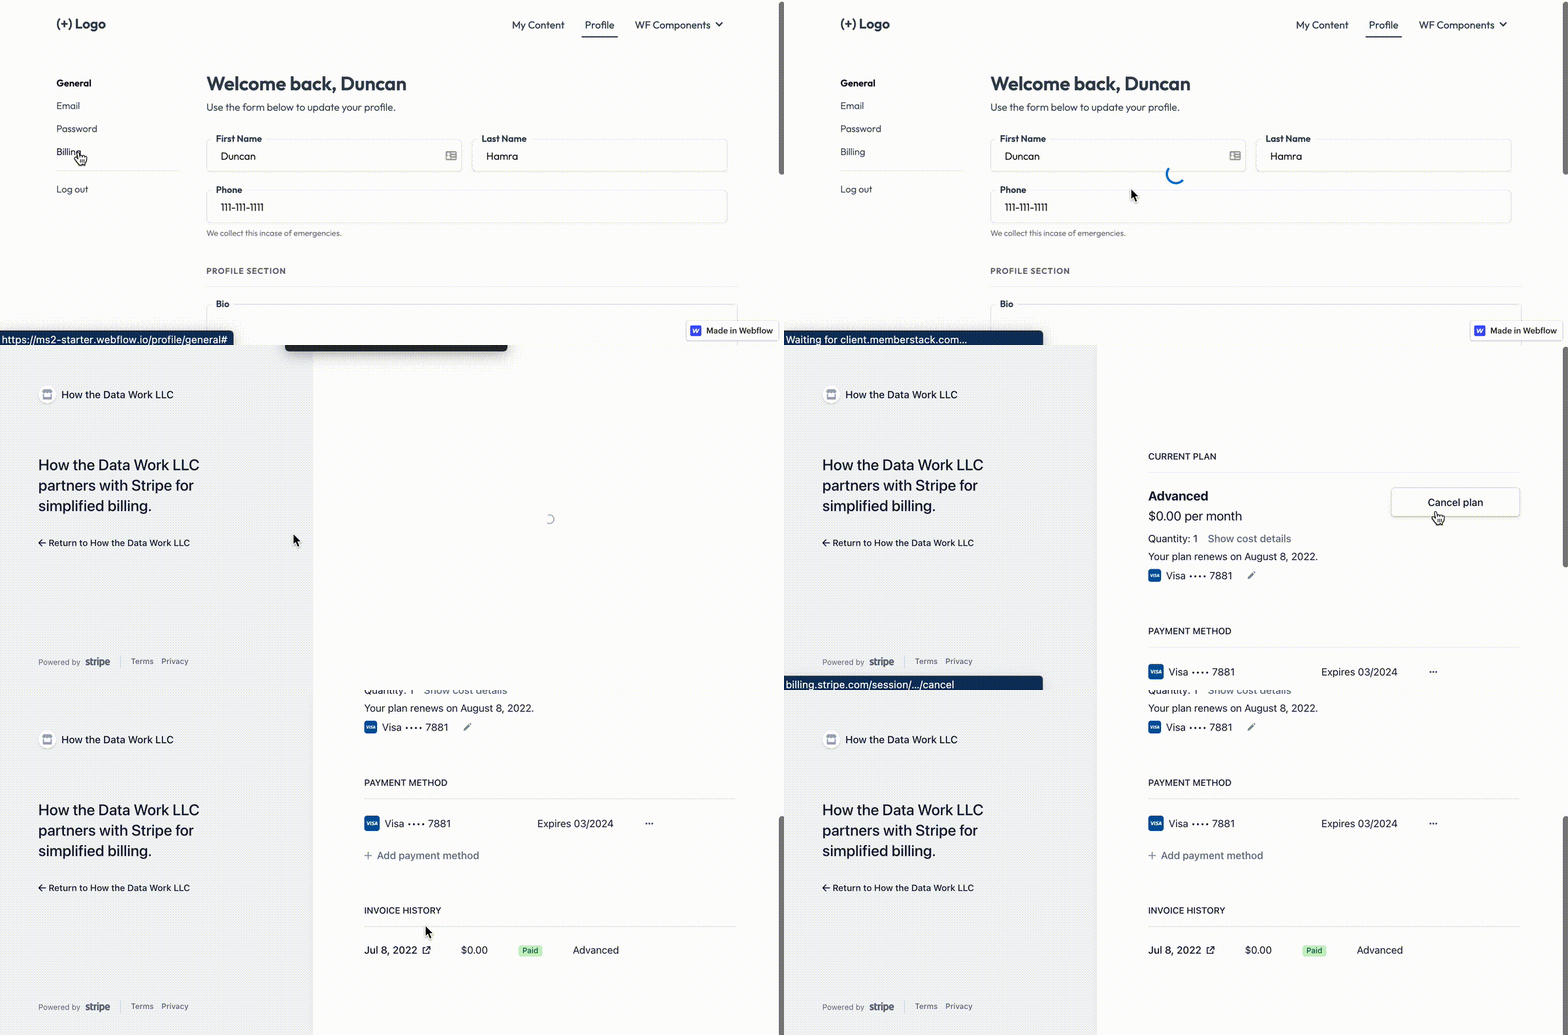
We have an article that explains the Stripe Customer Portal and how to use it here.
C. Use the Pre-built Profile Modal (1min)
Step 1 → Create a login link or button on your site.
Step 2 → Add the data-ms-modal="profile" attribute to your link.
